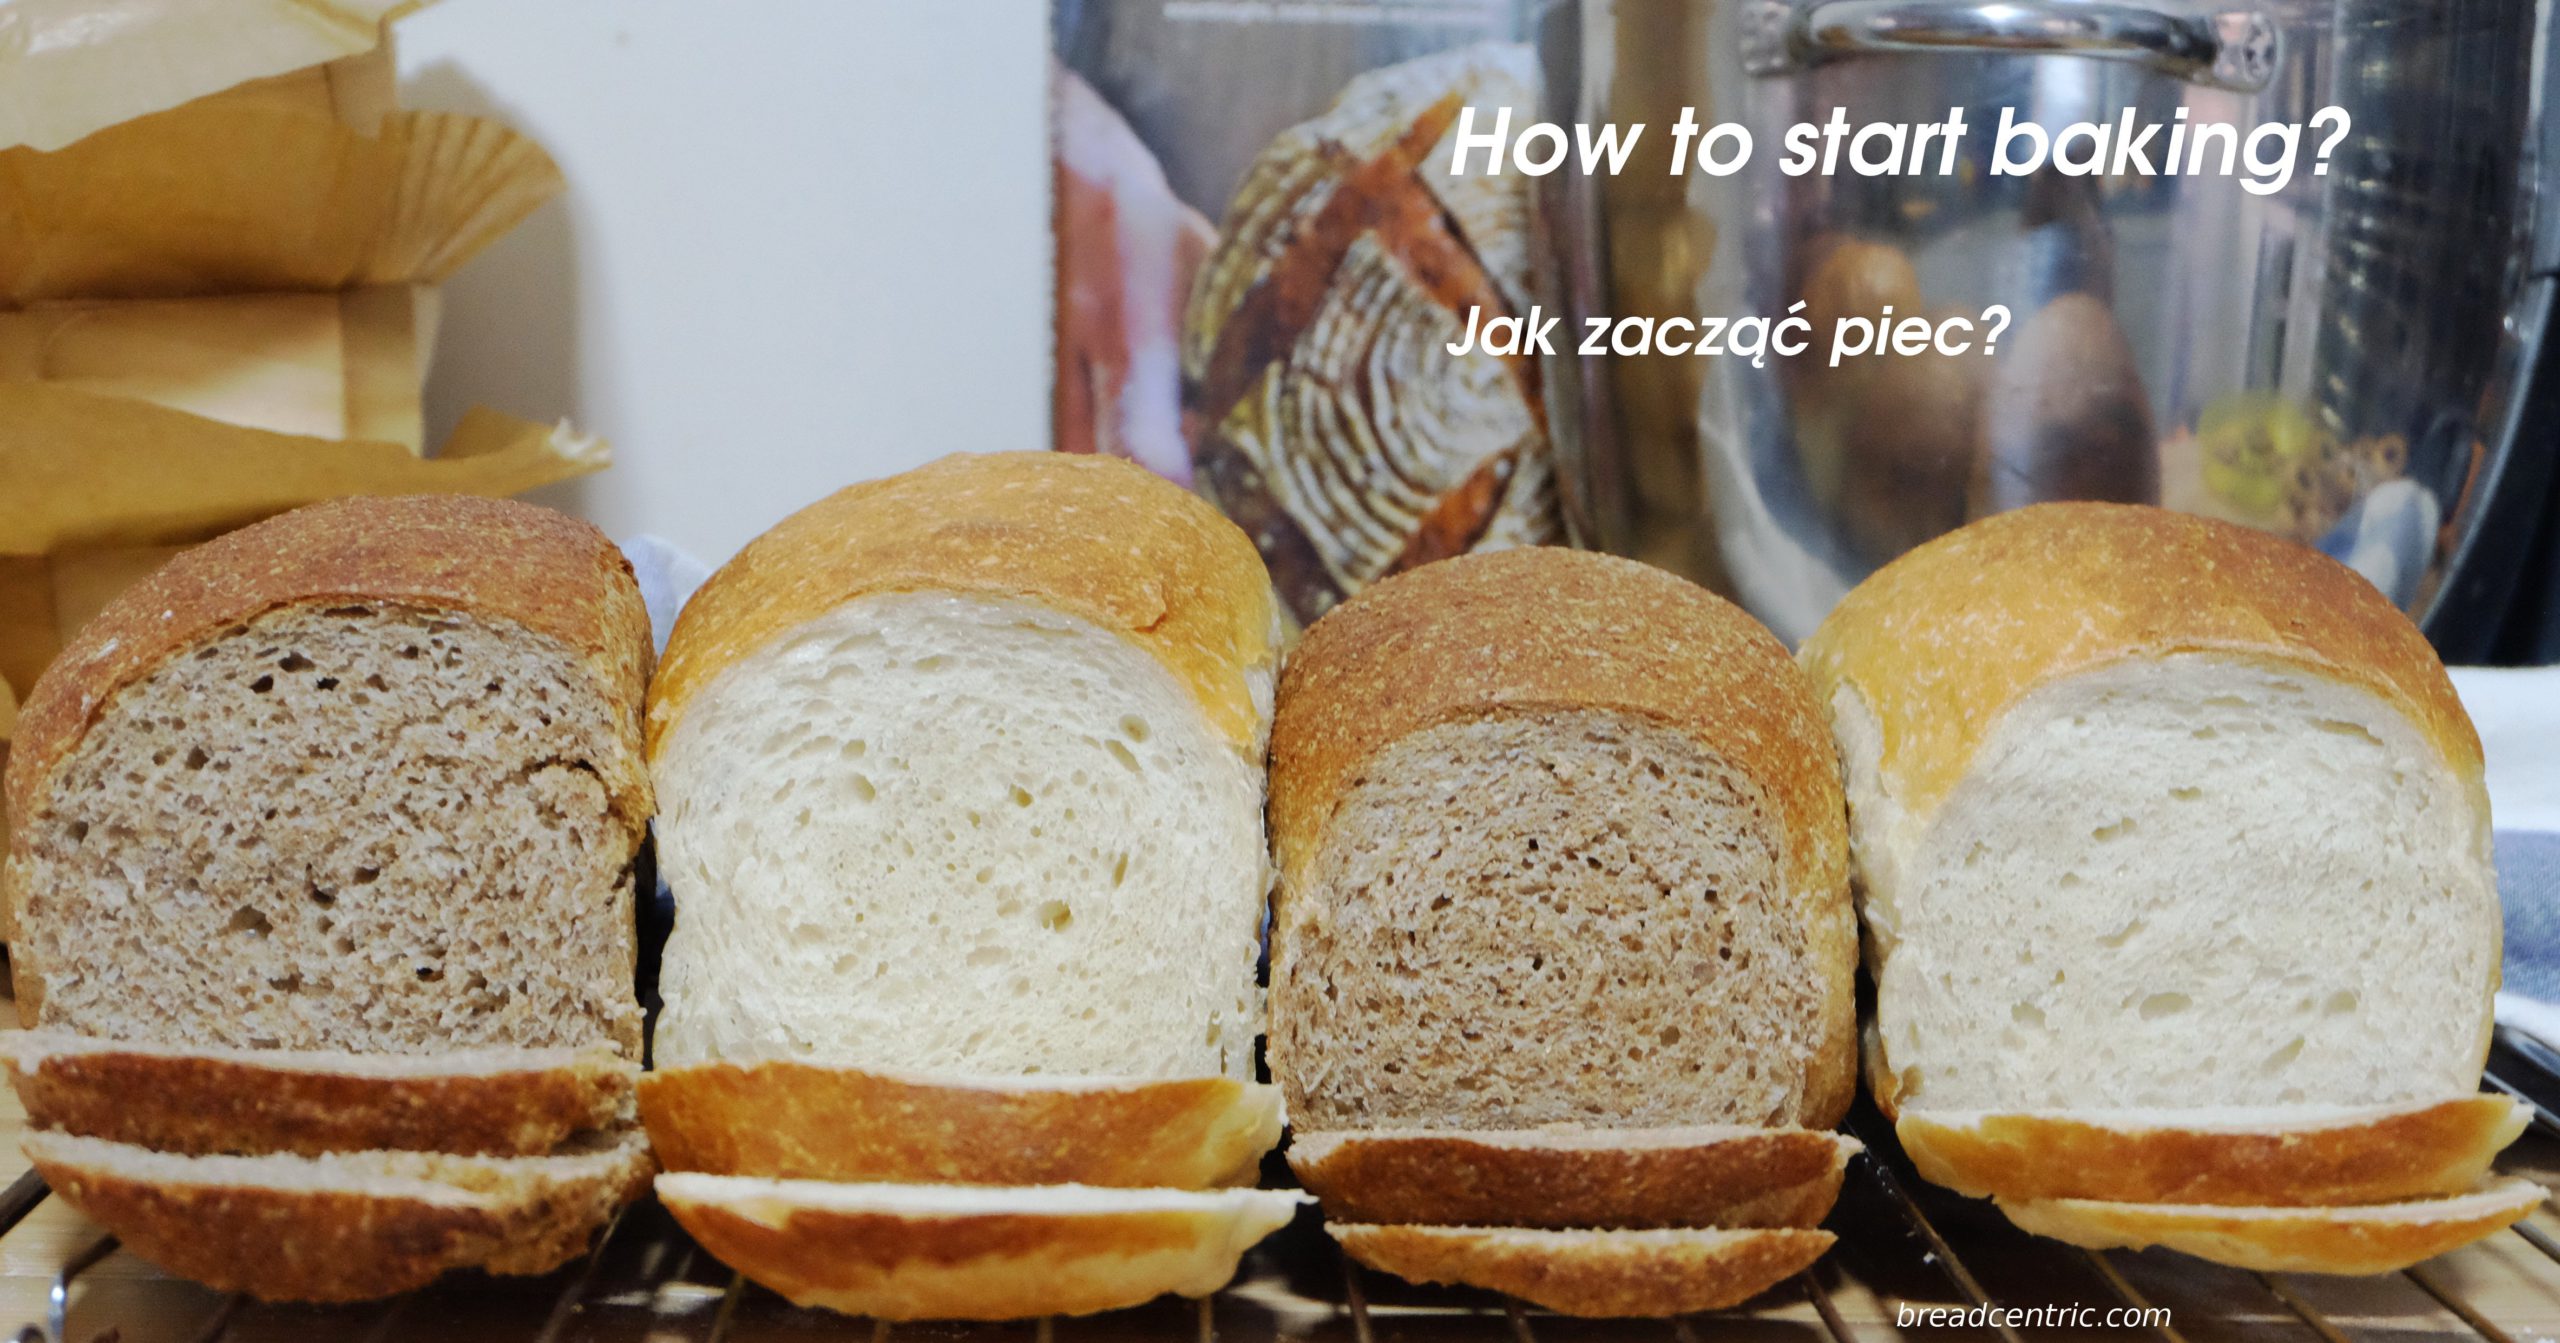
How to start baking? Jak zacząć piec?
You can easily start baking with a few essential tools and close to no knowledge or skills. Read on and begin.
Możesz z łatwością zacząć piec chleb z kilkoma podstawowymi narzędziami i minimalną ilością wiedzy i umiejętności. Przeczytaj i zacznij.
I have the comfort of learning from Gosia, who knows a lot about cooking and baking. But even without such an excellent tutor you can start and make something brilliant.
People have different learning strategies, but all the successful ones have two steps in common:
- Make it
- Go to step one.
Regardless of whether you need to possess all theoretical knowledge before making something, or you first make it and then read what you were actually supposed to make, you will need to prepare a couple things to bake a loaf.
Prepare
Scale
In the post about gift ideas I mentioned a scale. Baking bread may require a lot of precision, but even without it, you’ll need to get good amounts of ingredients. Flour has a varying density, so volume will not always work. Same with fine vs coarse salt. 300 g of flour is always 300 g of flour.
What’s to consider here? Choose a digital one, measuring up to as much as possible (5 kg is a minimum, 10 kg is really ok), with a 1 g increment. You can also get an extra one with more detailed measures, for instance up to 200 g every 0.1 g.
Avoid fancy scales with displays in the scale’s platform. It’s impossible to see the measurments when a big bowl is used.
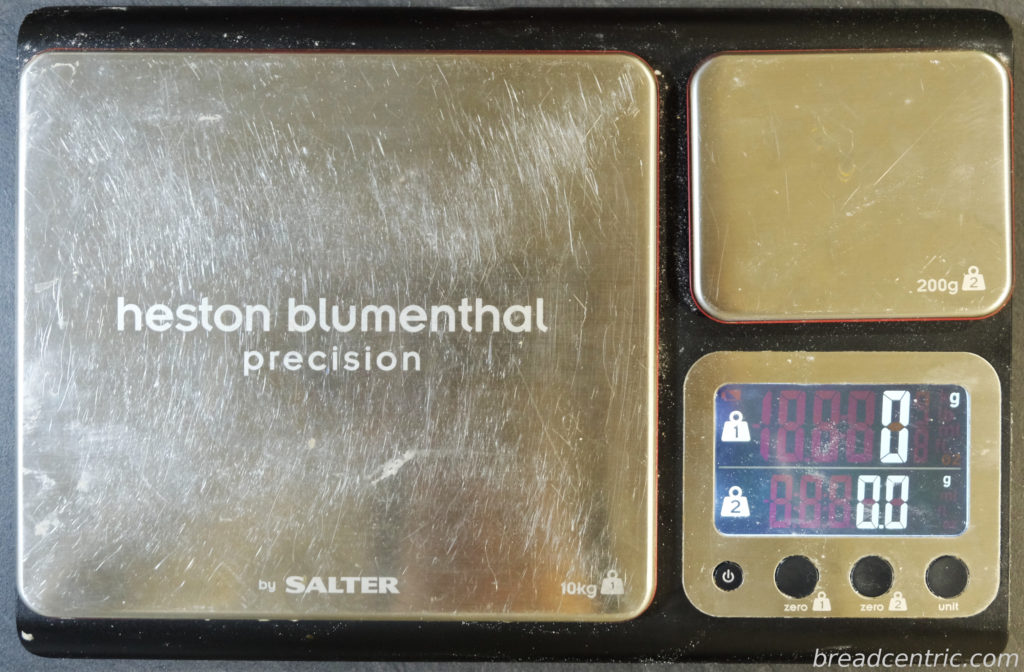
My scale
Bowl
Any will do. We started with 3 litre, 5 litre and 10 litre. The smallest one is well enough for a single loaf (or two smaller ones), the biggest can fit four big loaves (could more, but I wouldn’t be able to mix by hand or lift it).
I remember Jamie Oliver’s video from one of those Seventeen shows where people were making bread. He’s put flour on the worktop, made a well, added water, yeast and salt and started gradually mixing the sides in. I do NOT recommend this method. It looked awesome on TV, but it’s different when you do it in your kitchen. Boy was it messy… The recipe was meh as well.
Something to mix with
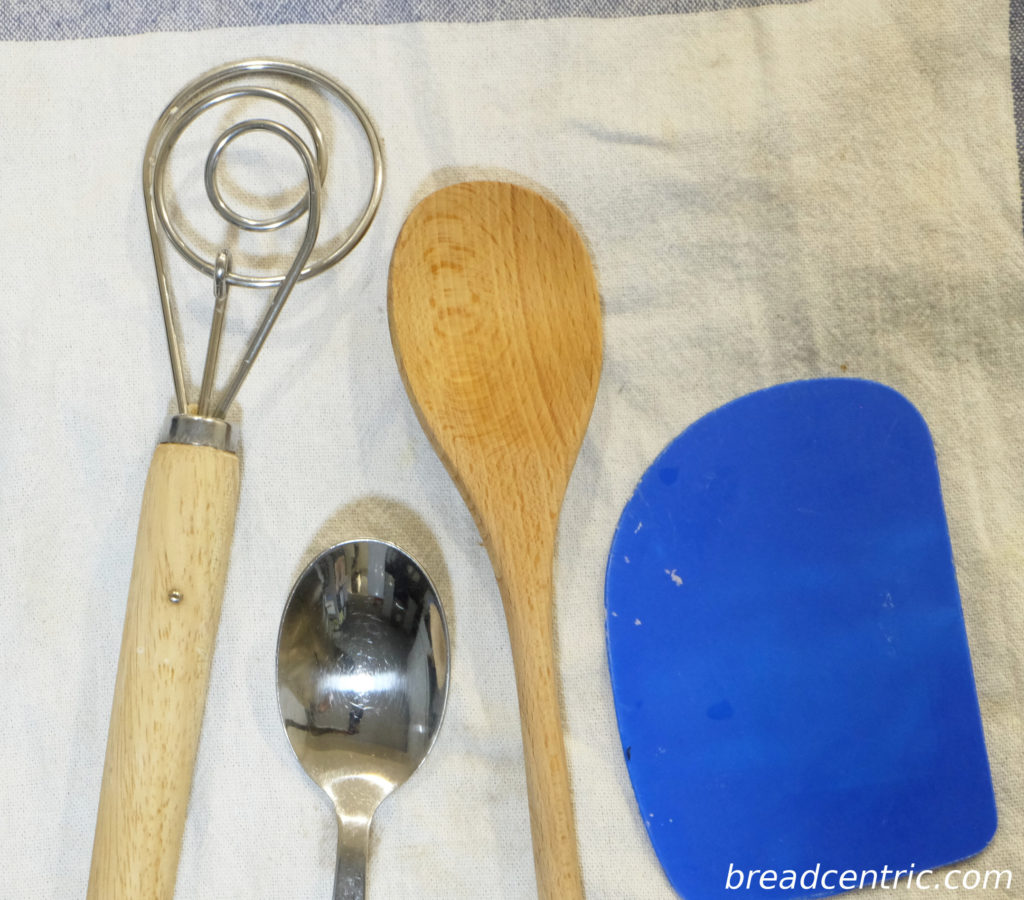
Spoons, mixer, scraper
It can be a sturdy spatula, wooden spoon, Dutch dough whisk or anything else that works for you. Some people use a dough scraper or hands. If you don’t like sticky dough on your hands, I don’t recommend hands. It will come off eventually, but you may want a break during kneading and cleaning hands may be problematic.
Oh, although not essential, it’s worth having a scraper. It’s funny how a little piece of plastic can ease your work. The one above works very well with a bowl.
Mixer
It can replace the two above. If you have a dough hook, you’ll be good to go. It also saves a lot of time.
Just don’t use the hand mixer with dough spirals. Well, you can try, especially if you have a mixer stand with a rotating bowl, but my impression was that it was struggling and could tear the dough (you don’t want that).
A worktop, potentially
Some recipes require kneading after getting the dough ready, you will need some clean flat area for that. For some, a bowl will be enough.
Something to bake in
You will need to start by building a bakery oven. Bricks should be available at your local DIY store, or you can go with a more traditional clay oven.
If you however want to start easier, a regular oven is enough, even one on a worktop will do.
If you’re missing even this, make friends with your neighbour and ask for help. Bake two loaves at a time and share.
Whichever option you go with, know your oven. Always know your oven and adjust. Every item distributes heat in its own way and you will need to learn that. For instance, I usually use lower temperatures in my oven than the ones in the recipe, the previous one we had was a gas oven and had a cold spot right in the middle, so things were always raw if placed there.
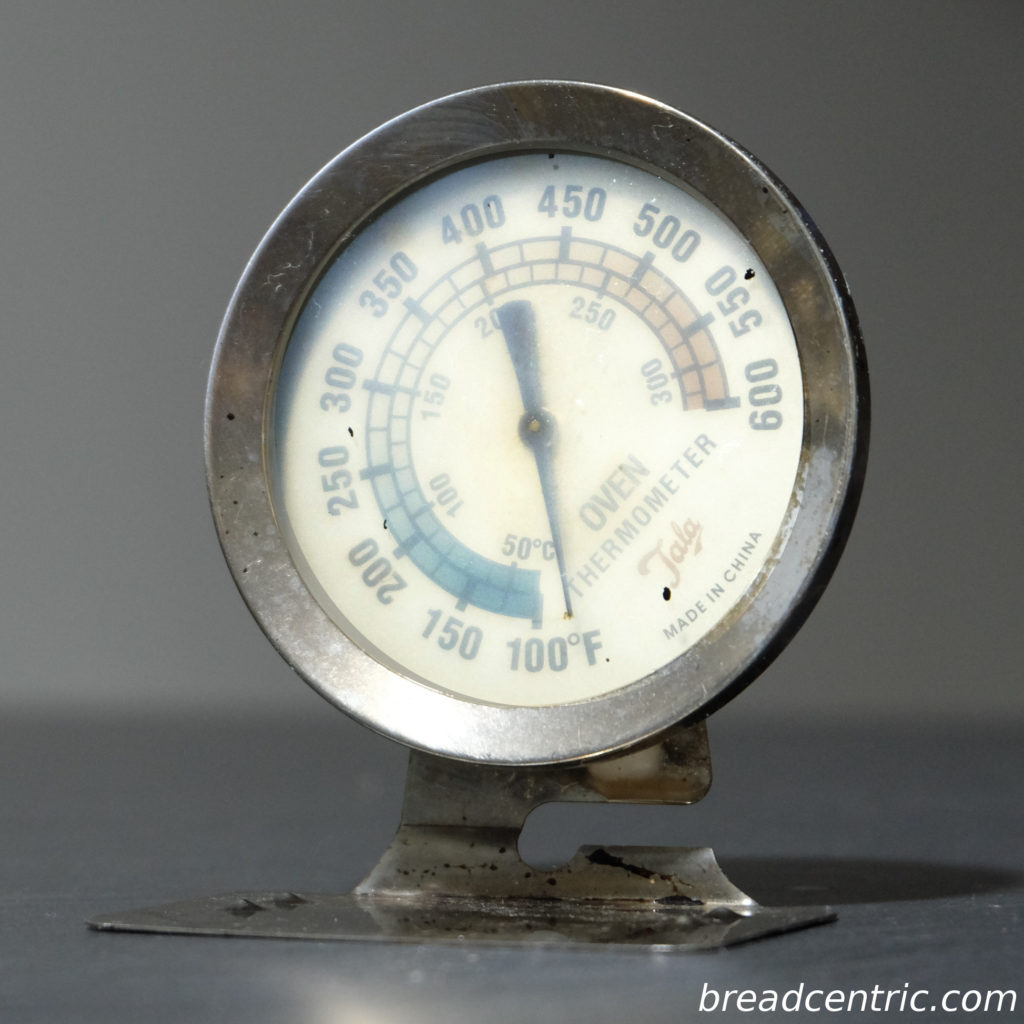
Thermometer
Be aware that many recipes call for 240-250 C. I’m not 100% sure, but it seems that most of them expect the heat to come from the bottom only, usually with use of a baking stone. The stone is a big mass that holds energy and gradually releases it to the loaf placed on it.
Many recipes instruct to lower the temperature after putting the loaf inside. J. Hamelman says that this is to compensate for the heat loss when you open the door.
If your oven it’s not capable of reaching such high temperatures, do not get discouraged – there are tricks to compensate for it, and more importantly, there are recipes which require significantly lower temperatures.
Something to bake in/on
You may use a baking tray from your oven and make a bread preshaped in a bowl, or place the dough in a loaf tin which may be easier for a start. We’ll start with a tin today.
Ingredients
You will need flour, water, salt and yeast. These are the basics. There will be some other ingredients to vary your bread.
Flour

Wholemeal wheat flour
You will see me mentioning a couple types of flour. They are classified by the grain milled and a way of milling/sifting.
With regards to grains, wheat, rye and spelt are the most common ones that I meet. I haven’t baked with spelt yet, rye is a bit too demanding to begin with. Wheat is the most common and you will probably want to stick with it for the first couple tries, and optionally add a bit of something else.
With regards to flour types, you will hear about plain and strong flour. You should use strong flour for the bread. The difference comes in the way it works. Strong flour has more capability to form gluten, and this is the key element of your loaf.

Mąka chlebowa biała
Gluten. When flour binds with water, it forms these flexible stringy proteins. Most of the kneading is not about getting the ingredients mixed together but about exercising the gluten. You see it forming as you knead and fold it. Sometimes you are convinced that the dough is too sticky, but a couple folds bring you to a nice dough that sticks to nothing.
In Poland we use a different classification than one in UK. Each flour is assigned a type number. It reflects the minerals content in the flour. Type 550 means that if you take 100 kg of flour and burn it, you will be left with 550 g of ashes – this is how it’s tested (flour is highly flammable when mixed with enough air, by the way). Type 450 is plain, 750 is a bread flour, I think that types 1000 up are considered wholemeal. The difference comes from different milling, sifting and mixing processes used when making flour.
Some wholemeal flours have the bran ground as well, but preserved in the flour. Most wholemeal flours in Poland have coarse bran, the ones I buy in UK are noticeably finer.
Water
Well, water. I use my tap. I think bakeries usually have a filter on their water source for baking. If you are concerned with the quality of water you have, maybe boil it before using. But cool it down before adding to the dough. Minerals in water are used in the dough forming process.
If you have too much chlorine in water, pour it a couple hours before baking and let it stand – the chemical treatment agents will evaporate.
Salt
It improves taste directly and indirectly. Apart from its flavour, it slows down the activity of microbes and this apparently leads to more taste in the bread.
I’m not sure how it works, but I’ve noticed that if you bake bread without salt and put salt on it when eating, it will be still lacking something in the taste. Gluten free breads that I make don’t have that and you can still fix it.
I use sea salt, just because I have it at home. I used Himalayan, regular salt as well, didn’t notice any difference. Haven’t tried anything else then than traditional NaCl.
Yeast
Yeast or lactic bacteria and wild yeast (sourdough). They make the most impressive change in the dough. Yeast eats carbs and produces carbon dioxide and alcohol, the bacteria produce carbon dioxide and lactic acid. There is a number of phases they go through and they die in the oven. The alcohol also evaporates then, sorry.
If you want to go with sourdough first, go ahead, see my post about it. If you just want to try baking and not wait too long just yet, use yeast.
You can try fresh yeast or the dried ones. Real Bread Campaign runners suggest you should not use instant or quick action yeast, only dried active. I don’t know the difference (yet).
Other
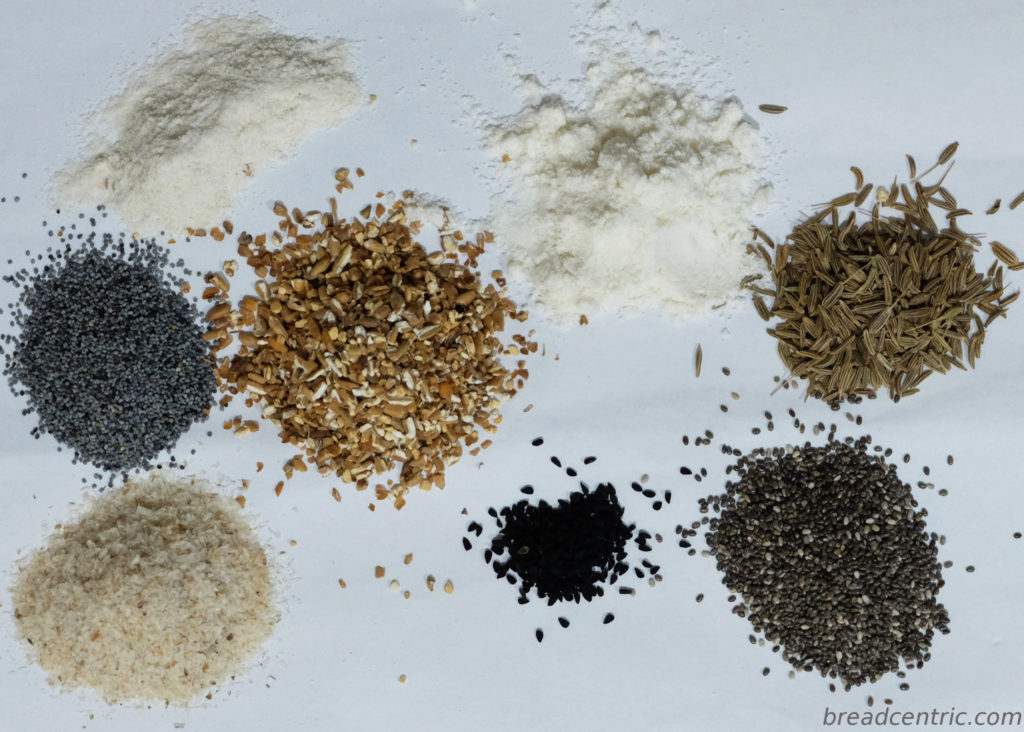
Brown rice flour, coconut flour, poppy seeds, malted cracked rye seed, caraway, psyllium husks, nigella seeds, chia seeds
There is quite a bit of them. You will see seeds, bran, honey, sugar, malt, various fats, vegetables, fruit, nuts. The list goes on. Some of the additions modify the texture of the crumb, most are used to alter the taste.
Quality
We decided to use mainly organic ingredients. We pretty much assumed that organic is higher quality. For a comparison, we will bake using both organic and one from Lidl in parallel. We will cover that in a separate post.
You
Yes, you. I don’t know how you approach new things, how easily you get them done. You may struggle with it, it happens. But you will probably need to find some patience and persistence to get things rolling. I do encourage you to try reaching a successful bake before you decide if you want to continue or not.
How to bake?
You will notice that most recipes fit into quite clear scheme:
- Prepare starter, prepare soaker – optional
- Mix ingredients into a dough
- Knead
- Bulk rise – not always
- Shape the dough – sometimes simply put in a tin
- Rise
- Bake
- Cool down
Some stages vary, take more or less time, some are omitted.
Prepare starter
This is about preparing the living bit. You activate your yeast make it work faster, get them to multiply (less yeast needed). The final dough develops more flavour. I prefer recipes with a starter to the quicker ones. It takes more time, but I find it more satisfying.
Prepare soaker
Sometimes you’ll have to put in some seeds, dried fruit, dry bread (yes, seriously) into your bread. If the additions are very hard, they may not soften throughout baking and fermentation. You will have to put it into water (often boiling) and leave it to soak. The additional change it gives is that whatever you’ve soaked, will be releasing steam into your bread, giving it more rise. Remember the bread may require more time in the oven to get it well baked throughout.
Mix ingredients into a dough
You may be asked to do it in certain order and phases, but in the end you will have a dough to work with. Many recipes suggest what it should look like, how it should behave. The more water, the more runny it will be.
Regarding water: in many places I have read: if it’s too wet, add flour. Don’t. The recipes have certain proportions, in which ingredients are used. One of the key proportions is flour to salt ratio. If you add more flour, you will lose the right salt proportion for the best flavour.
Some regions have flours with significantly lower protein content than others (if you are wondering why the UK’s mainstream sponge looks the way it looks, or why your flour contains cereal from Canada). The issue with too wet dough occurs there more often. If you add all the water that the recipe tells you to, you may bake an insanely delicious saucer. So it’s better that you don’t. I usually try to add 80-90% of water and then make adjustments until I’m happy with the dough.
Just a note: some breads like ciabatta have a crazy high hydration. They will be runny, but not necessarily sticky.

Dough in the mixer
Knead
Your dough has formed, now it needs to develop good properties. Ciabattas get less sticky when kneaded well, because it has a strong gluten mesh and is interested in holding together more than to sticking to anything else. If it stays intact for a longer time, it will get loose, but a couple folds usually change it completely.
Folds, or stretch and fold, which is the full name of the technique, is a method of developing strong gluten mesh in the dough. It is what it says it is: grab side of the dough, stretch it, fold on top of the dough and rotate the dough by 90 degrees and repeat (some do stretch and fold from the front, stretch and fold from the back, then rotate). It’s really so little to make a big change in your dough. In some recipes you continue folding even during the bulk rise.
This clip shows how I worked with the dough. Forgive my shaking hands, I got a bit nervous as this is my first clip on Youtube.
[youtube https://www.youtube.com/watch?v=OL23T1mTQuA ]
Bulk rise
This is usually the longest bit of fermentation process. Your dough rises and you exercise it to form a nice gluten structure to grow on. Sometimes (like the rye bread that we introduced recently) there isn’t a specific phase of this kind. It simply becomes one with every other step prior to baking when the dough rises in the tin.
Shaping the dough
At this point you should have a nice springy dough that lets you work with itself. You perform a final shaping on it. This usually involves some flattening/degasing, folding, rounding, rolling. It may include a banneton, a cloth, a tin etc. For some types of dough (stiff ones mainly) preshaping may be required. I find it handy when I do a lot of small things, like bagels, baguettes, pretzels etc.

Shaped rolls and bread
Rise
Some time is now required for the dough to rise. Recipes usually have a precise time here. Mr Hamelman provides it together with dough temperature. I generally find it best to wait for the dough to double in volume.
You probably hate hearing such advice as much as I hate saying that. How do you measure doubling in volume? Of course, there is a simple method of forming an ideal sphere, placing it in zero gravity so that it doesn’t lose shape, and measuring change of its diameter. Once it rises cube root of two times, it’s ready. If for some reason you struggle to get any zero gravity at home, you need to use your eyes and guess.
The general trick is that if you give it less rise now, it will open up more in the oven (which you may want, but sometimes you want a nice, smooth crust). If you give it too much time, it will not collapse at best.
Bake
A lot of research has been done with regards to what happens in the oven. In very short:
- Your bread rises quite fast
- Suddenly stops
- Crust forms
- The dough coagulates
If you want to get dizzy trying to understand it, I recommend you start by reading Hamelman’s “Bread”, it’s theoretical introduction to be precise. If not, here are some hints:
- Warm up the oven before baking. Using upper and lower heat source is recommended, convection is discouraged for most of the loaves
- Add steam before putting a loaf inside
- If your heating element is exposed directly to a baked loaf, you may want to put another baking tray between the two, or use some kitchen foil for that. It will block the crust from forming too early
- Control your bread, it’s easy to get it burned.
Cool down
Let it chill. The steam still escapes the bread, stabilising its structure and giving a nicer crust.
Some recipes say that the loaf should rest for up to three days before eating. It may be right, but I seldom wait that long. It’s hard to stop oneself. I might be missing something because of that. Oh well.

Bagels on a cooling rack
Now bake your loaf
It took me some time to choose the right recipe. I decided to go for the basic one from Emmanuel Hadjiandreou’s “How to make bread” (ISBN 978-1-84975-140-7). He focuses on home baking, recipes are for a single loaf only, there are many pictures, the introduction is not overwhelming. The name of the loaf is “Simple white bread (with two variations)”. We will bake the basic one and a variation with wholemeal flour.
Planning
The bread takes 2-3 hours from start to oven, then 40 minutes to bake, then cooling down. It will require about 40 minutes of frequent attention, then an hour of bulk rise, then rising for 40 minutes, then baking for 40 minutes.
Ingredients

Ingredients
- 300 g strong wheat flour (white or wholemeal)
- 6 g (a teaspoon) salt
- 3 g fresh yeast (2 g dried); I used dried
- 200 g warm water (230 g for wholemeal flour)
Preparation
Mix flour with salt in one bowl
Mix yeast with water in a smaller bowl
Mix the above together and let it rest for 10 minutes
Stretch and fold, let it rise for 10 minutes (kneading 1)
Stretch and fold, let it rise for 10 minutes (kneading 2)
Stretch and fold, let it rise for 10 minutes (kneading 3)
Stretch and fold, let it rise for 1 hour (kneading 4)
Shape it into a loaf, put it in a tin (see the video above to see the shaping). I don’t have tins so small, but I do have wooden ones with non stick paper liners. Leave it to rise for 30-45 minutes

Shaped loaves in tins
Start the oven 15 minutes before putting the loaves in and set it to 240 C before starting. This guy likes using a fan, so you can use a baking mode with one. Place a dish with two cups of water at the bottom to generate steam

Proofed loaves
Put the tins in the oven, let it bake for 40 minutes
Bake until golden brown. Let it cool on a rack

Baked loaves
The bread is very enjoyable to make (when you don’t have to do and synchronise four different ones at a time, at least). If you work with a single piece of dough, the interaction is quite limited. You simply need to be around and have an eye on the clock (or use a good timer). There are simpler breads we make, involving sourdough.
Summary
Phew, that’s a lot of text. You have my sincere congratulations for making it up to here. I hope you managed to bake a bread along the way as well. If so, let me know how it went.