Justin’s Sourdough
I have a good memory of Justin Gellatly and his happy bunch, but I hardly ever bake using his recipes. Time for a change. I present to you a wheat sourdough bread with a pinch of rye magic.
Mam dobre wspomnienia o Justinie Gellatlym i jego radosnej ekipie, ale rzadko kiedy przychodzi mi piec z jego przepisów. Czas na zmianę. Przedstawiam Państwu chleb na zakwasie, pszenny ze szczyptą żytniej magii.
As mentioned, I used a recipe from Justin Gellatly’s “Bread, Cake, Doughnut, Pudding” (sources). He recently published a new book together with his colleagues at the Bread Ahead Bakery and School at Borough Market. I really enjoyed spending time with them during their open days and having my bread reviewed by them.
Justin’s Sourdough has a long proof, but I changed his schedule slightly when baking for the second time and I am presenting the altered version.
I used a revived sourdough. For the last two weeks I’ve been assembling notes about bringing a sourdough back to live after a long break. This bread is part of it. It’s taking long, so I need to split some parts out. It wasn’t the most active sourdough ever. The second time I made it I used a regular fresh one.
Wheat levain
Planning
Make a levain in the evening (optional 12 hours extra to make the starter more active), mix the dough, 20 minutes autolyse, finish mixing, bulk proof with stretch and folds every 30 minutes for two hours, one hour to end the bulk proof, divide and preshape, one hour, final shape, into the bannetons, one hour on the worktop and 5-7 hours in the fridge, then bake for 40 minutes. The making itself takes 12-14 hours plus the levain preparation.
I do recommend using a mixer for the dough as making it by hand may turn out quite tiring and time consuming.
If you don’t have a banneton, you can use a collander with a dusted tea towel. Just make sure you dust it with rye flour or something gluten free, as wheat will get incorporated into the dough.
Make sure you prepare a bit of a worktop for the proofing. I normally proof in a bowl, but this was a pleasant experience and I recommend you try it for once. You will occupy it for four to five hours.
Justin’s bread
Ingredients
This will make a single large loaf or two small ones
Levain
- 90 g wholemeal flour
- 90 g water
- 40 g sourdough
Final dough
- 220 g levain
- 400 g strong white wheat flour
- 50 g wholemeal wheat flour
- 50 g wholemeal rye flour
- 350 g water
- 14 g salt
Preparation
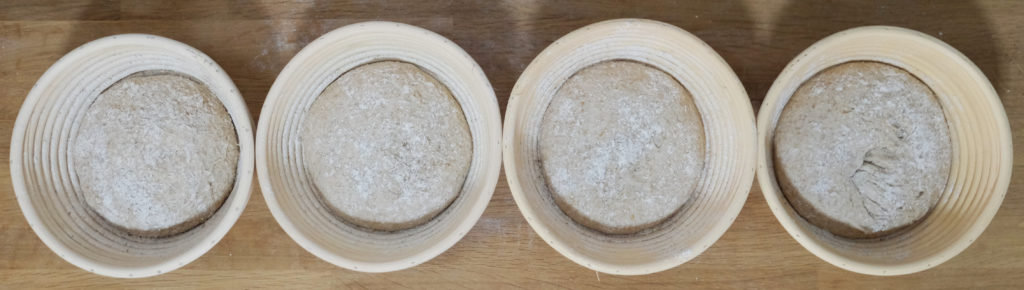
Loaves in bannetons
Levain
- Mix the levain ingredients in a bowl
- Leave for 12 hours covered with cling film
The dough
Mix everything EXCEPT SALT. First 3 minutes on lower speed, then 5 minutes on higher speed. If you use hands to mix and knead, it will take some 15 minutes
Leave it for autolyse for 20 minutes
Sprinkle salt on top and mix on higher speed for 6 minutes. Hands: 15-20 minutes. It will be sticky, but don’t add flour. Adding flour is generally a bad idea as you will break the ratio between the flour and salt. Salt is generally around 2-2.5% of the flour weight and this should not be changed. If you want a stiff dough, add 90% of water at first and then make corrections
Take the dough out of the mixer bowl onto a lightly floured surface (remember to take care so that is is lightly dusted at all times) and perform a stretch and fold. Stretch and fold is a technique in which you grab some dough from the side, stretch it even further aside and then fold on top of the dough. Then you take some from the opposite side and repeat. Then from the two remaining sides. You can repeat it more than once, but be aware that if you work it too much, the dough will tear
Dust the dough lightly with flour and cover with a tea towel. Leave the dough for 30 minutes, then stretch and fold. This step should be performed four times. As a result, over two hours you will have performed five stretch and folds (one in the step above and four here). At first the dough will be sticky and difficult to manage, then you will gradually see how strong it becomes, resisting the stretches. After each rest it will become workable again
Leave the dough to rest for one more hour under a tea towel. This is the last part of the bulk proof
If you want smaller loaves, divide the dough now
Preshape the loaves: take each piece of dough, flatten it out, then gradually fold bits around the edges and press them against the centre. Then flip it, grab it with palms of your dusted hands with little fingers touching the worktop and make circular movement lightly pressing the dough against the worktop. You should feel some friction and notice that the surface of the dough is stretching and creating tension
Dust with flour, cover with tea towel, leave for an hour
Some people will almost repeat the whole shaping now. I would if the dough would lose its shape again, but it didn’t, so I only repeated the circular movement to get more tension on the surface and popped the loaves into the bannetons. Then into a plastic bag and leave them like that for an hour
Put them into the fridge for 5-7 hours
Preheat your oven to 220 C up and down without a fan. Know your oven. Take the bread out of the fridge for the time of heating the oven
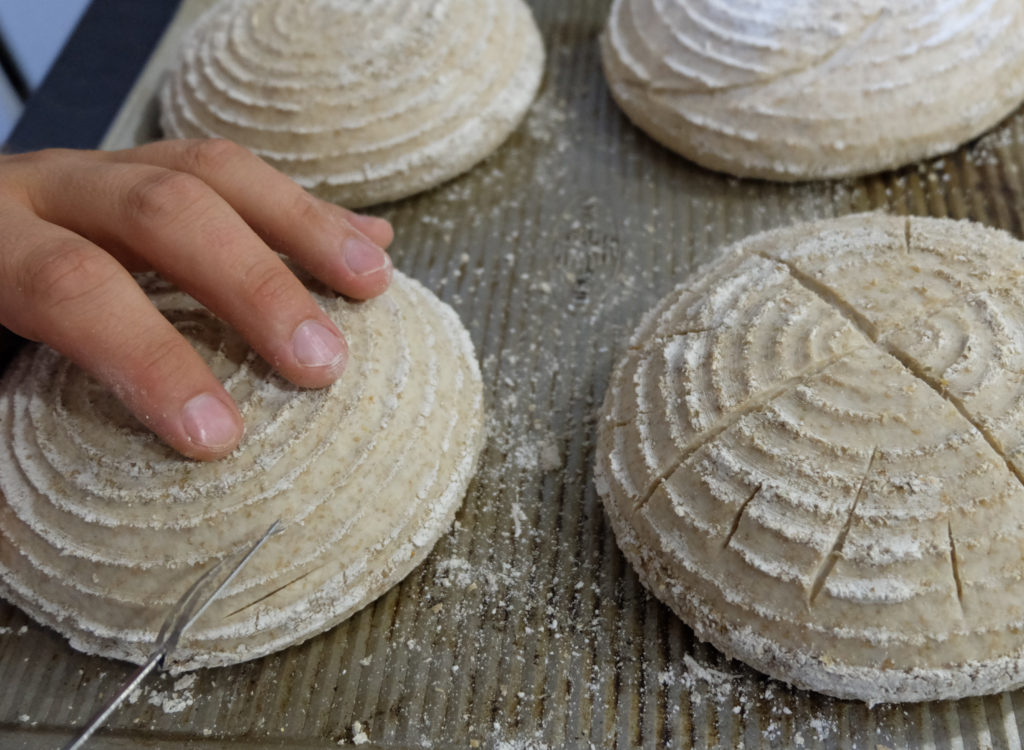
Scoring the loaves
Put the loaves on a baking tray, make a cross on top or whatever cut you prefer and pop it into the oven. Add steam, but release it after 15-20 minutes
After 30 minutes from the start of baking take the loaves off the baking tray and onto the baking rack for another 10 minutes to get a nice crust
The loaf is ready when you knock on the bottom and it sounds hollow
Take it out of the oven and leave on a cooling rack
This recipe has a big potential. While time consuming, it’s very enjoyable, it gives you a lot of chances to interact with the dough, learn how active it gets and get more control over what you get in the end.
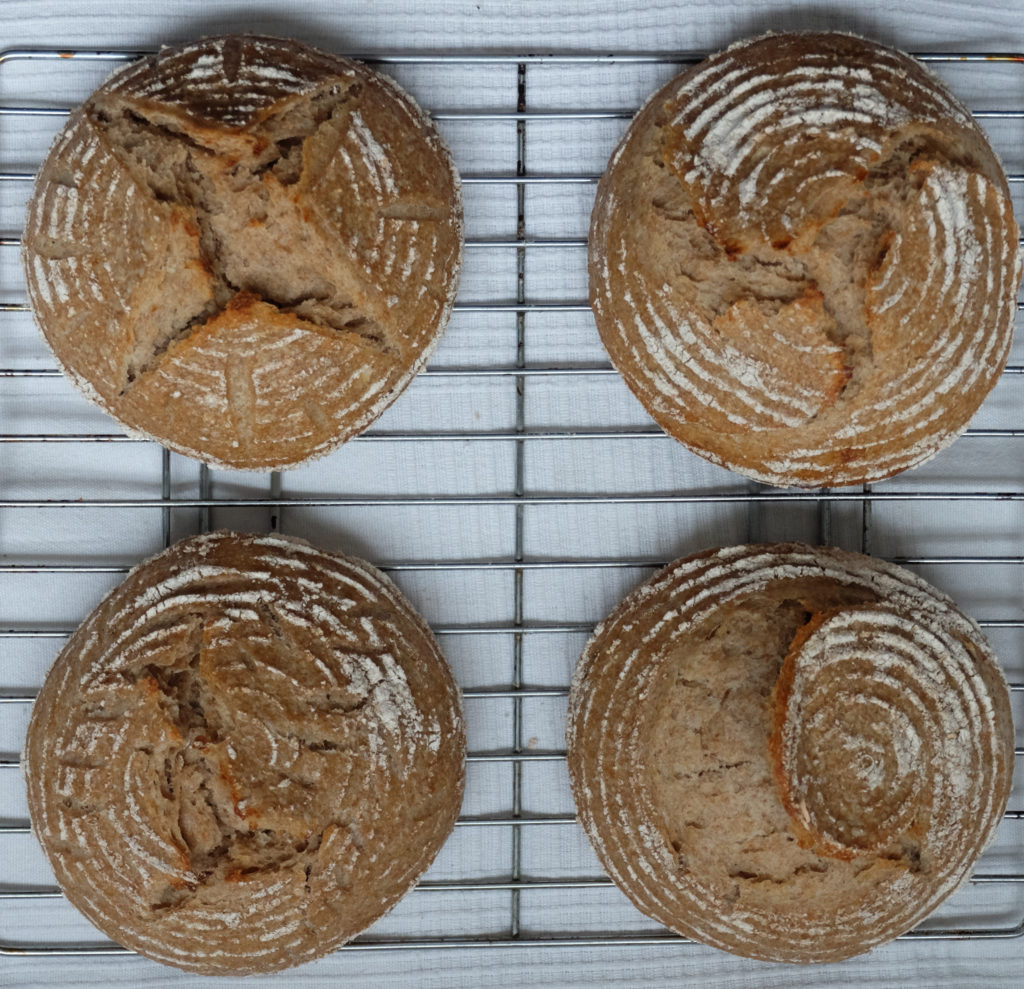
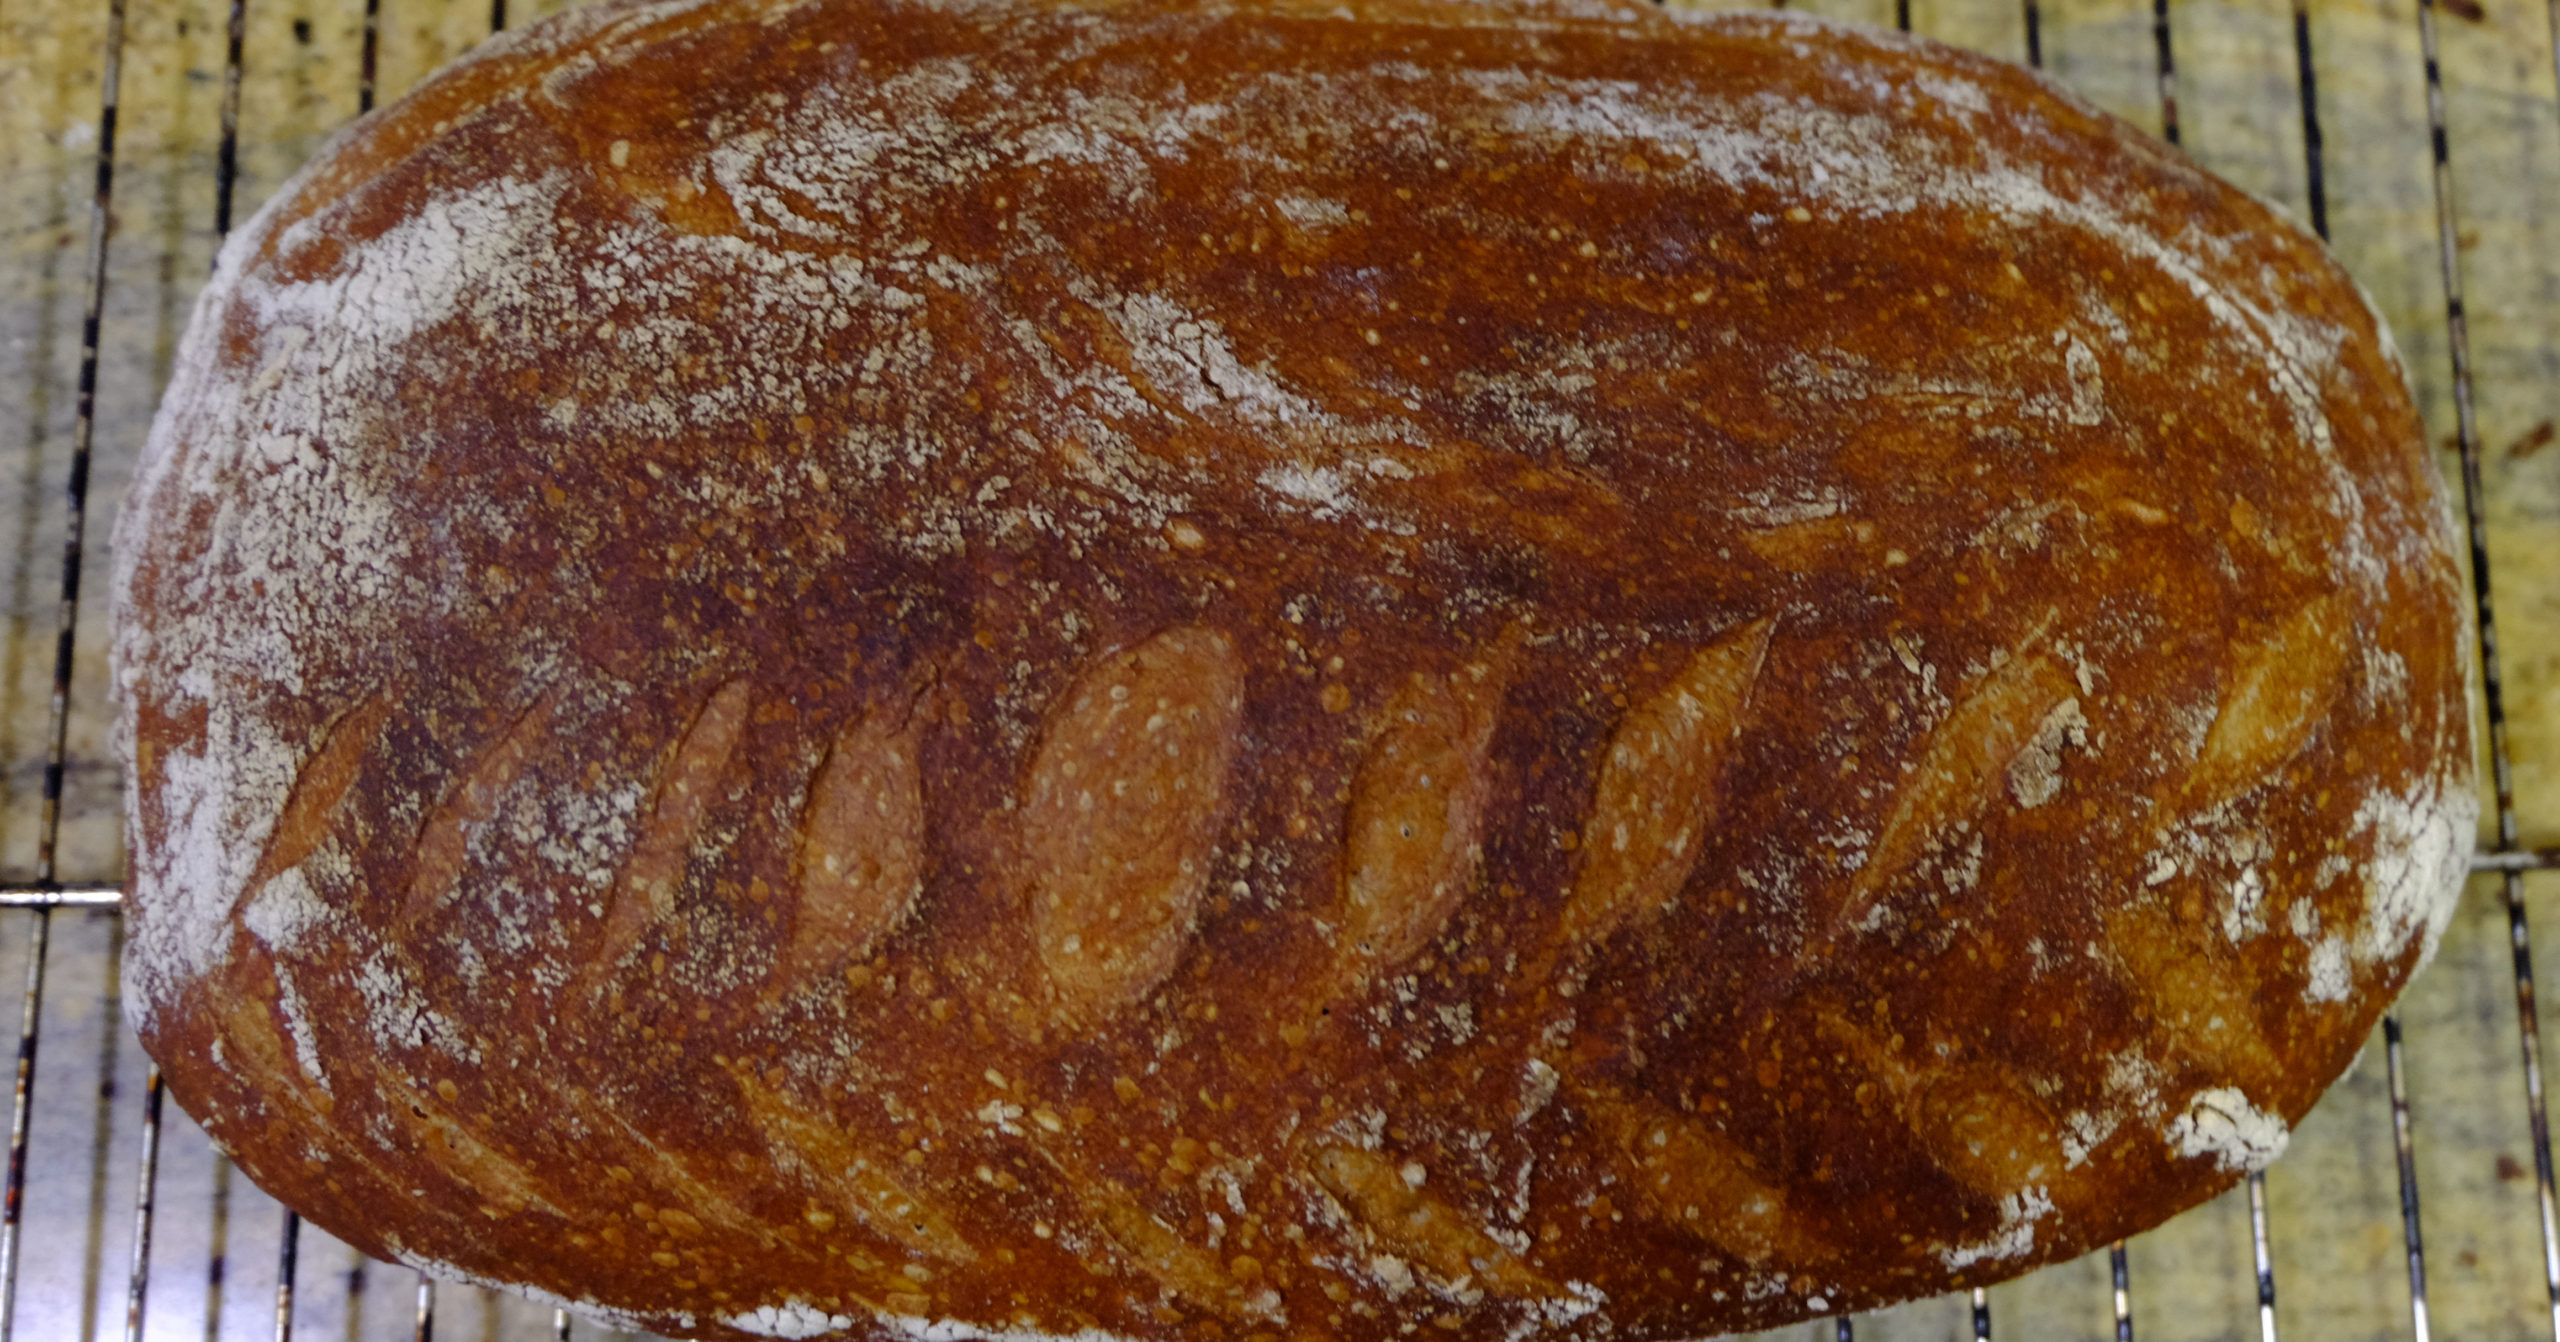
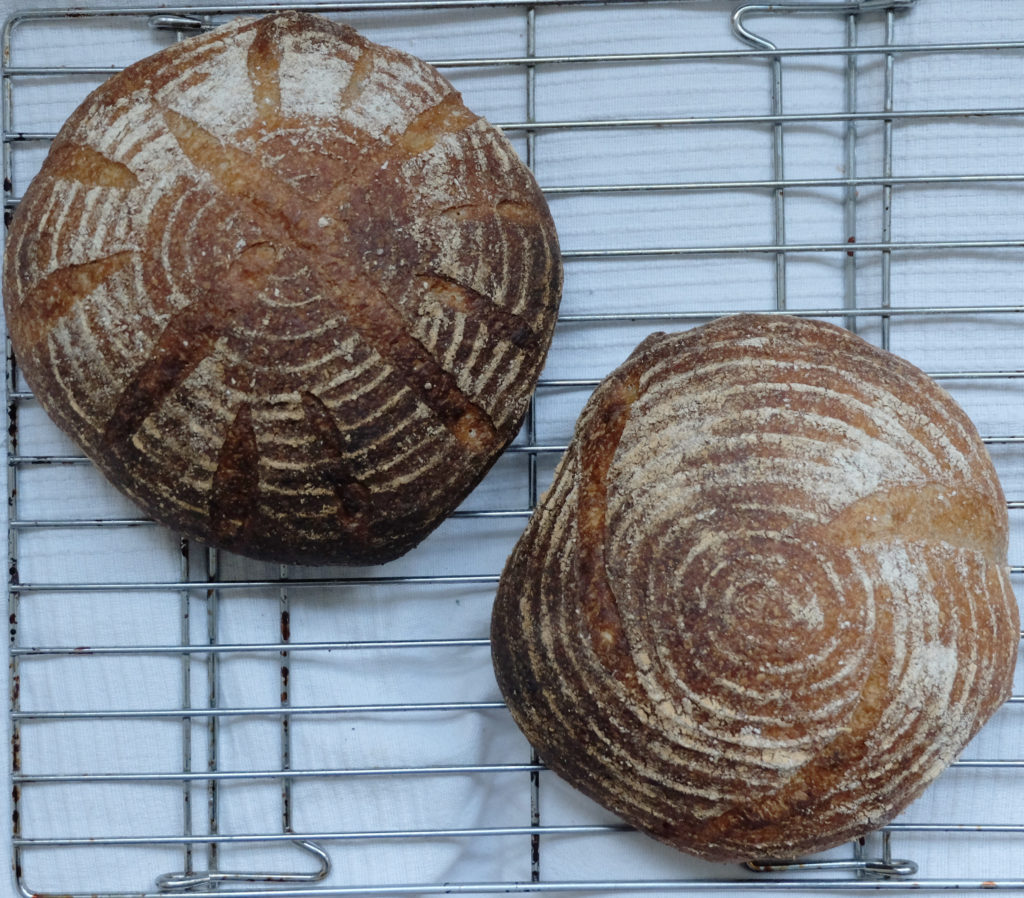
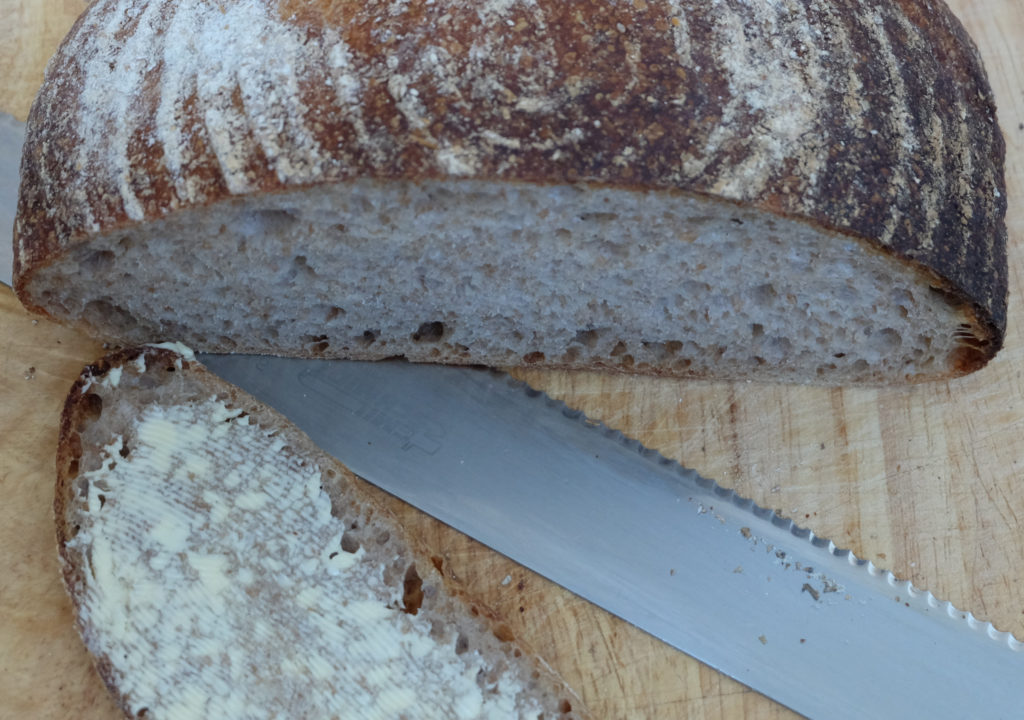
Justin’s sourdough
It did not come out perfect in my case. The dough did not rise by much when proofing and got more active in the oven.
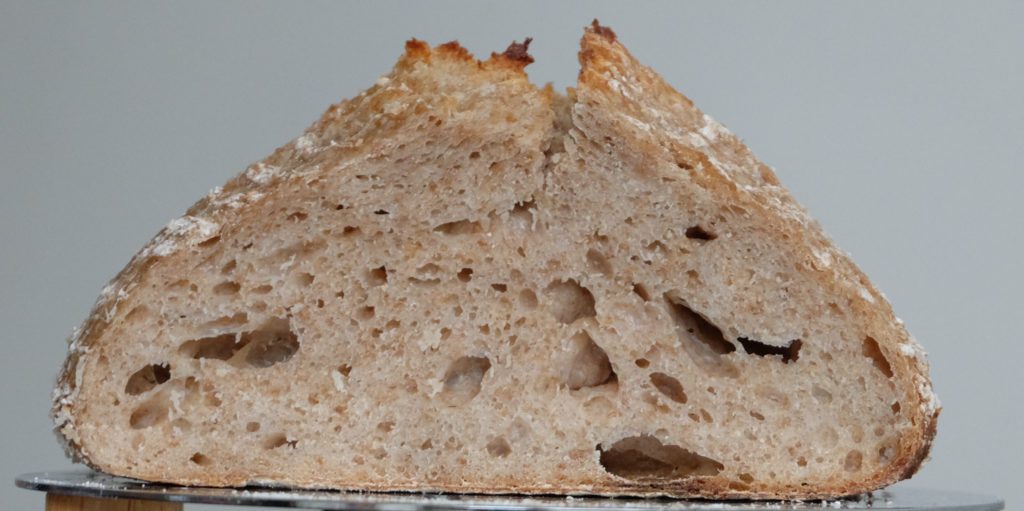
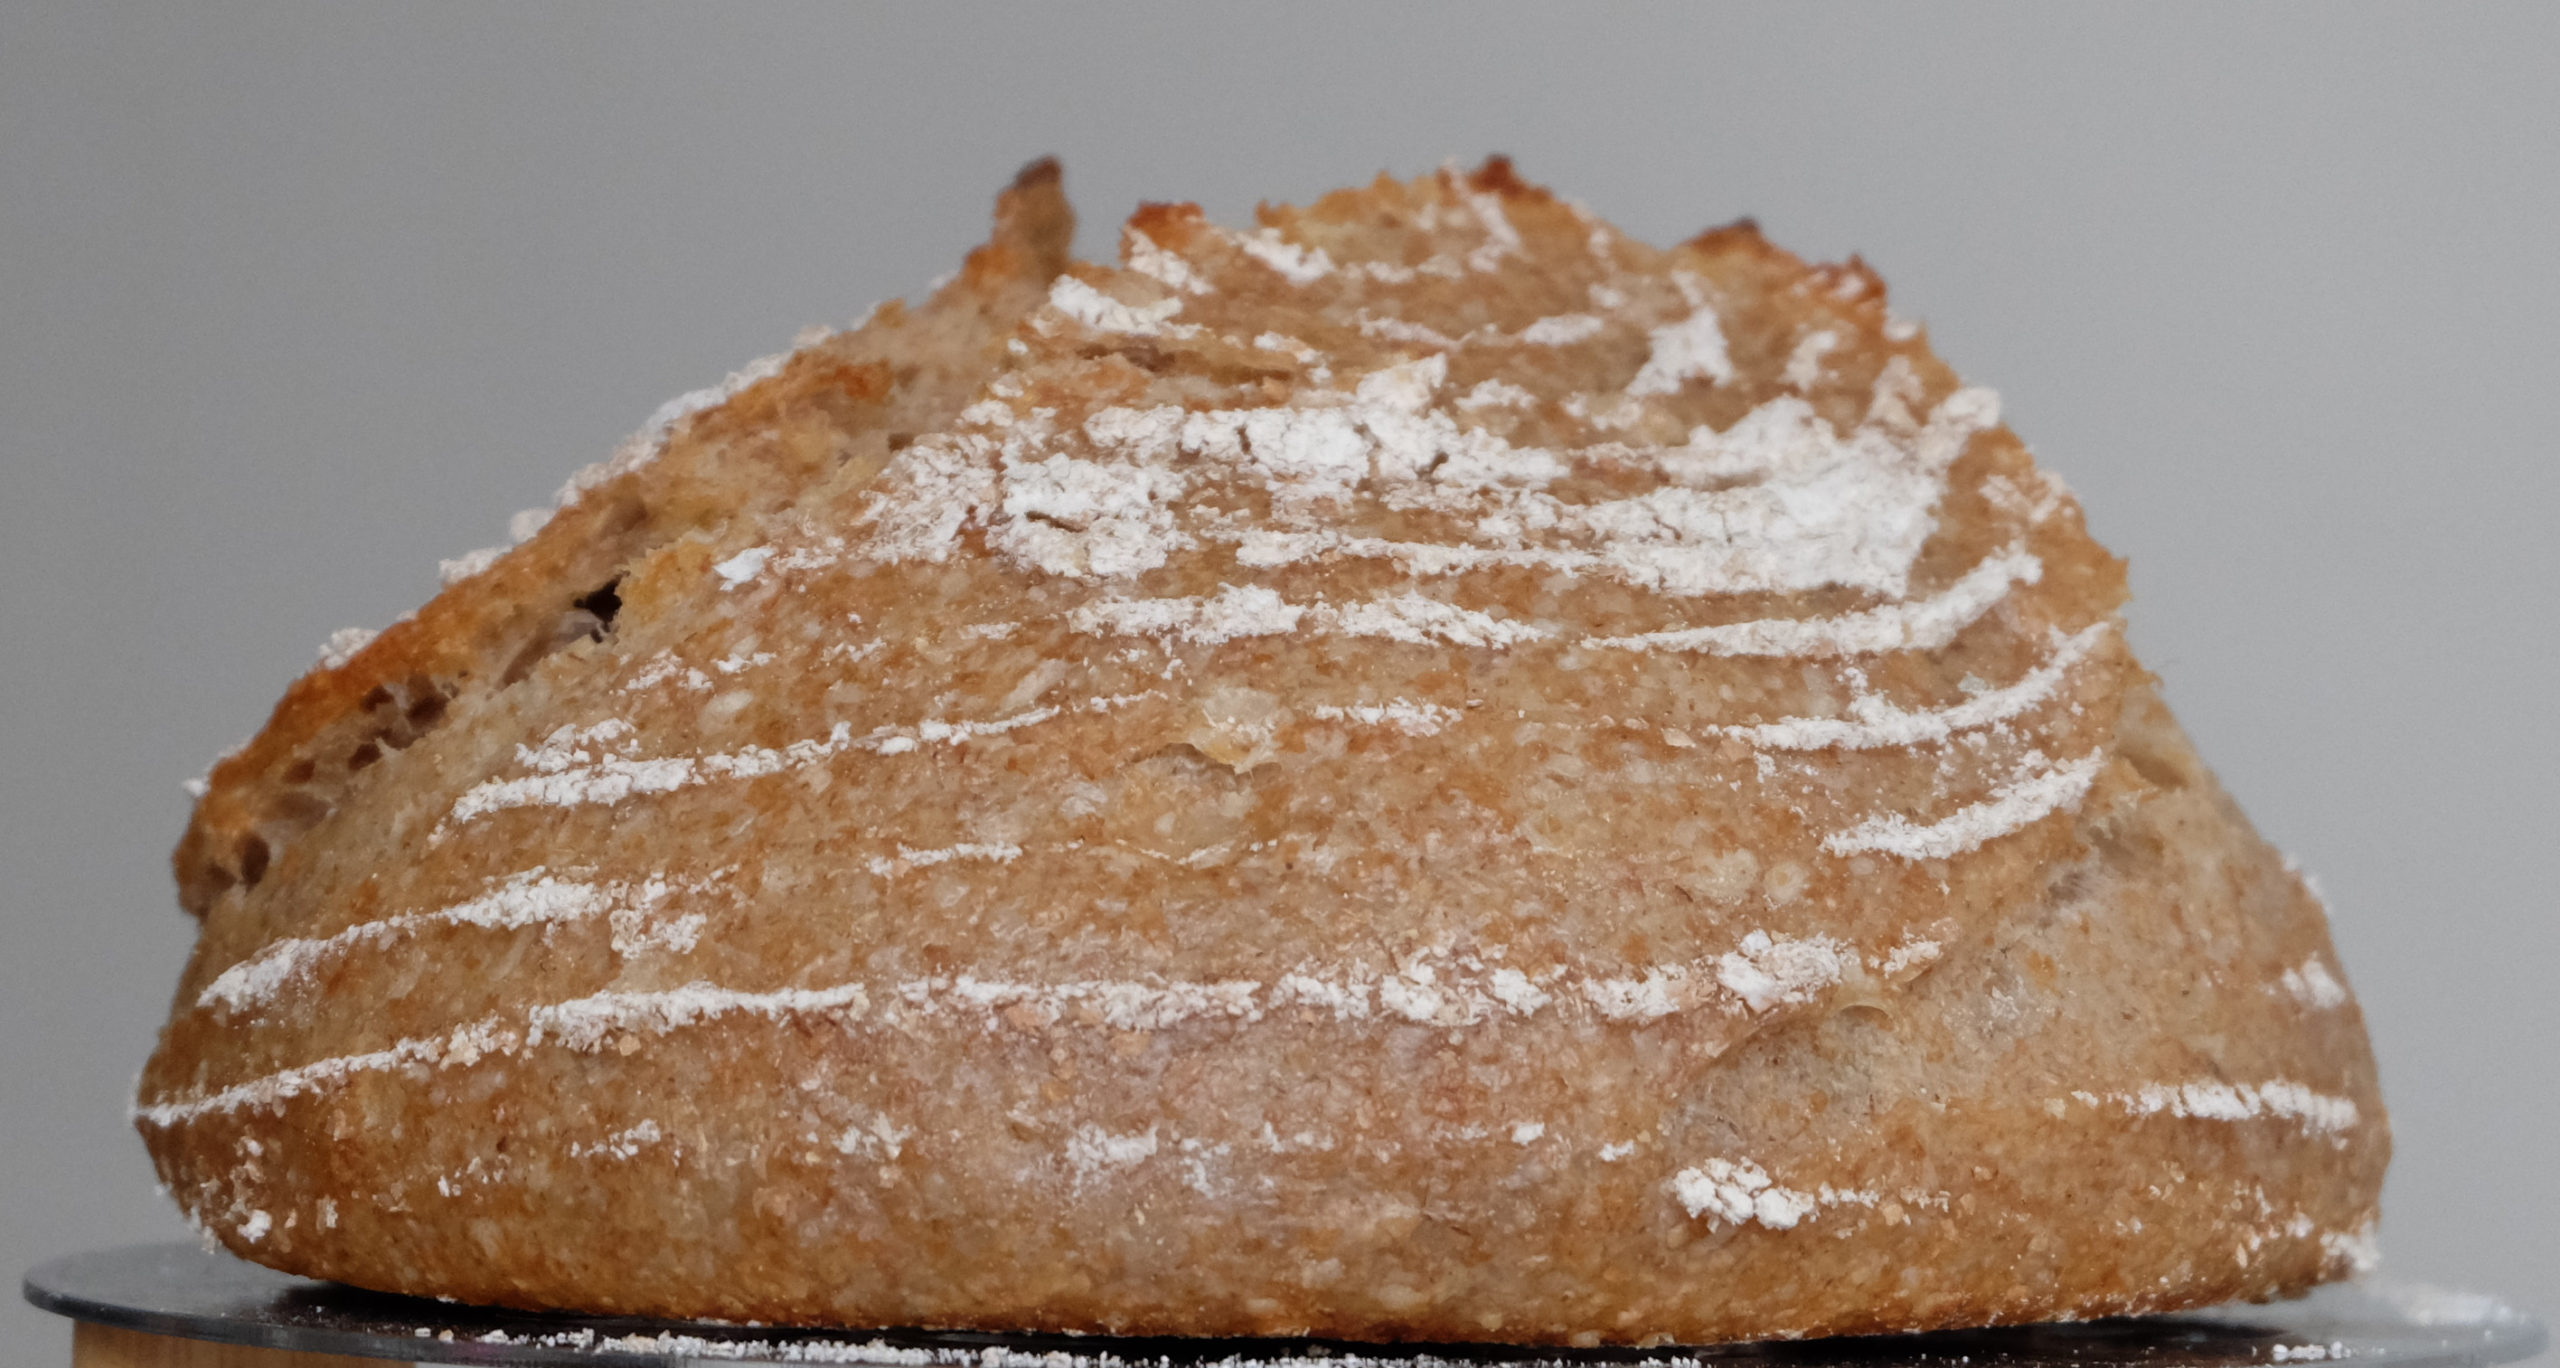
Justin’s sourdough – the crumb
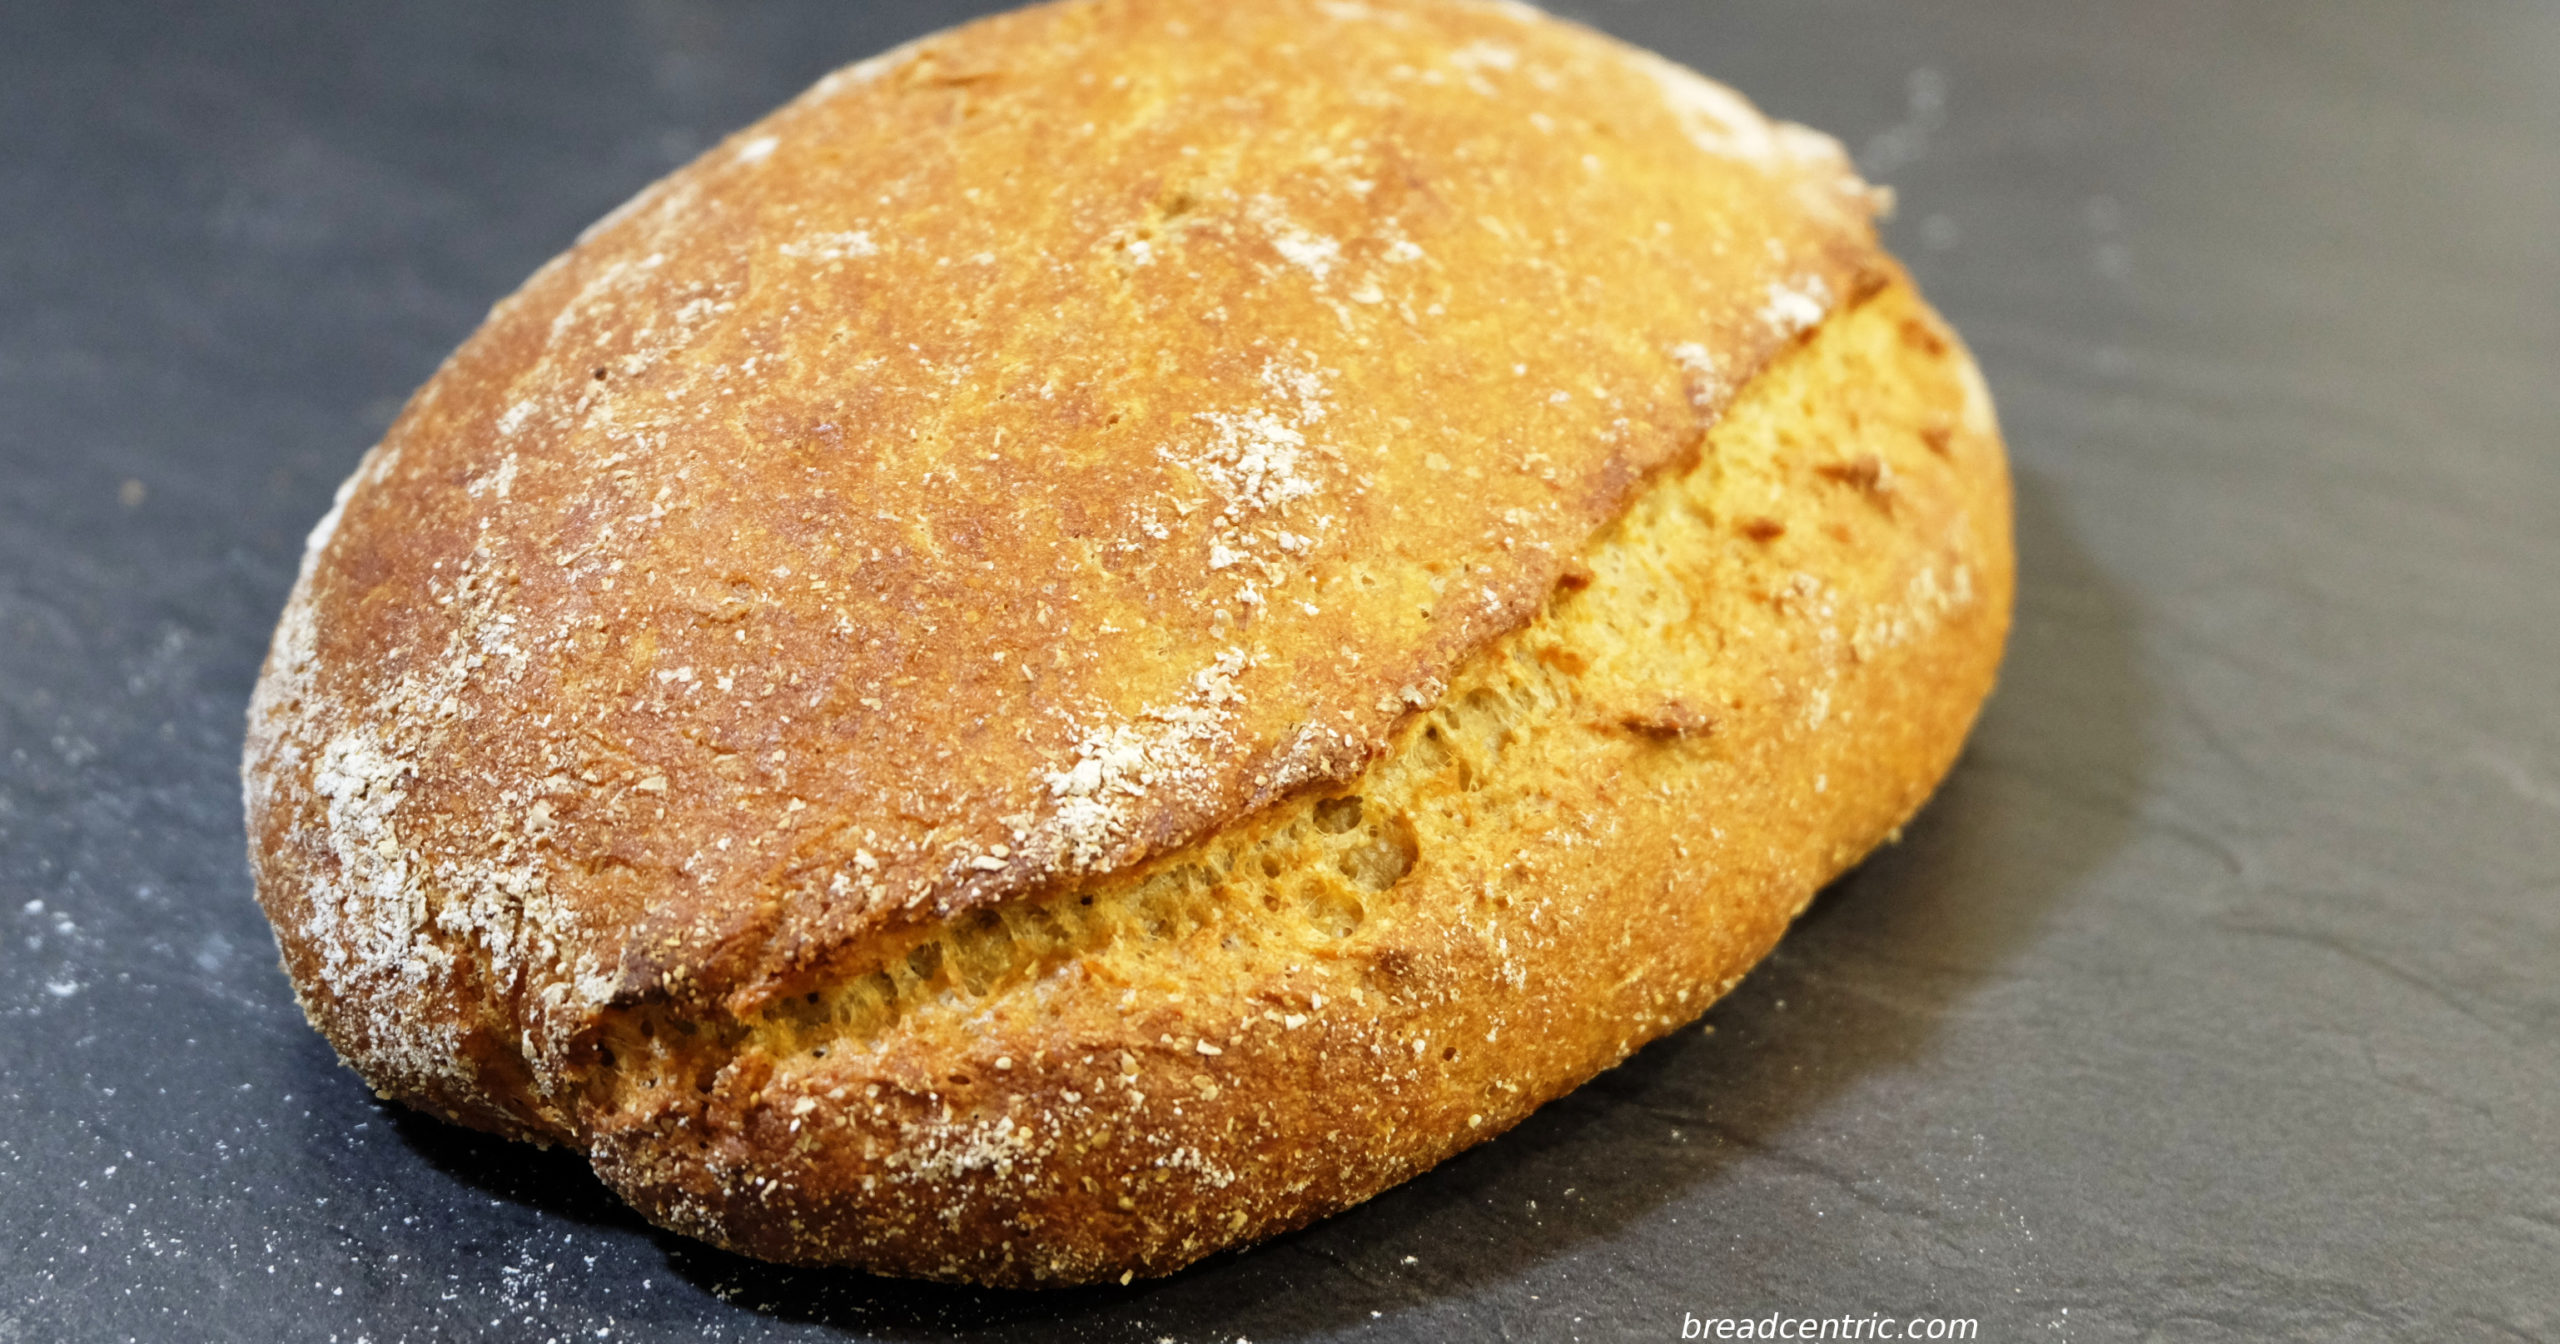
The second time I changed it a bit. I used a very active sourdough and left the loaf in the warm for longer. The same amount of dough produced a loaf about 10% larger, with a much more open crumb.
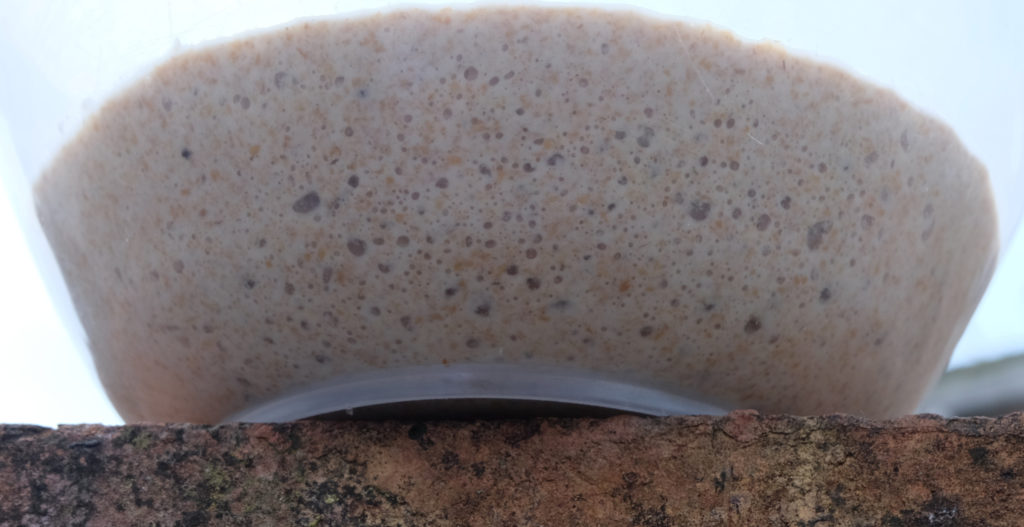
Justin’s sourdough – the crumb 2