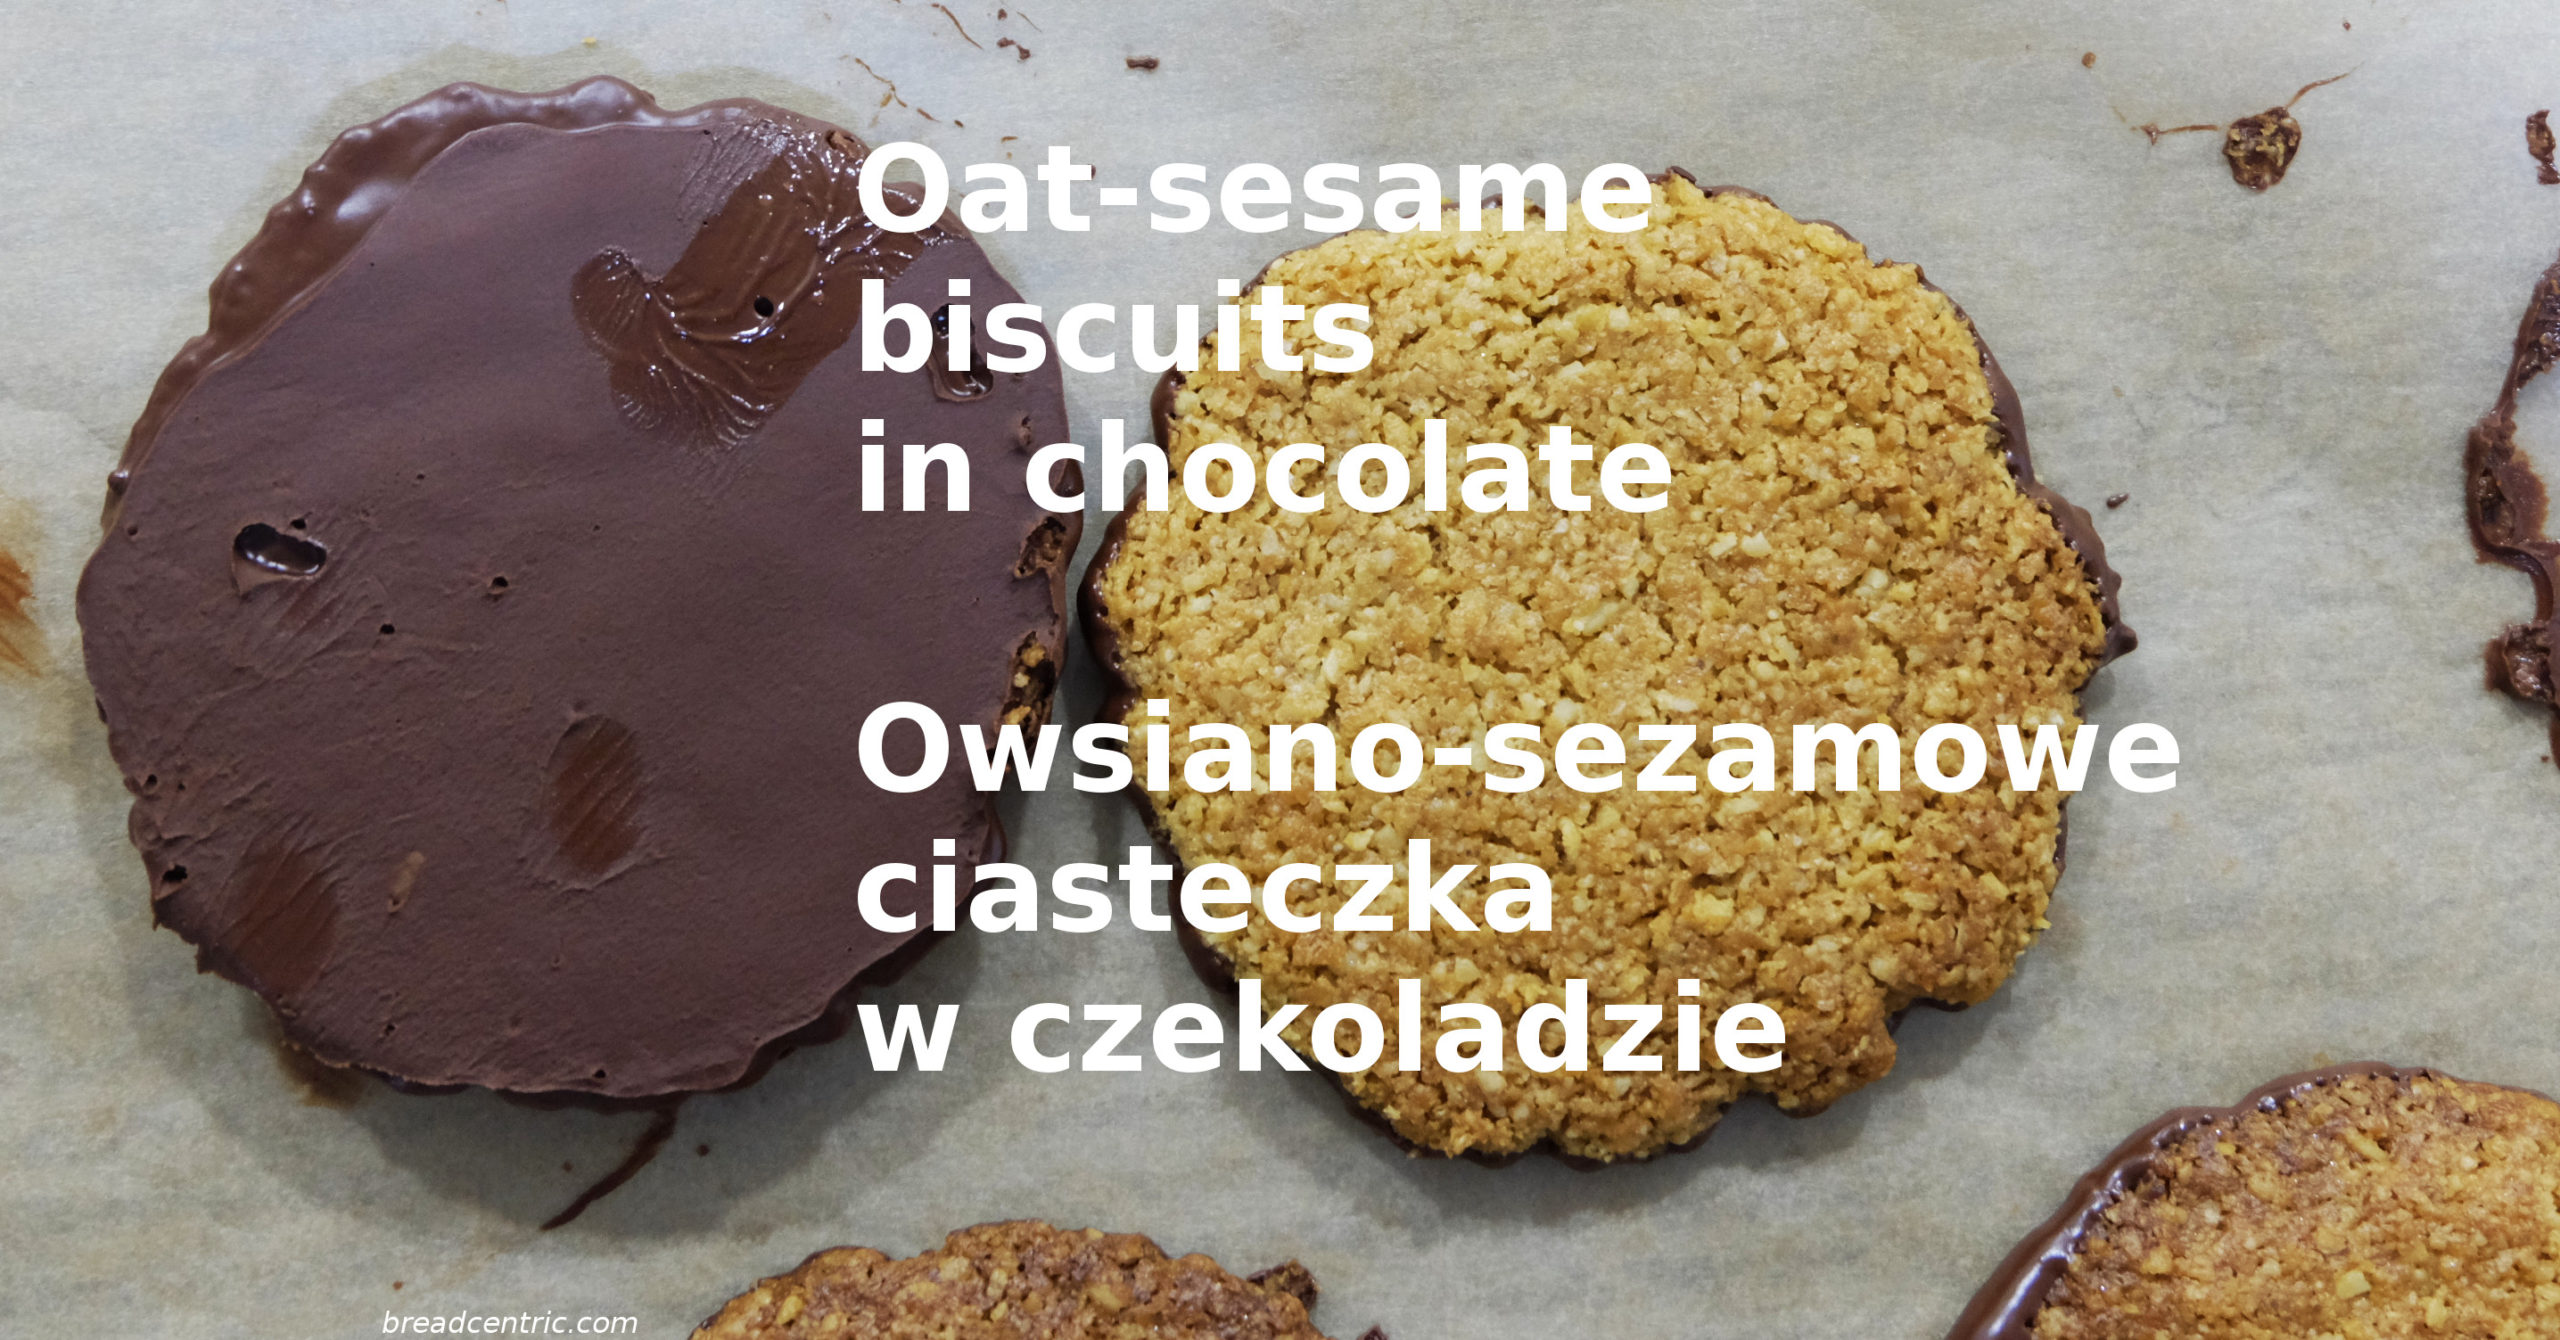
Oat & sesame biscuits in chocolate. Ciasteczka owsiano-sezamowe w czekoladzie.
Yay! I got past the probation period at work! Sounds like a perfectly valid reason to make biscuits.
Hura! Przeszedłem okres próbny w firmie! Idealny powód by zrobić ciastka.
I wanted to make oat biscuits with some sesame, and wanted to dip them in chocolate. I hoped they would slightly resemble the biscuits I know from Poland, called Sasanki. The proportions are different and I didn’t use wheat flour at all.
I had a vision of a recipe for this occasion, and it turned out quite decent. It’s even possible to make it gluten free (I didn’t but it’s an option).
Tempering chocolate is one thing I did not do and encourage to read about, as it appears to be quite simple. If you simply melt the chocolate and then dip things in it, the chocolate will melt easier. Tempering gets the chocolate structure organised which in turn increases the melting point. Here’s a good resource to read: Cooking For Engineers.
Planning
None, it took me about 30 minutes to prepare the biscuits for baking, then they baked for 10 minutes, then after cooling down, I melted the chocolate and dipped them.
I used a food processor to grind the oats and sesame. I started with sesame, as I suspected it would stick a bit, then I did oats that gathered all of the remaining sesame.
For melting the chocolate you’ll need a saucepan, bowl and water. Read about tempering the chocolate above, it may help you on this.
Ingredients
Makes 40-45 biscuits.
- 400 g rolled oats
- 150 g sesame seeds
- 250 g soft butter
- 110 g dark soft sugar
- pinch of salt
- 300 g of chocolate for coating (optional) – I used dark chocolate
Preparation
Turn the oven on to 170 C with a fan (know your oven)
Grind sesame seeds and put them in a bowl
Grind oats and add them to the bowl
Add sugar and pinch of salt
Add butter in small chunks, then use your hands to work it all into a dough. A nice ball of dough will be formed
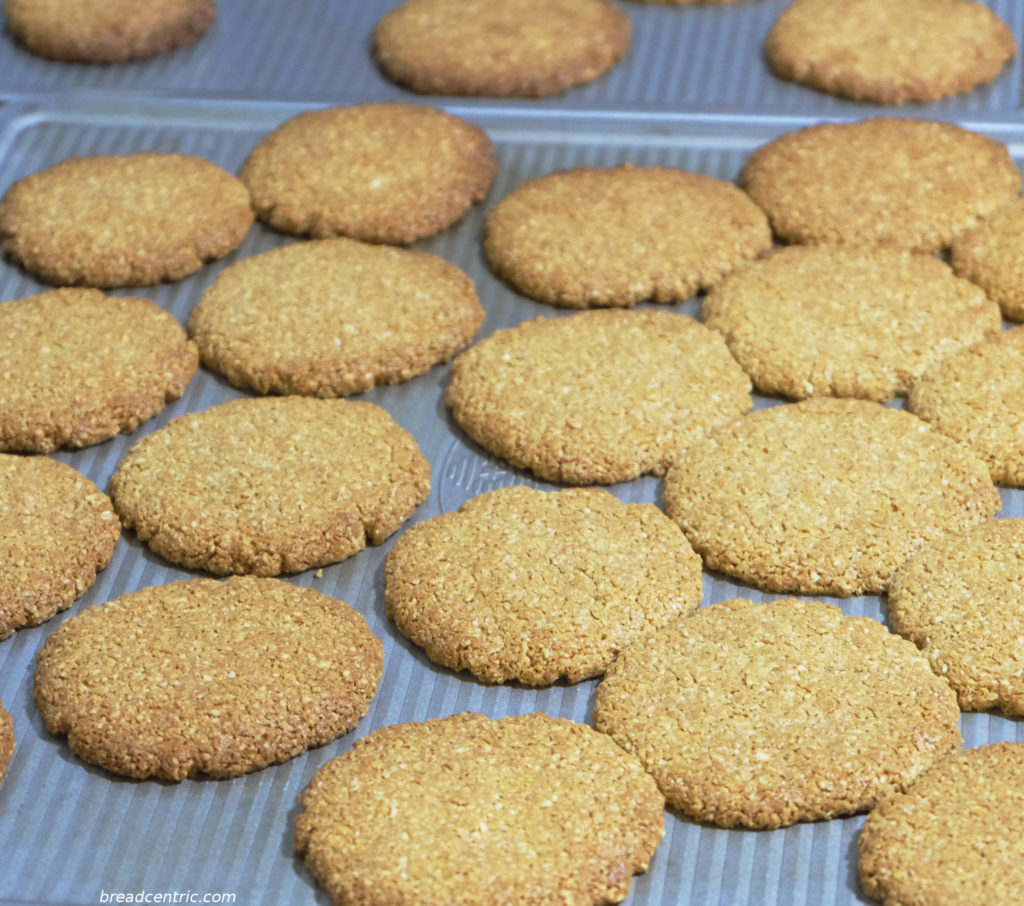
Divide the dough in 20 g portions. Roll each portion into a ball and place on the baking sheet with some distance, as the biscuits do expand slightly in the oven. Press the ball with your fingers to make a relatively even 5 mm thick round biscuit
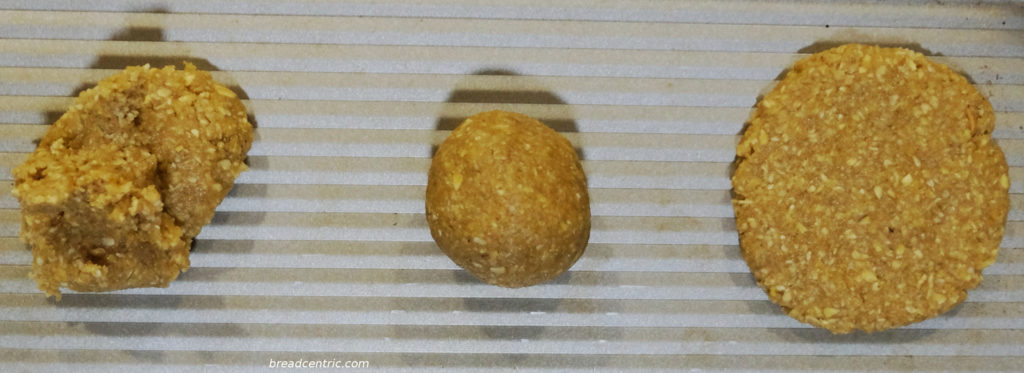
Shaping
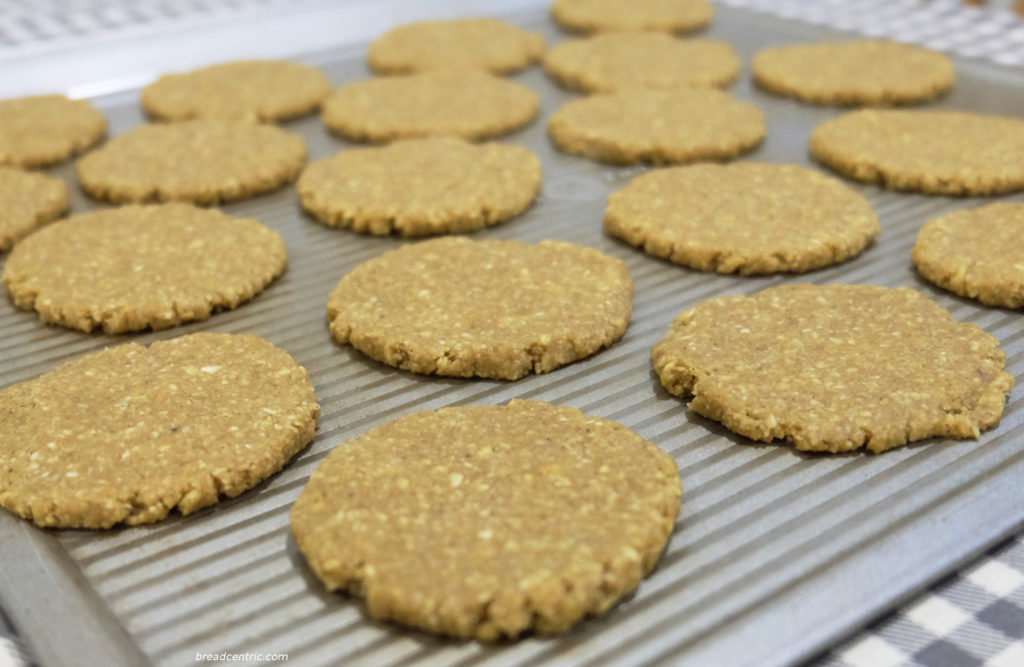
Not enough space between the biscuits
Bake for about 10 minutes
After taking out of the oven, give the biscuits some 5 minutes to cool down and transfer somewhere to cool down a bit. I used a cooling rack
Biscuits got stuck to one another
Melt the chocolate (can be done later, like next morning). Just remember the tempering technique for chocolate
Place each biscuit on a fork and dip it in the chocolate (only the bottom)
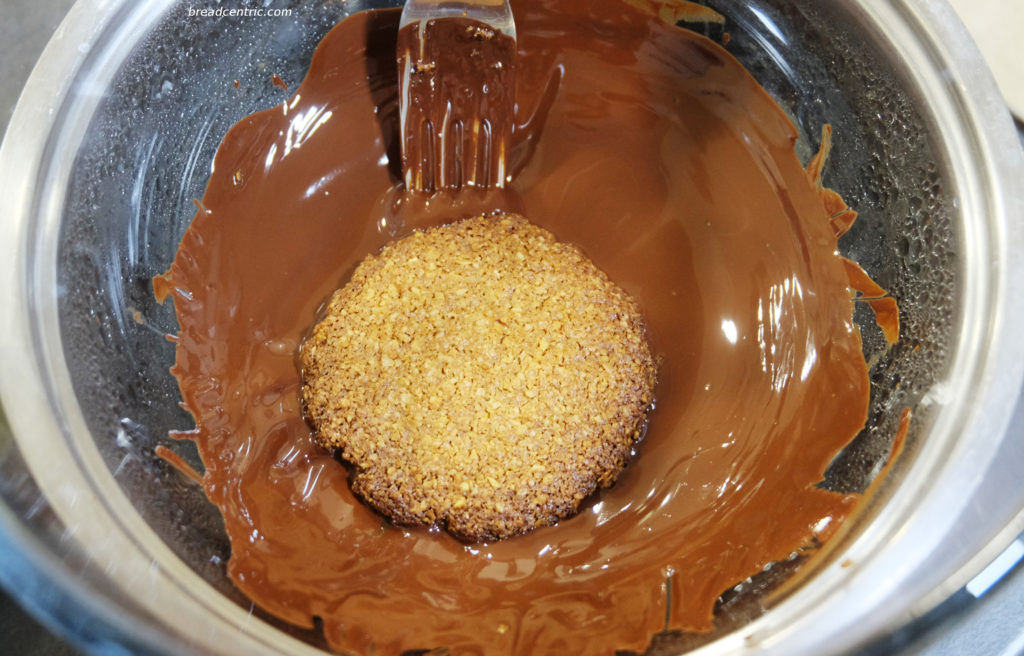
Dipping in chocolate
Put on a baking parchment and pop into the fridge to get stiff. It will take a bit
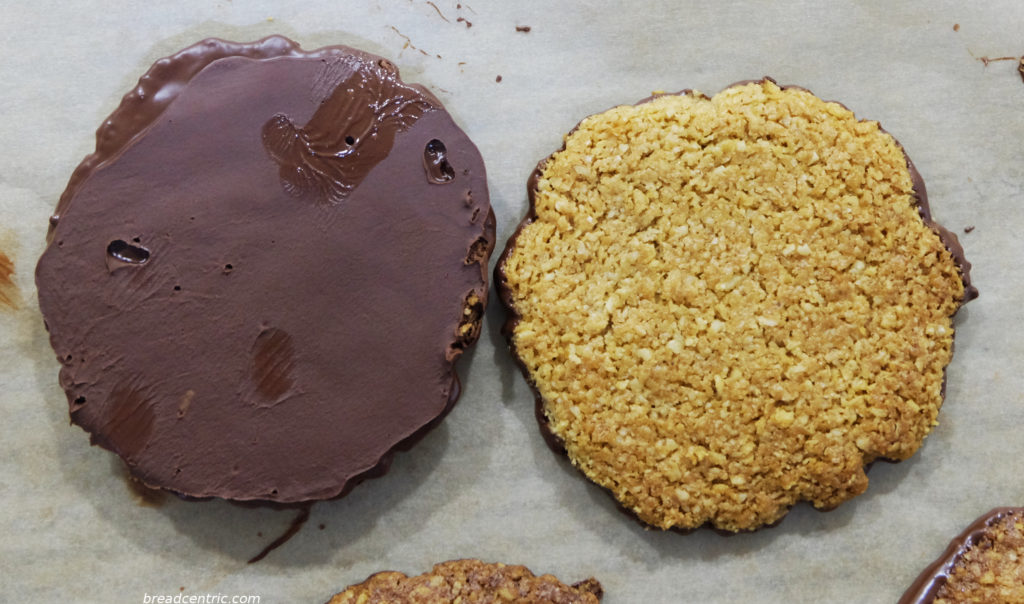
Still a bit soft
I had to make space in the fridge, so I put the biscuits in boxes with bits of paper to separate the layers. They cooled down nicely after a day in the fridge.
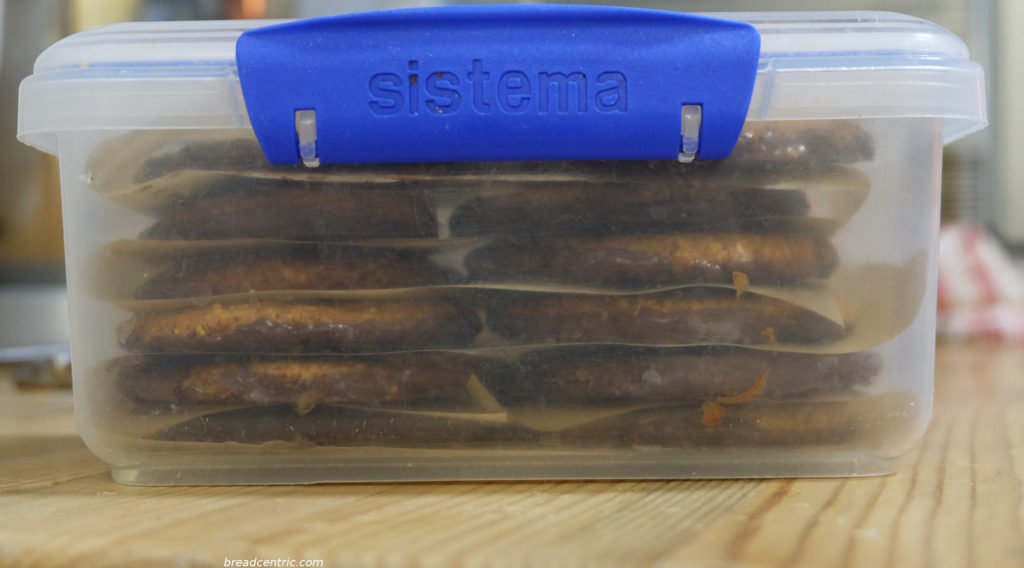
Final storage for the biscuits
I hope you’ll enjoy them. They were simple and quick to make. My kids did not like them, possibly because of dark chocolate being used.
I was surprised that my food processor was capable of working with sesame that well.