Semolina bread
Do you like to make fancy looking loaves? This is what attracted my attention in this recipe. I simply had to make it.
Czy lubicie fikuśnie wyglądające bochenki? To przyciągnęło moją uwagę w tym chlebie. Zwyczajnie musiałem go zrobić.
Semolina in Poland is used to make a porridge-like dish or a milk soup. It may also be added to a regular soup instead of pasta, to make it thicker.
“How to make bread” by Emmanuel Hadjiandreou (sources) was the first book, as the title suggests, about stamps collecting, that we had. I looked through it and that’s where I saw a bread with a hole and made using semolina.
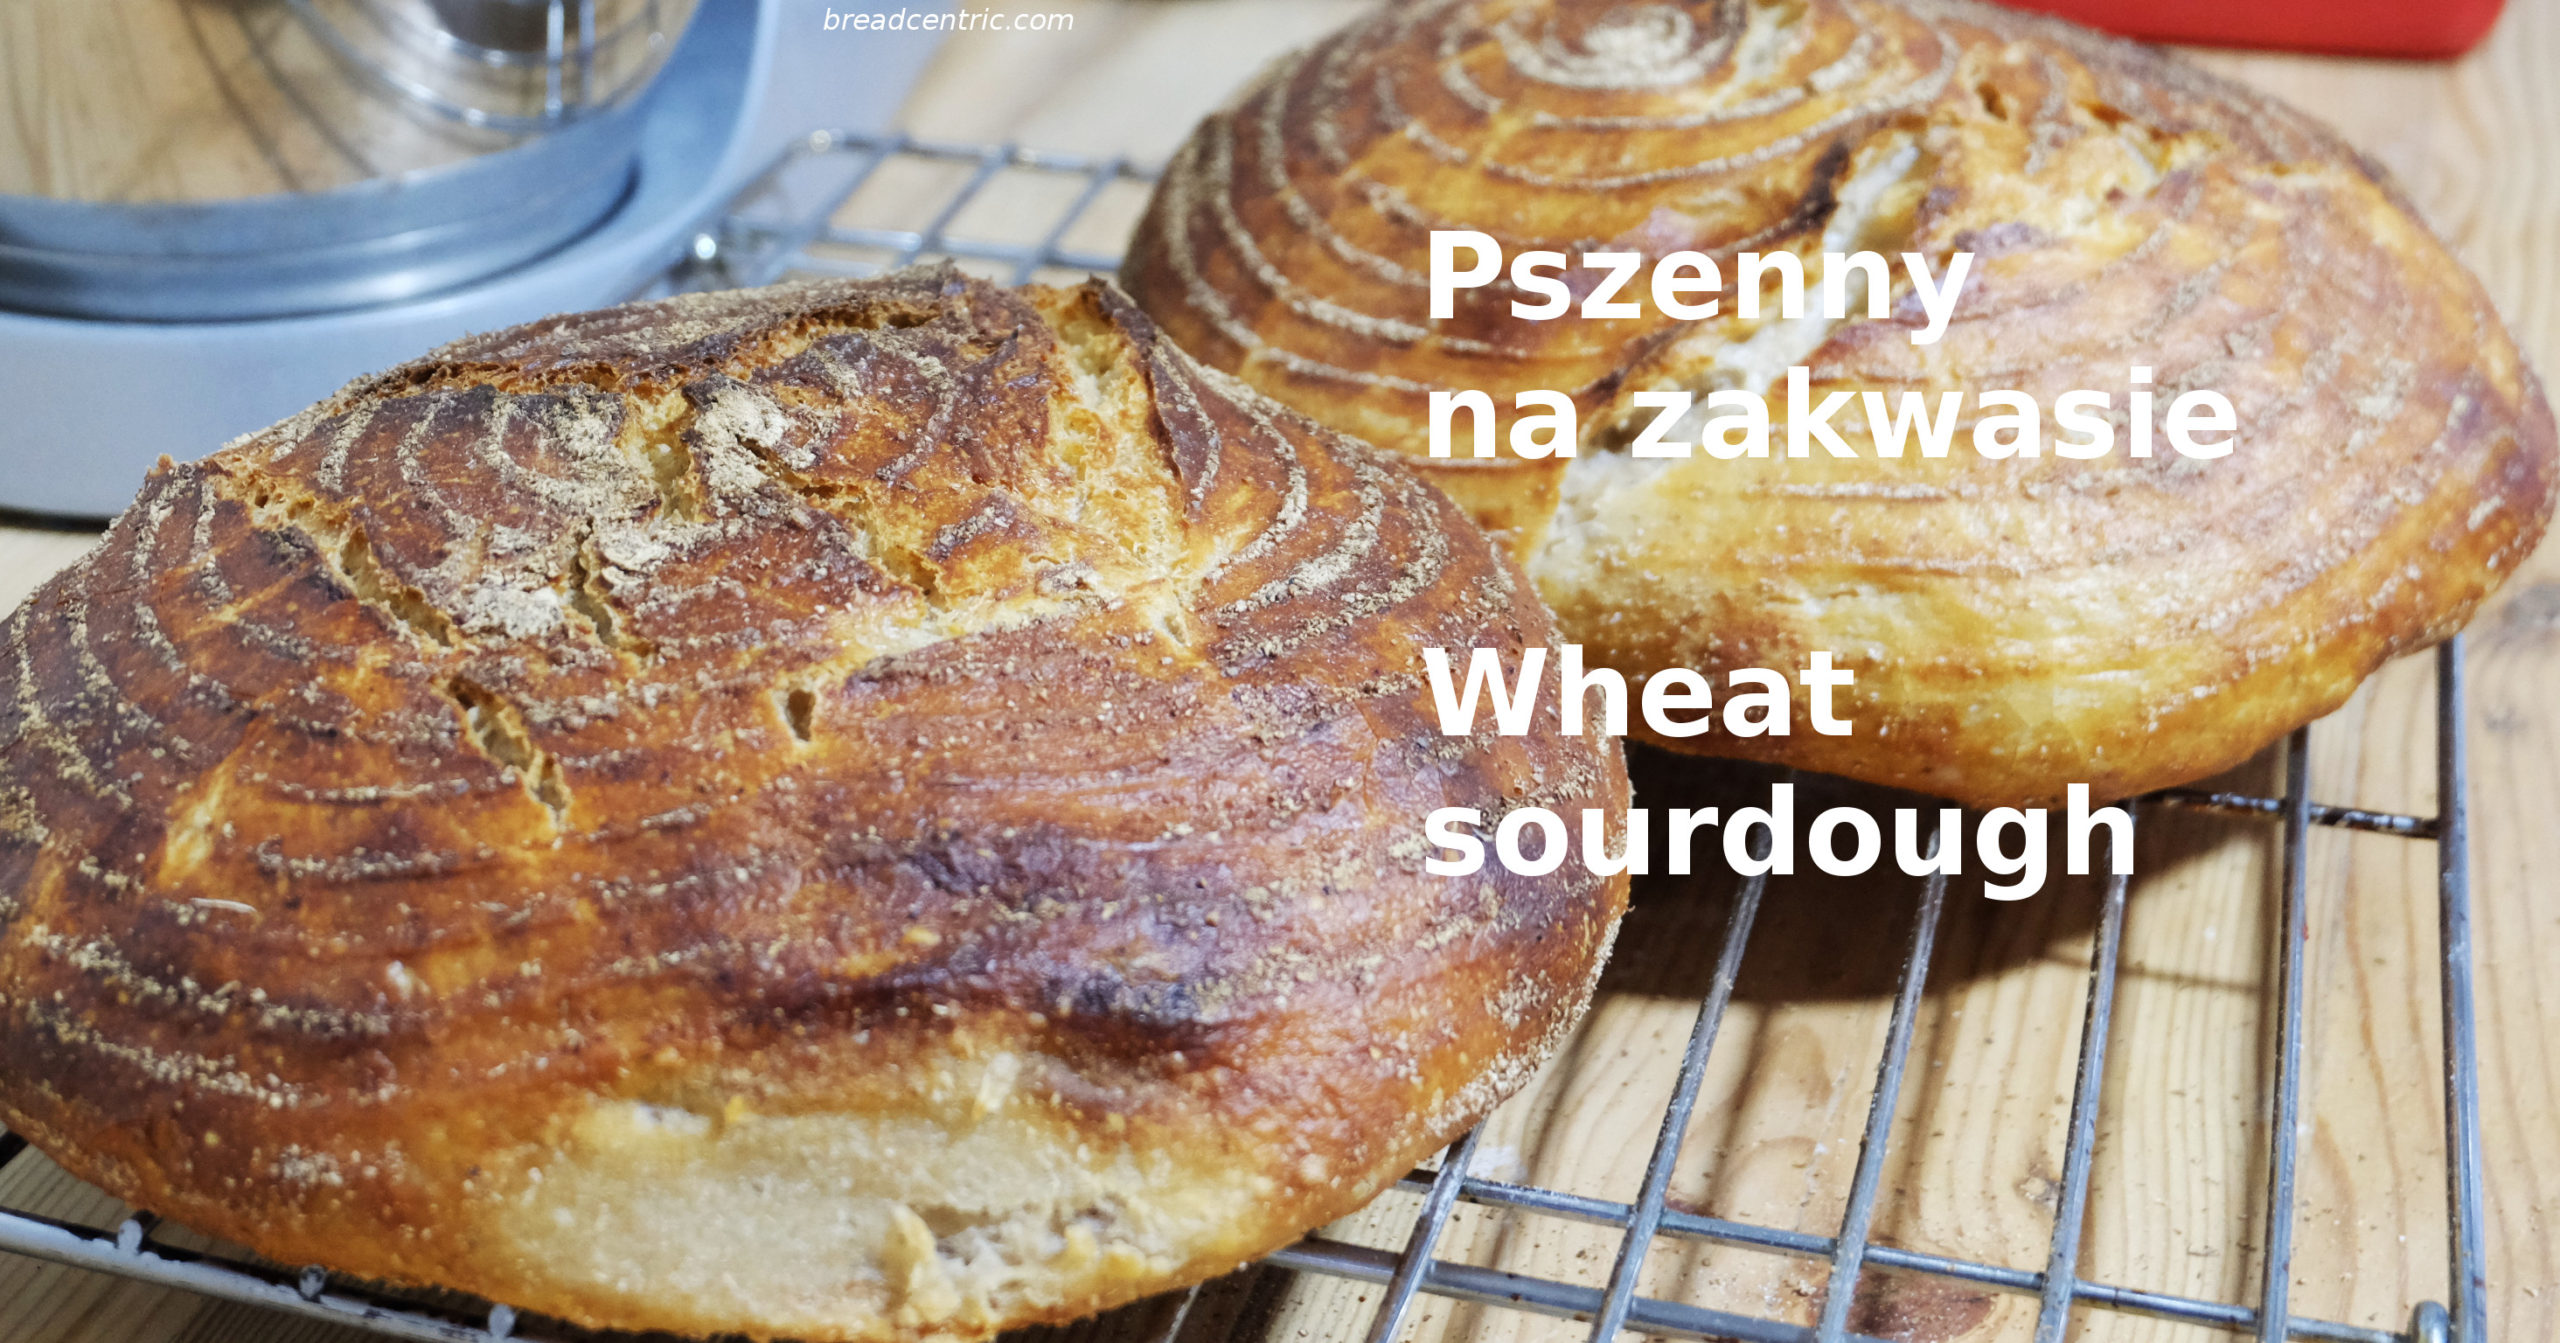
It felt that the bread would come out really small if using quantities from the book, so I doubled them. It was a good choice. I used Helena’s Kwiatek, but any sourdough should be fine. I do recommend getting it a bit cleaned from the bran beforehand as described in Wheat sourdough bread, as this is a very lightly coloured loaf and bran could be very visible. That said, you may want such an effect and it may look nice, so it’s your call.
Semolina bread
Planning
It’s 2-8 hours for the levain, around 90 minutes of doing something with the dough almost every 10 minutes (it’s a bit annoying, but this is this guy’s style: do just a bit, but do it very frequently), next wait 30 minutes for the bread to rise, next bake for around 35 minutes. You’ll need two larger bowls and one-two small ones, a baking paper, and some extra semolina and flour for dusting.

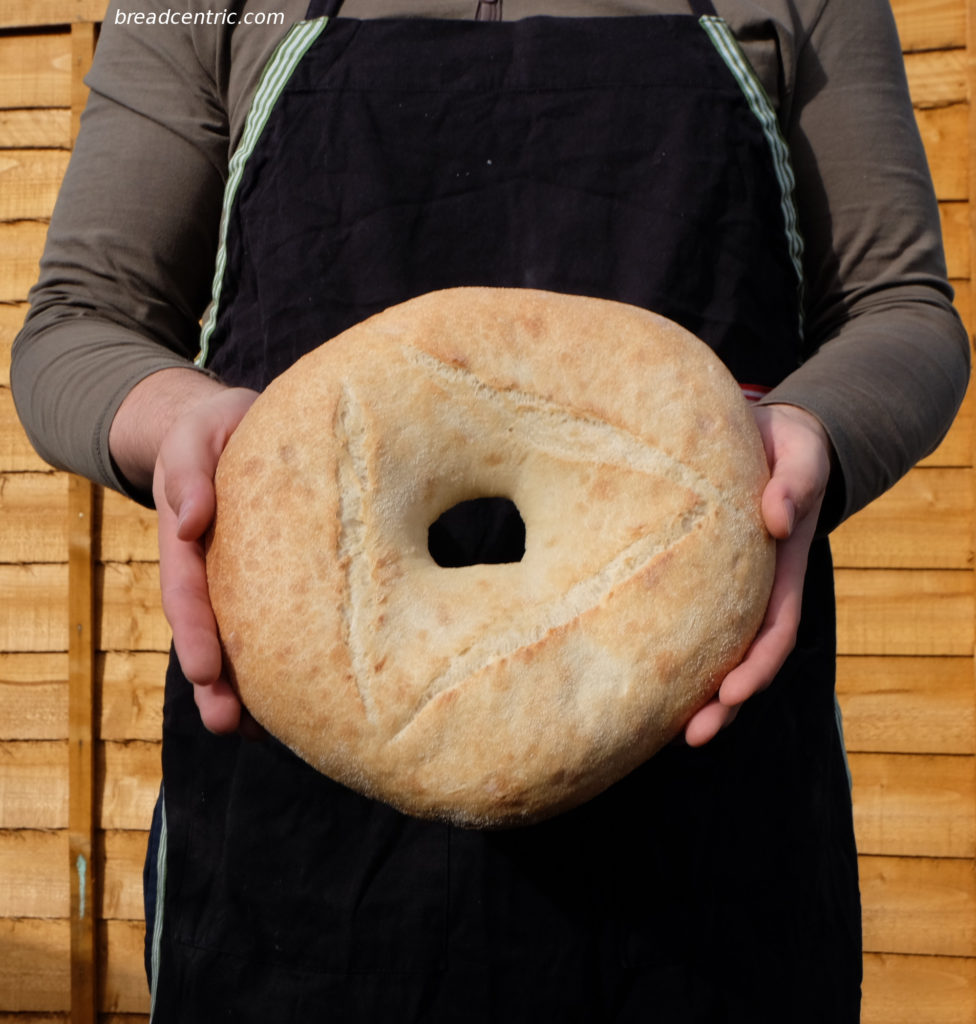
Everyone wants a photo with a funny bread
Ingredients
This is doubled compared to a book to make a reasonably sized loaf. I’ve divided the ingredients into four groups. I know it looks weird but has a purpose – reasonably often I ignore the recipe and add ingredients without reading. The list below is split in groups that you will need at different moments when working on this.
Levain/soaker
- 50 g sourdough starter
- 300 g warm water
- 100 g semolina
Wet mixture
- The levain/soaker
- 6 g fresh yeast or 4 g active dry yeast
- 100 g warm water
- 10 g olive oil
Final dough
- The wet mixture
- 250 g white strong wheat flour
- 6 g salt
Further ingredient
30 g olive oil
Semolina bread
Preparation
Mix the levain/soaker ingredients in a bowl, cover and let sit in the fridge overnight. If you are a very impatient bear, leave it in room temperature for two hours
When the above is ready, dissolve yeast with water and olive oil, add to the levain and mix thoroughly
Add the final dough ingredients and mix with a spoon just until it comes together – a couple minutes. Leave it for 10 minutes. If it’s soft, you’re doing it right
In another bowl, pour half of the olive oil and coat the walls with it
Put the dough in it
Do the below four times. Gradually add the remaining olive oil as it gets incorporated in the dough. The below:
- Stretch one side of the dough and press on the middle, rotate the bowl by 120 degrees – do this point three times (you should turn the bowl fully around)
- Let it rest for 10 minutes (even for the fourth time, there’s a break before the next step)
Dust a worktop, put the dough on it, do the fold as in first step of the point above (twice, without a break)
Let it rest for 15-20 minutes
Fold again, then flip the dough and hide any edges breaking the round shape under it. You should have a nice, smooth, round surface
Transfer the dough onto a baking sheet dusted with semolina
Now it’s the time to make the hole in your bread. I put a thin layer of semolina in the centre of the dough, then pressed it gradually with a finger to get a nice small hole (I did it gradually so that my finger would not stick to the dough). Next, enlarge the hole gradually until you make it nice and big
Let it rise for 30 minutes. 10 minutes in, turn the oven on and set it to 240 C without a fan (know your oven). If you use a baking stone, don’t wait 10 minutes, do it right after you prepare the loaf. Prepare a dish, like a roasting pan, at the bottom of the oven to add water/ice to it to produce steam, prepare a cup of water/ice
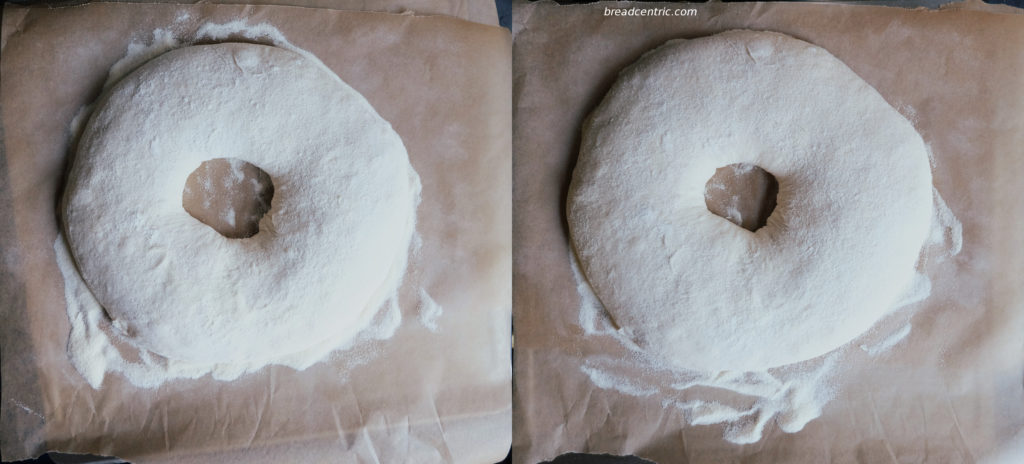
Before and after rising
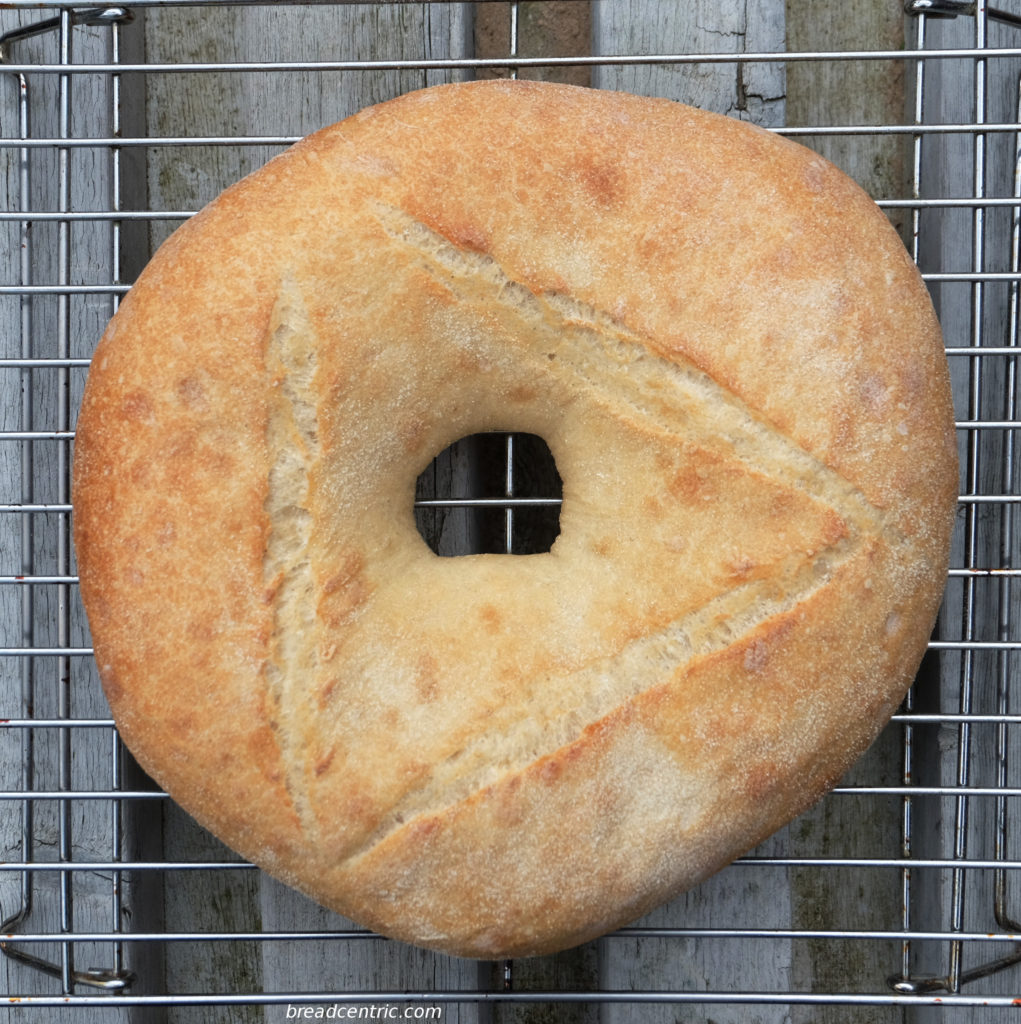
Score the loaf. I made three scores as the recipe suggested, but if you don’t want people to use your bread as a proof for Illuminati existence, think of something better, like a heptagon or a circle
Put the bread in the oven, add water to produce steam, reduce the temperature to 200 C. I usually add a baking sheet or aluminium foil above the loaf to screen the loaf from the direct heat coming from the oven ceiling. This slows down forming of the crust, allowing the loaf to grow
A ready loaf gives a hollow sound when tapped on the bottom. If it doesn’t, give it a couple minutes extra
Let the loaf cool on a cooling rack
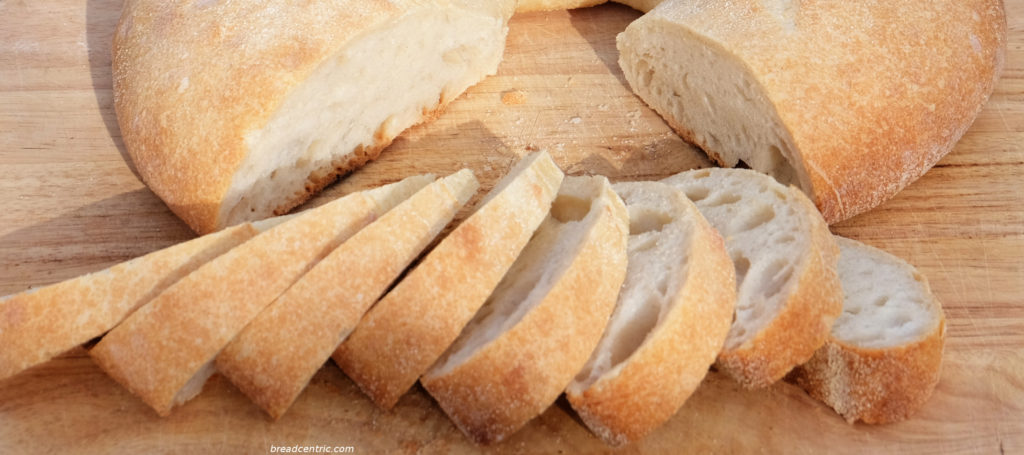
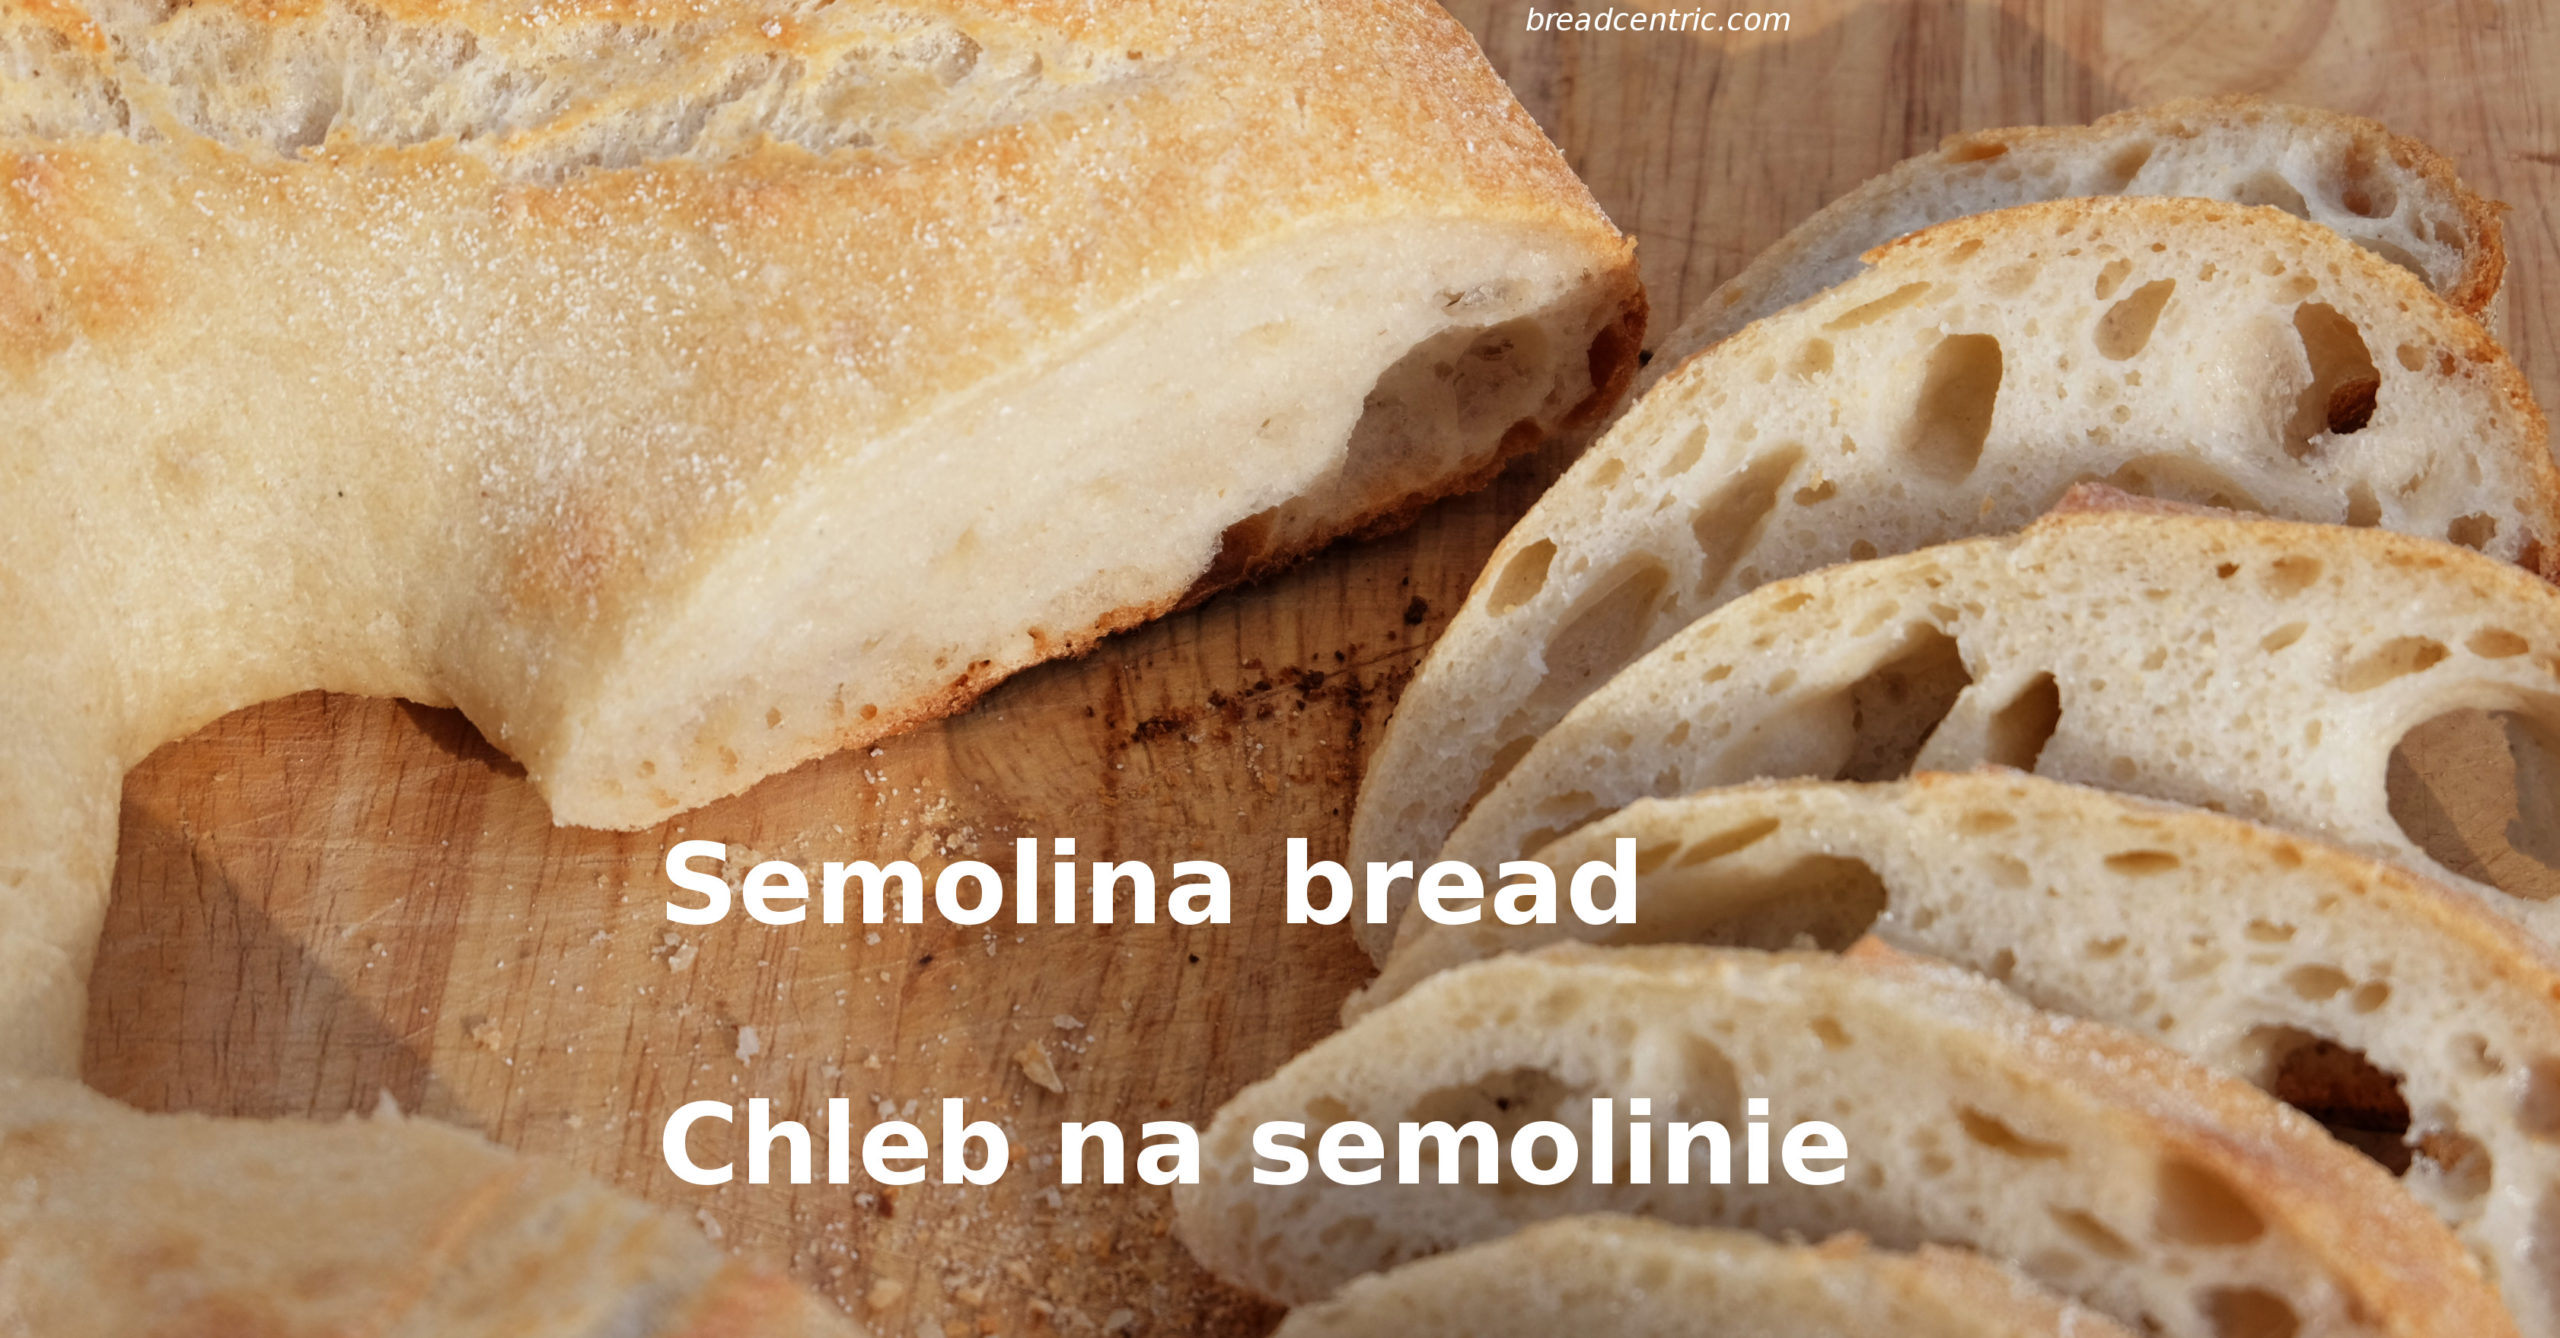
Semolina bread – the crumb
It looks awesome, tastes awesome, is awesomely soft and fluffy and filling at the same time, the colour is awesome, kids’ reaction to it is awesome. But if you like your sandwiches to have an equal thickness, it’s not awesome. I recommend you visualize it as divided by a tic tac toe – like blade into eight sections (the hole in the middle) and make nice slices in the middle sections and varied size in the corner section.
I used it to make a peanut butter jelly sandwich, and would love to recommend it, but I don’t really like peanut butter. But edible, so ok-ish, but not awesome, sorry.
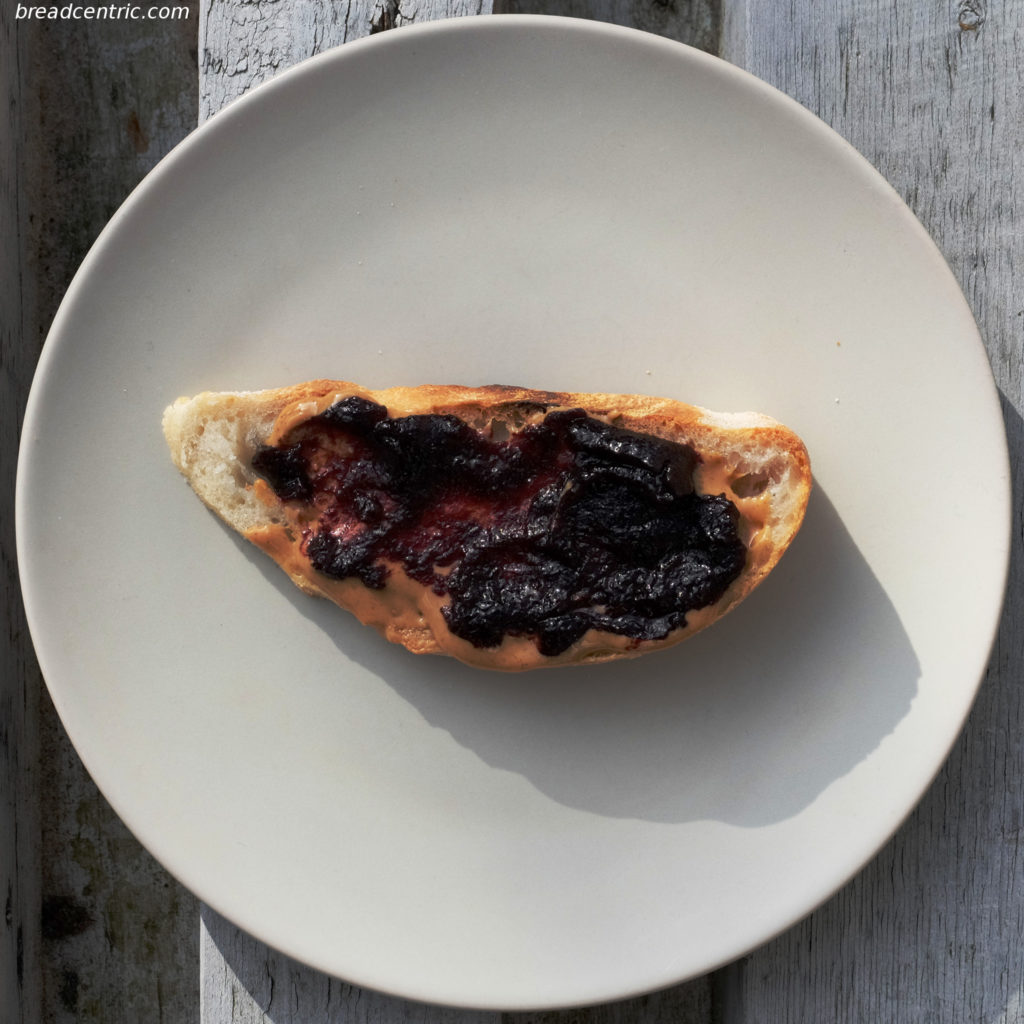
Peanut Butter Jelly