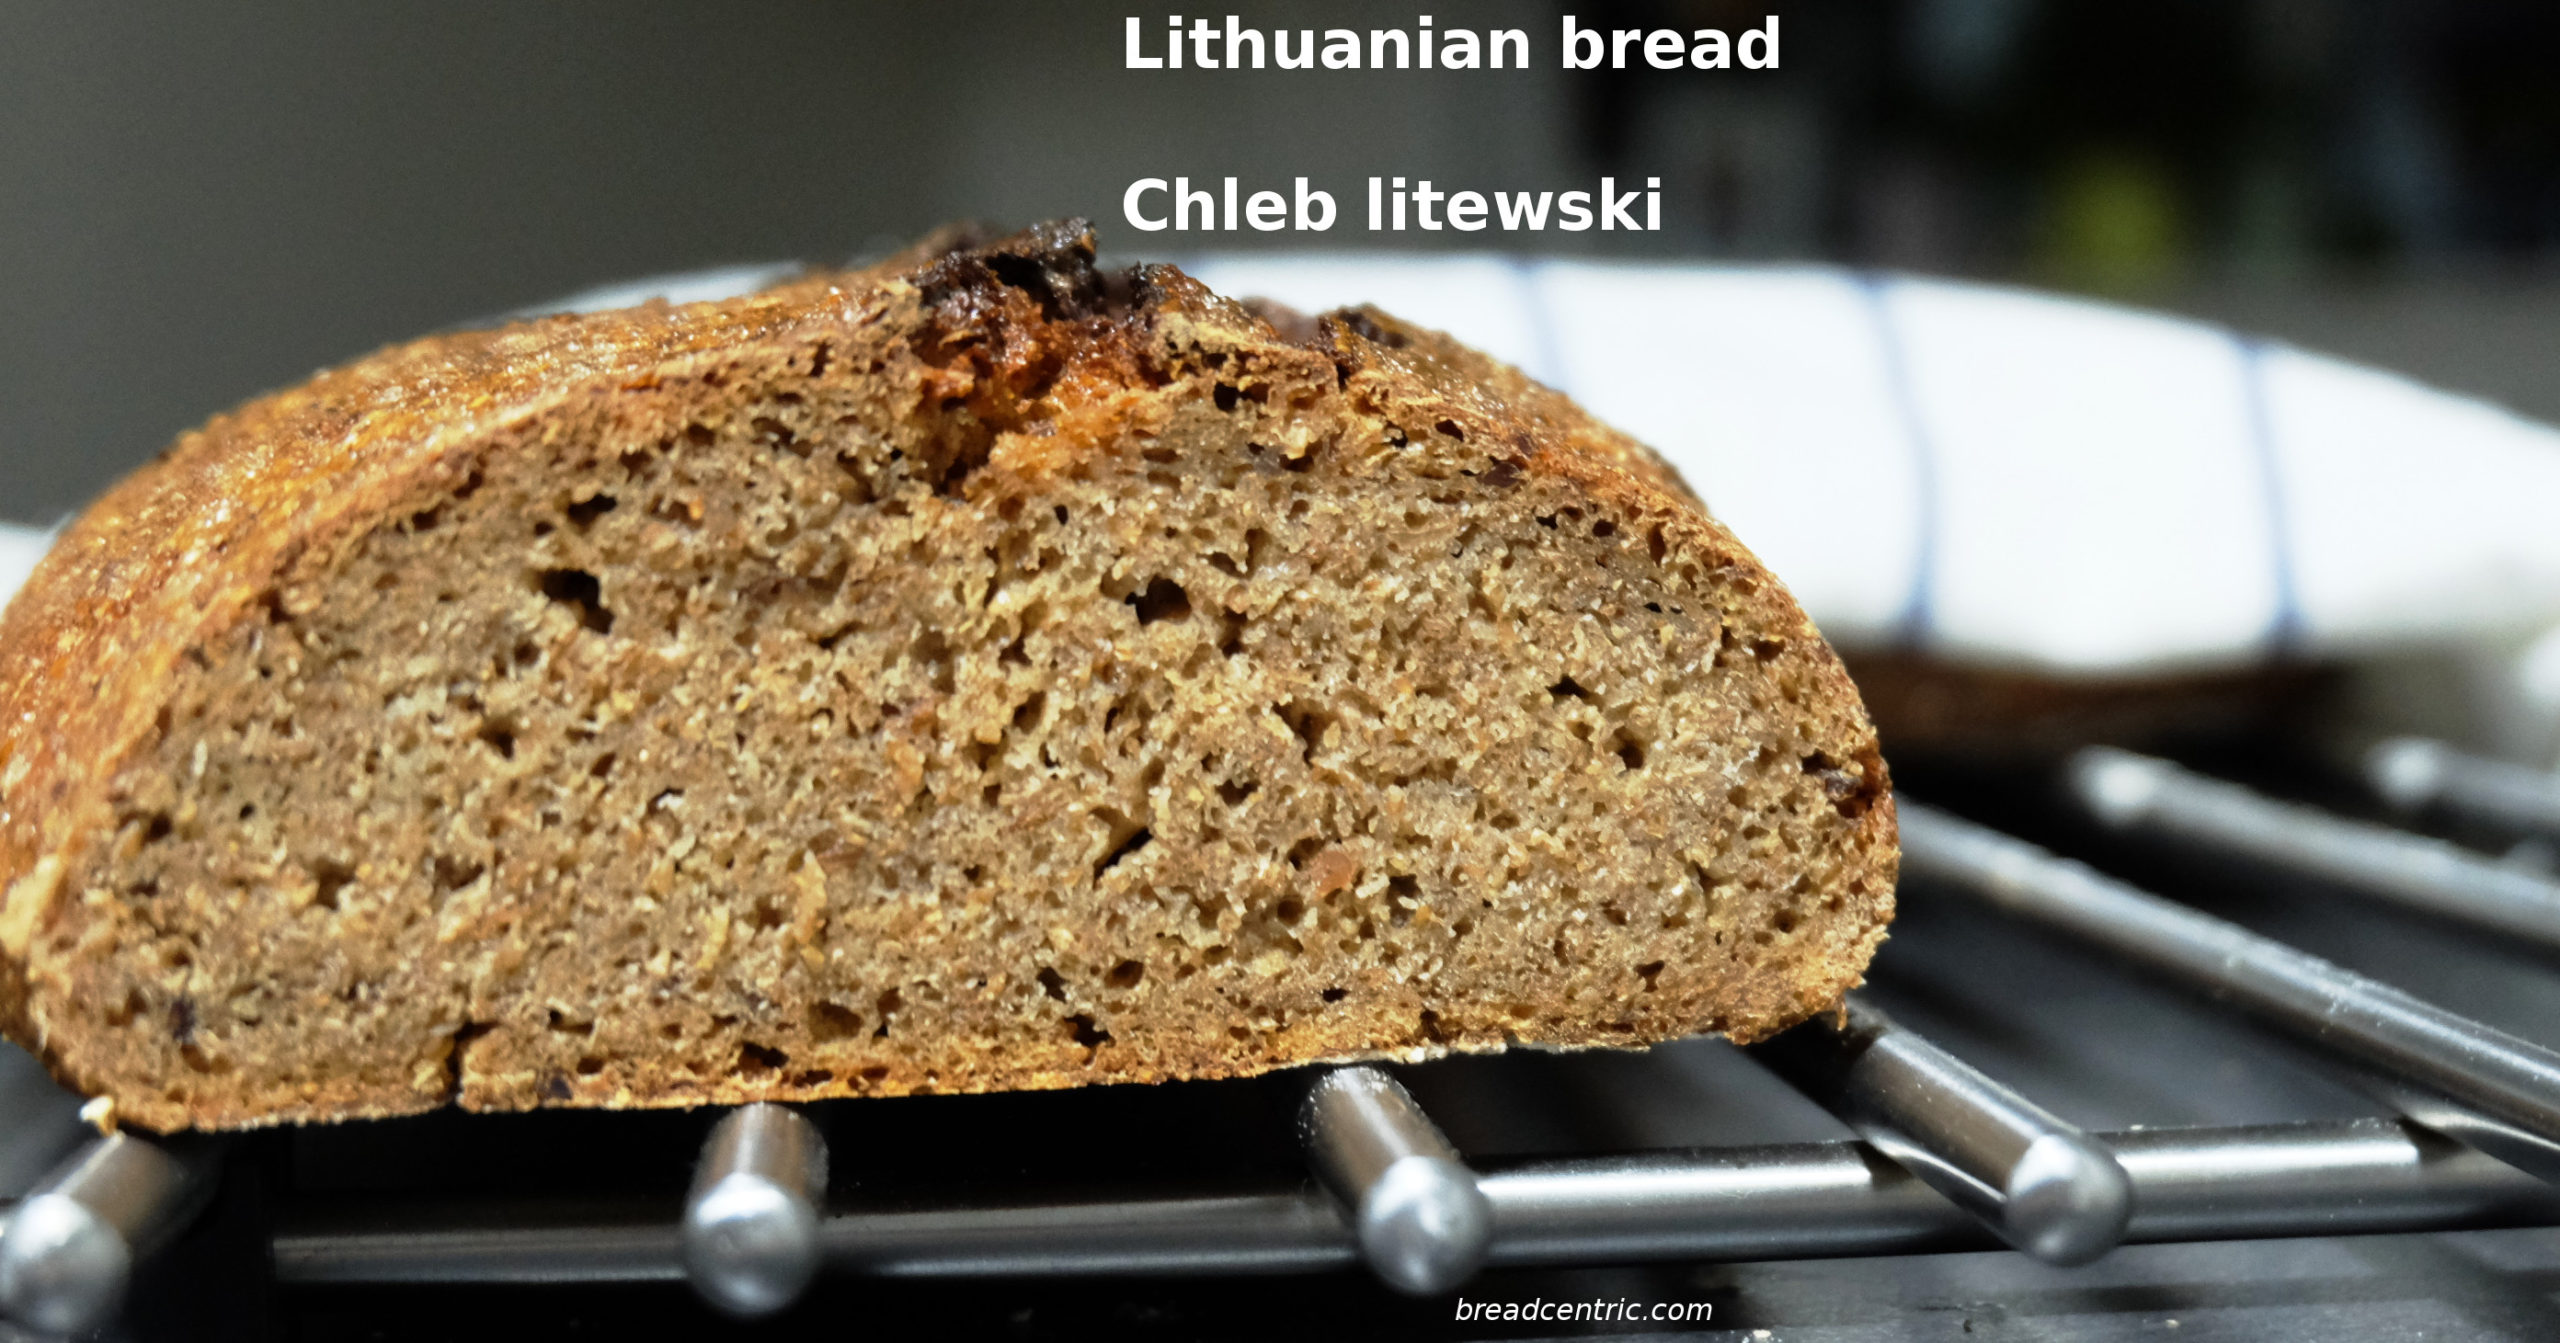
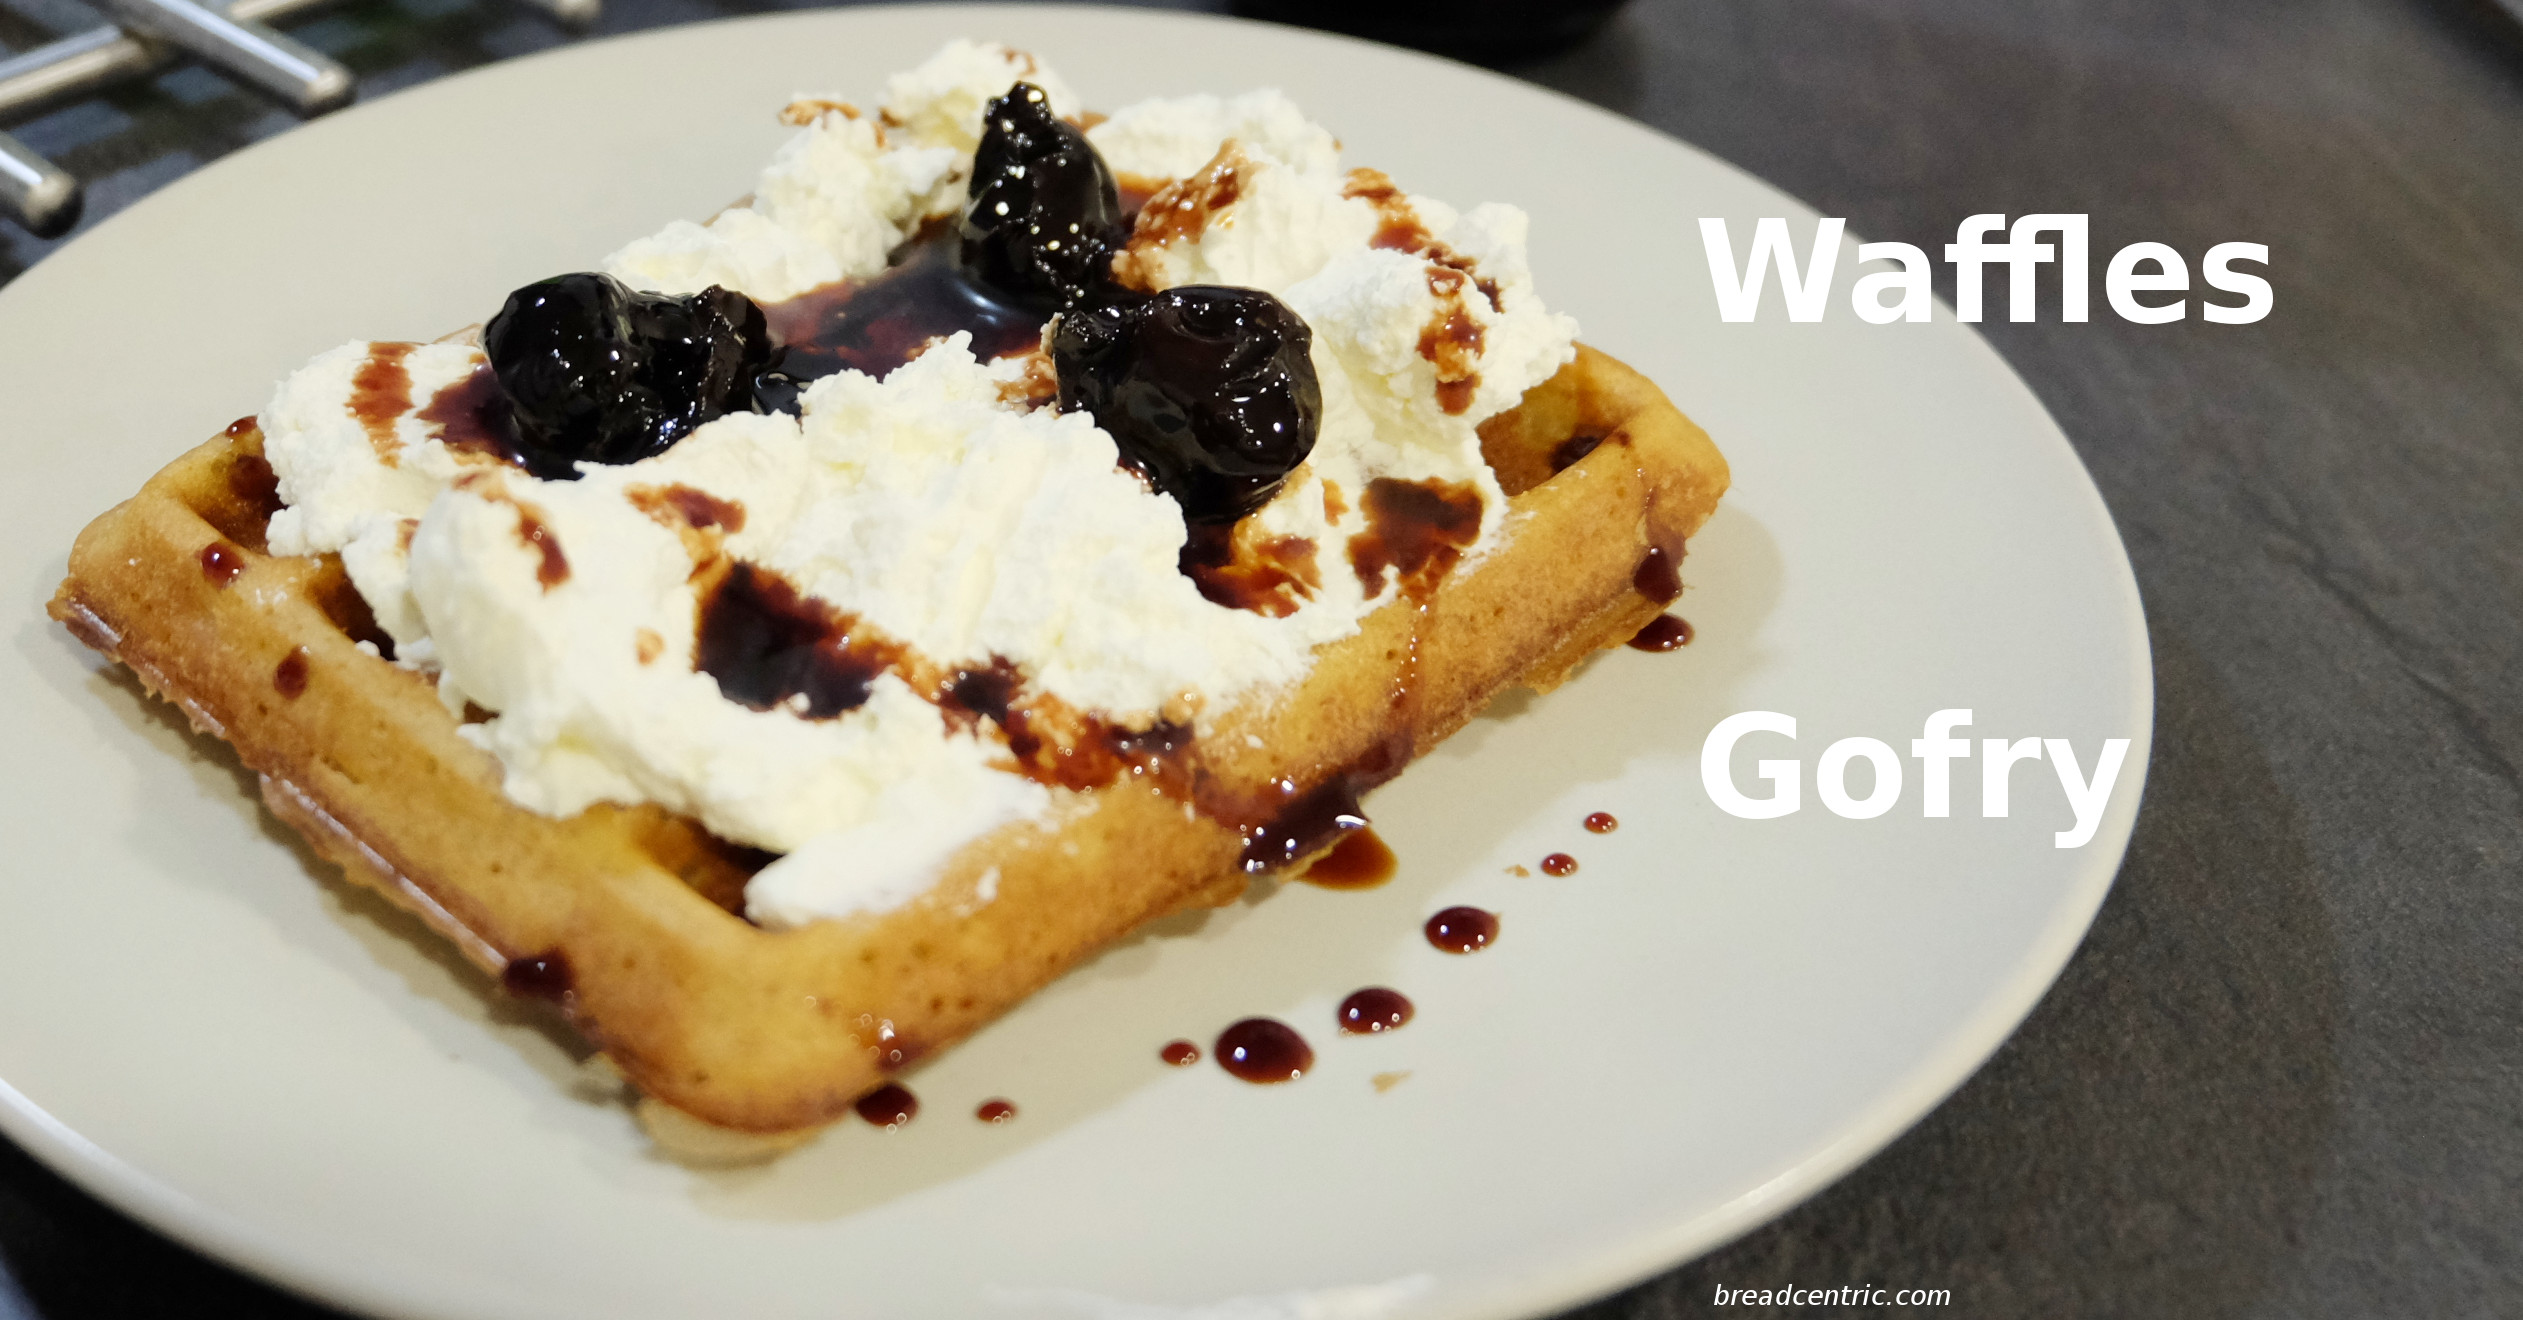
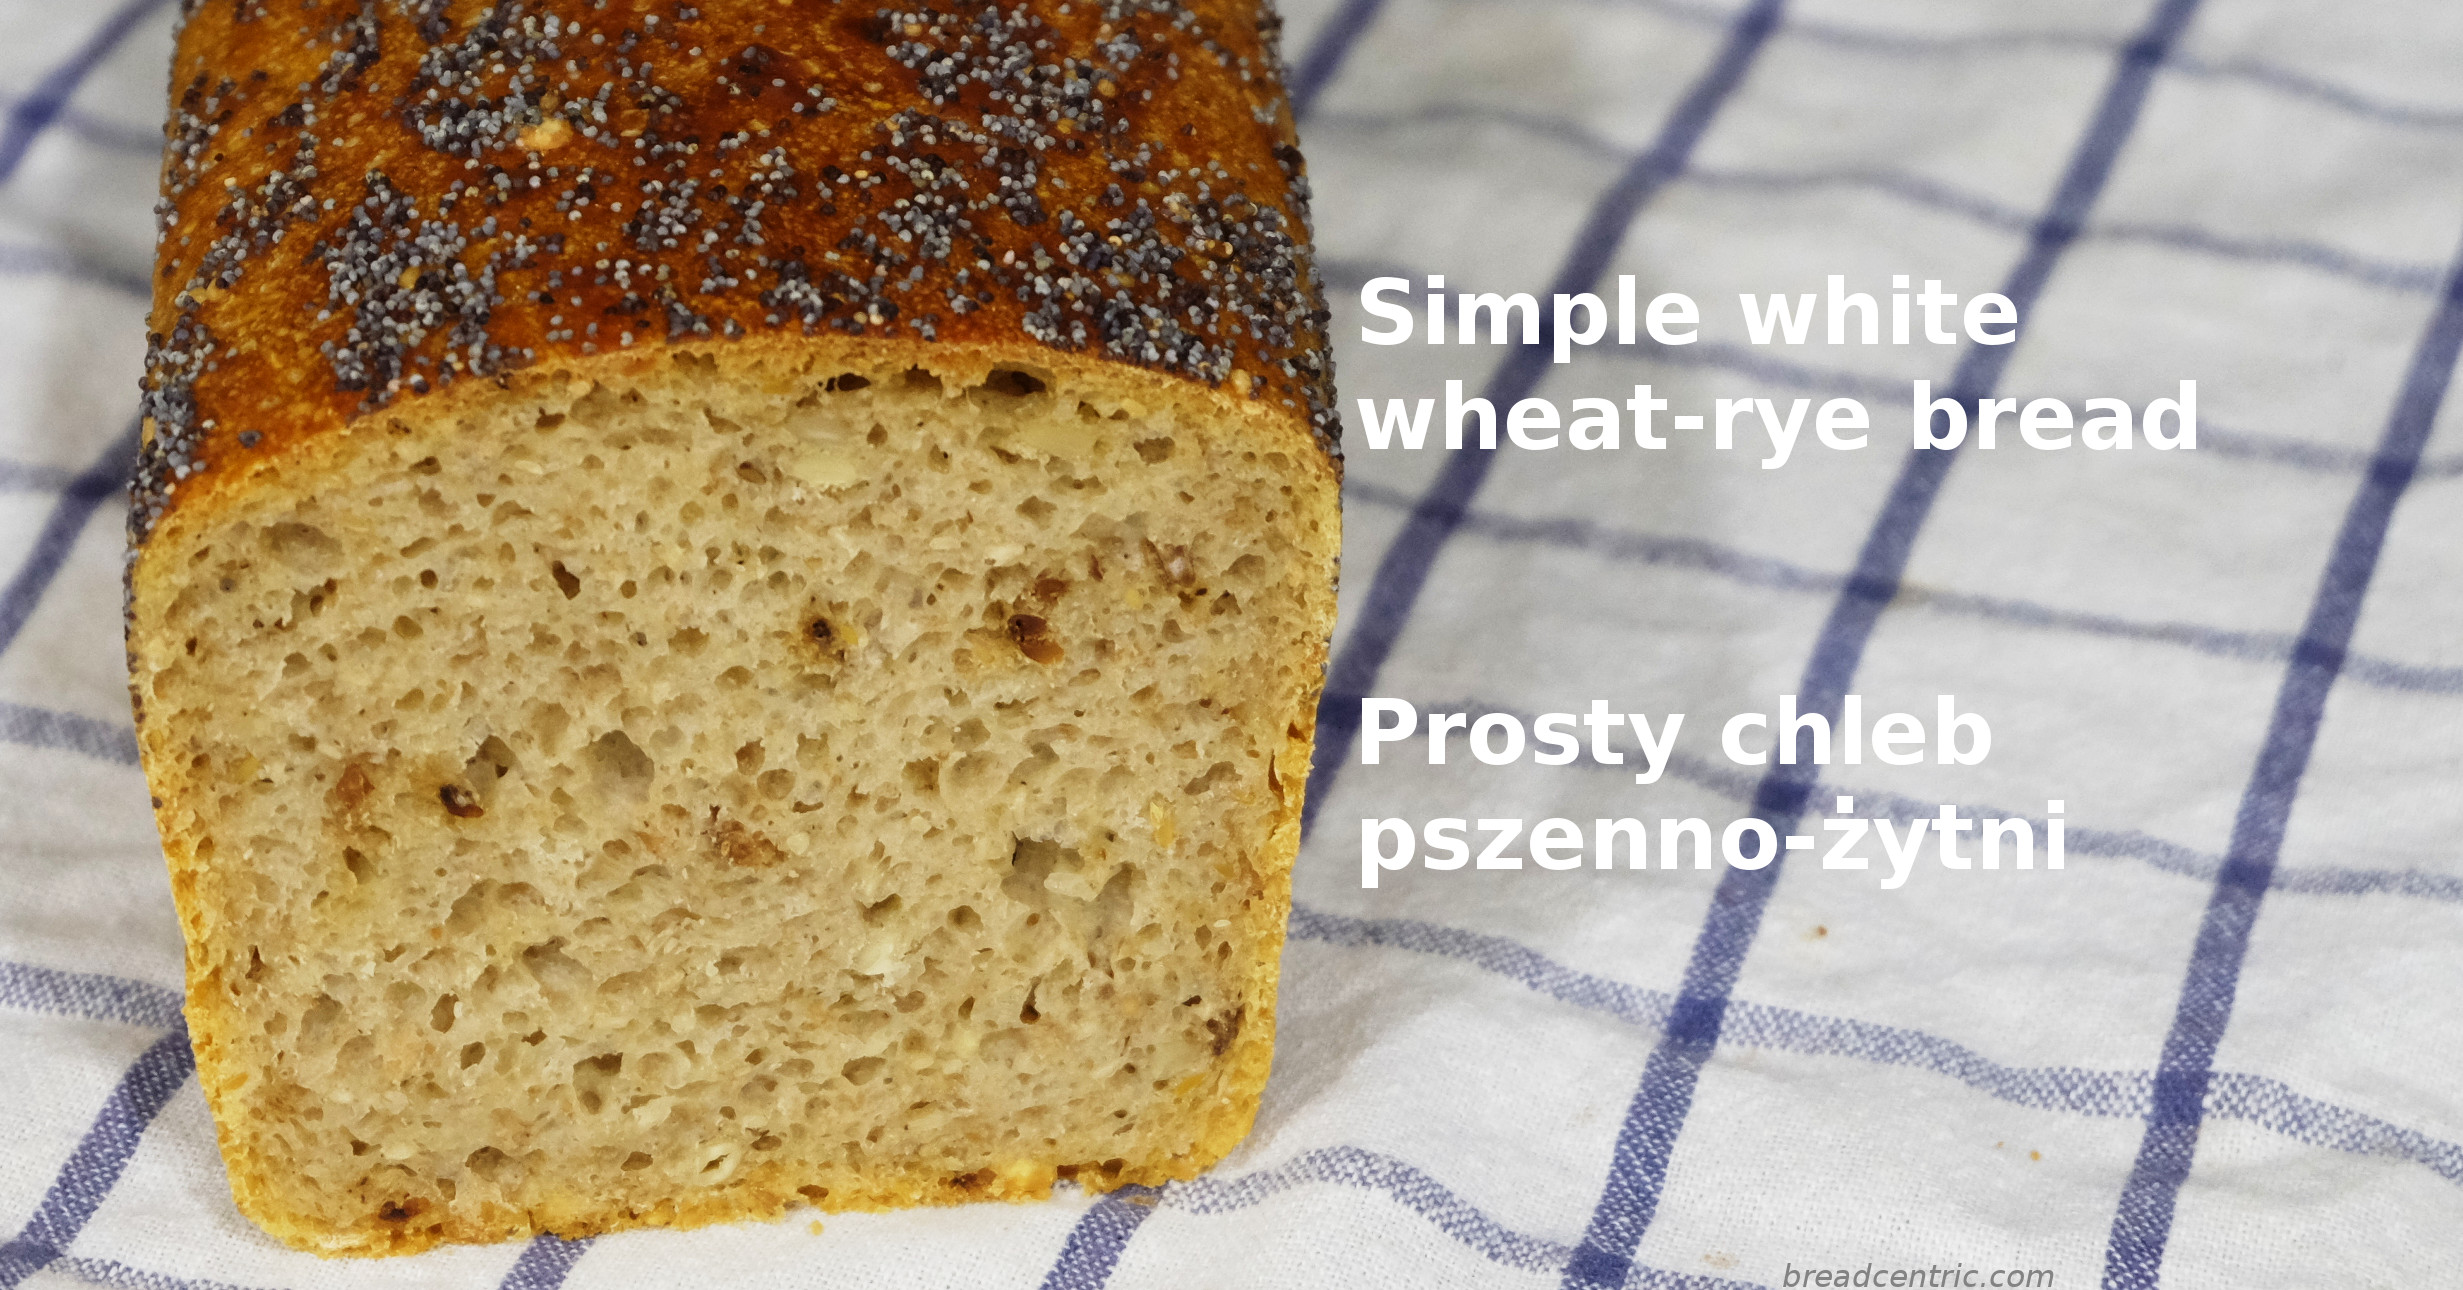
Tarzynkowy Bread
This one stuck with us quite a while ago. Not long after we have started baking, we were looking for a white loaf to enjoy. Looking around we found two – Gosia’s simple white bread and my plain wheat-rye. We call it Tarzynkowy, as it was published on Tarzynkowo blog.
Ten przepis przyczepił się do nas jakiś czas temu. Niedługo po tym jak zaczęliśmy piec w Anglii, szukaliśmy przepisu na fajny biały chleb. Znaleźliśmy dwa – Gosia prosty biały chleb, a ja ten, zwykły pszenno-żytni. Nazywamy go Tarzynkowy, bo pochodzi z bloga Tarzynkowo.
Pronunciation: Tarzynkowy: TAH-S (s as in delusion, not the regular s)-EEN-KO (as in top, not oh)-VI (i as in this). Without the distractions: TAH-S-EEN-KO-VI. If you’re in London and are a native English speaker, and you send me a video pronouncing the name, I’ll bake one for you. First one is the winner.
We don’t make it very often but now we had a reason – I wanted to impress my Mommy in law 🙂 and try out an iron cast baking stone using a bit more firm dough.

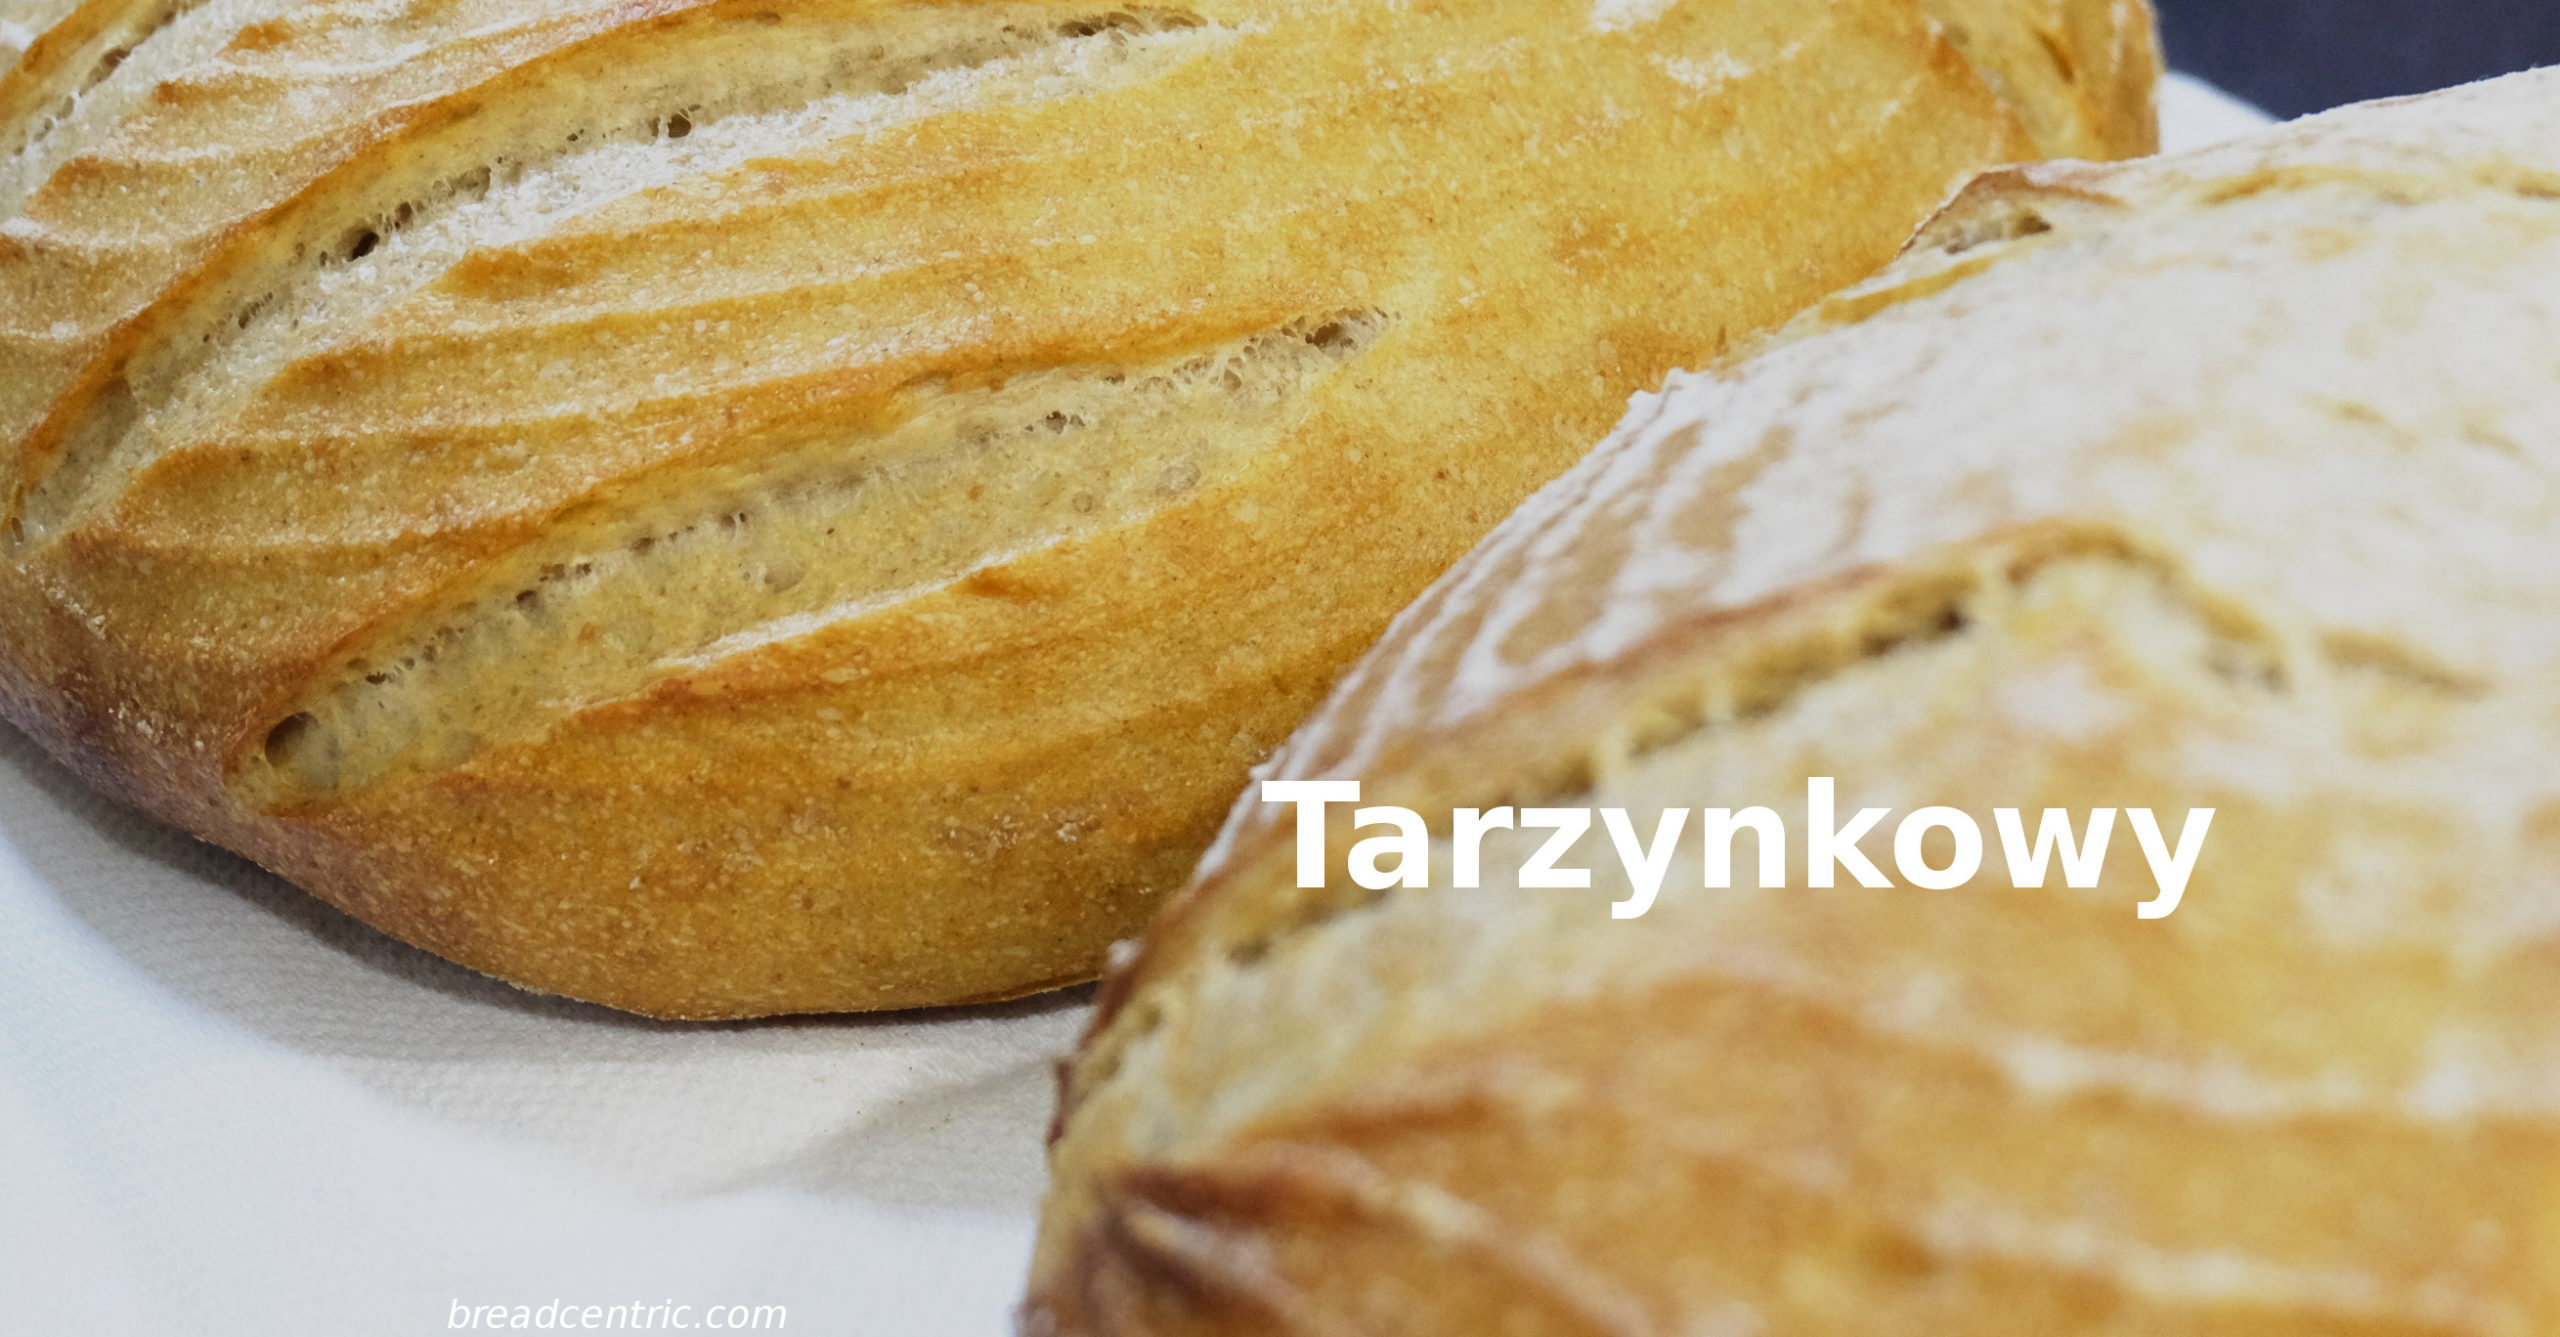
Tarzynkowy. Notice how triple scoring under the 120 degrees angle made the loaf expand into a triangular shape
Planning
You need to prepare levain, wait for twelve hours, make dough, wait for two hours, shape, wait for two hours and bake for 30 minutes. I made it both using a banneton and in a baking tin. While the round one looks better, both were really ok. You can replace the basket with a bowl, but remember to use a dusted cloth in it. Rye and rice flours work best for dusting.
Ingredients
This is just under two kilograms of dough. I used a 1 kg basket for this quantity and got quite a high loaf.
Levain
- 200 g white strong wheat flour
- 240 g water
- 40 g sourdough
Dough
- 720 g white strong wheat flour
- 200 g light rye flour
- 460 g levain
- 460 g water
- 25 g salt
Preparation
Mix the levain ingredients, cover and leave for 12-16 hours
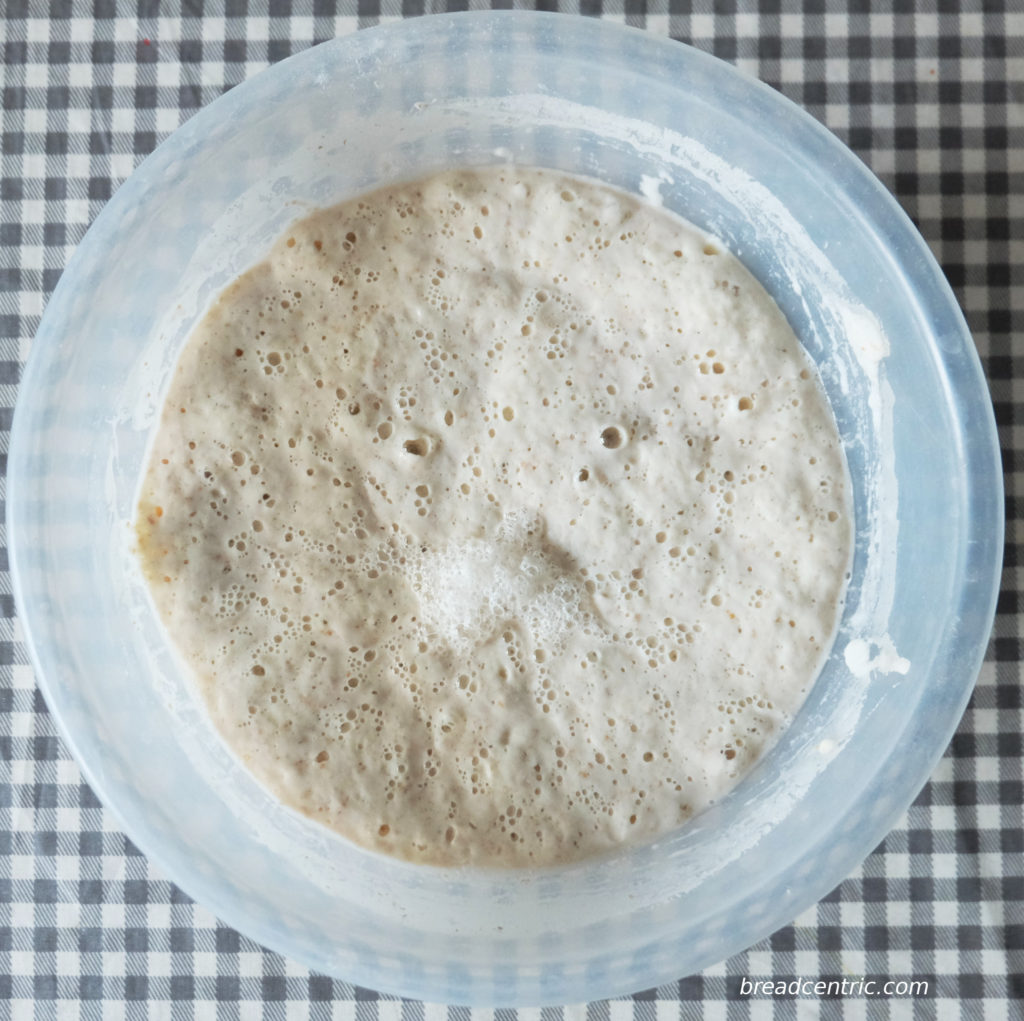
Happy Levain
Mix all the ingredients. I first used a lower speed until everything came together, the a higher one for about 3-4 minutes, until I saw the dough come off the mixer walls. The author uses autolyse, which is simply giving the dough time to rest so that the gluten forms better on its own. I’ll describe it below of you want to try. I used a mixer instead, lazy me
Leave the dough covered with cling film, somewhere warm, for 2-2.5 hours or until it doubles in size. After one hour do the stretch and fold
Shape the loaf. What I usually do is lay it on a floured surface with the dry surface down, degas it a little, then wrap the edges in, trying not to capture air in the dough. When I see the sides have formed a bit tense, roundish shape, I flip it and close the bottom seam using friction by holding the dough with my hands on both sides and making circular moves. Then I place it in a dusted basket, seam side up
I put the basket in a plastic bag and leave it for about two hours to rise. The bag prevents the dough from drying up and provides warm conditions. Dust some flour on the dough in the basket so that it doesn’t dry out completely
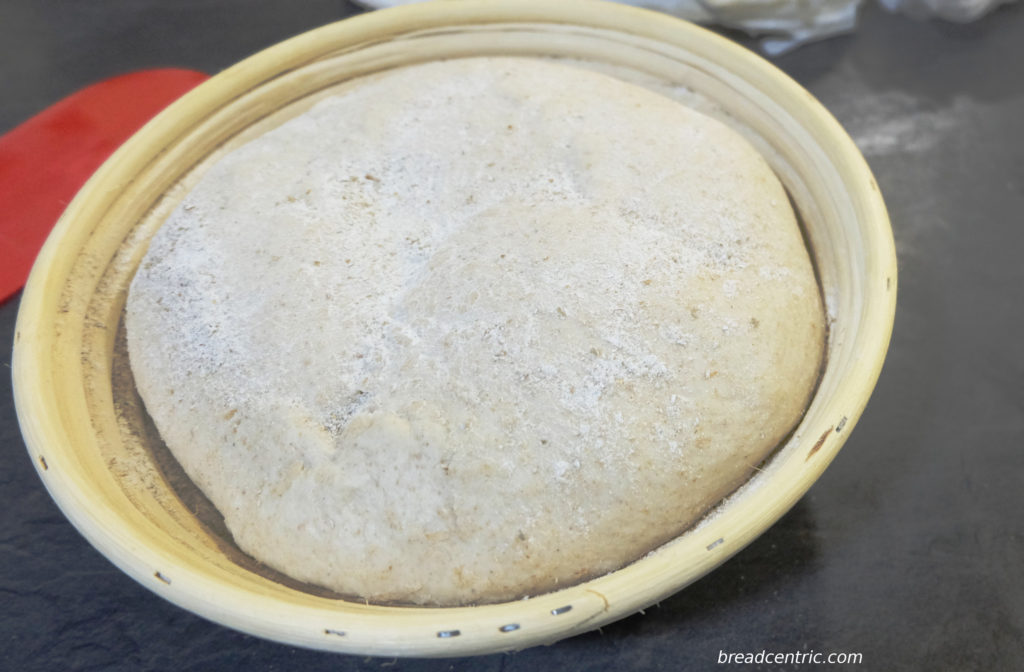
Before the final rise
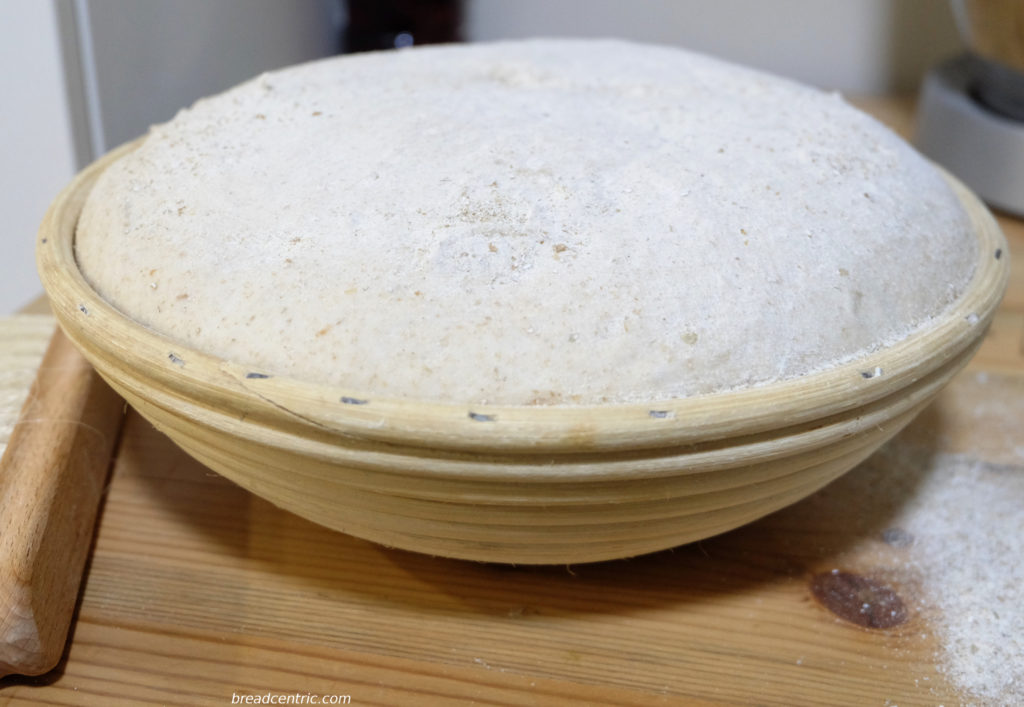
After the final rise
In the meantime warm up your oven to about 230 C, preferably no fan. Know your oven. If you have a baking stone, give it 40-60 minutes warming up. If not, 20-30 minutes should be enough
Before putting the loaf in, make some steam in the oven, I usually pour some water into the roasting tray
When the loaf has risen, flip it onto the stone or baking tray, score with knife so that it doesn’t crack randomly and put it in the oven
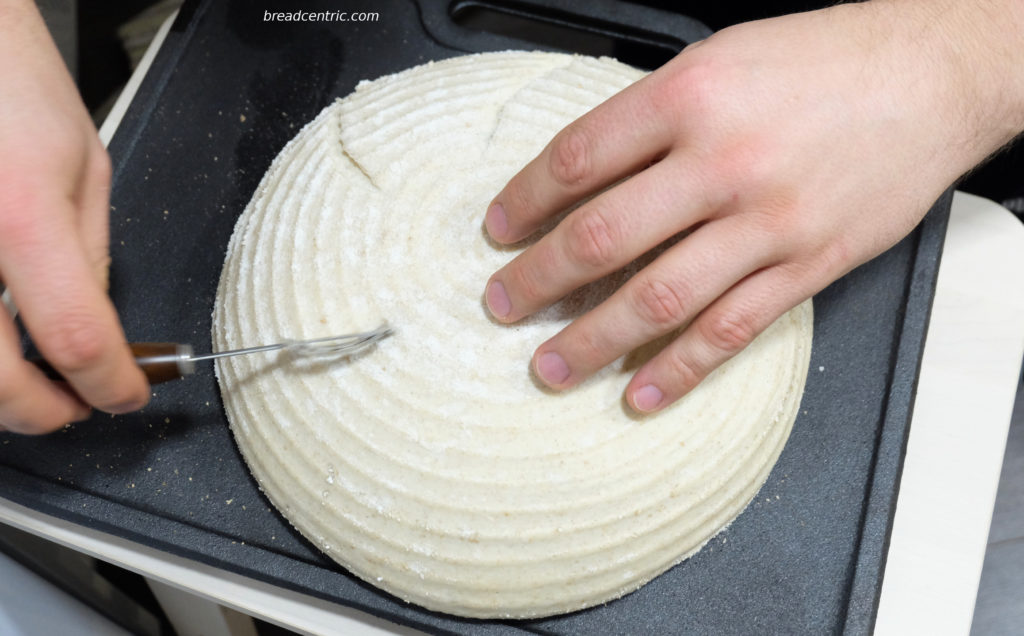
Scoring the loaf
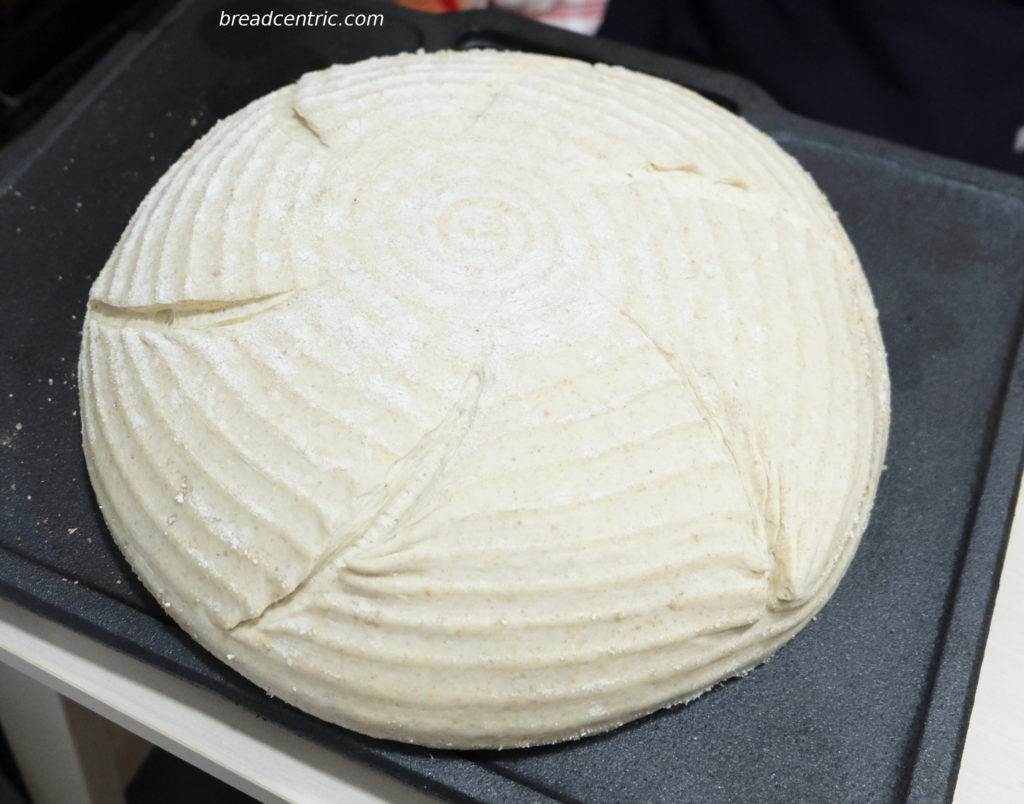
Scored loaf
Lower the temperature to 190 C and continue baking for 30 minutes, until it makes a hollow sound when knocking on the bottom. If you are unsure if it is done, give it extra couple minutes
[youtube https://www.youtube.com/watch?v=5sDOu3H2j-U ]Let it cool completely on a cooling rack, best to leave it for around 12 hours
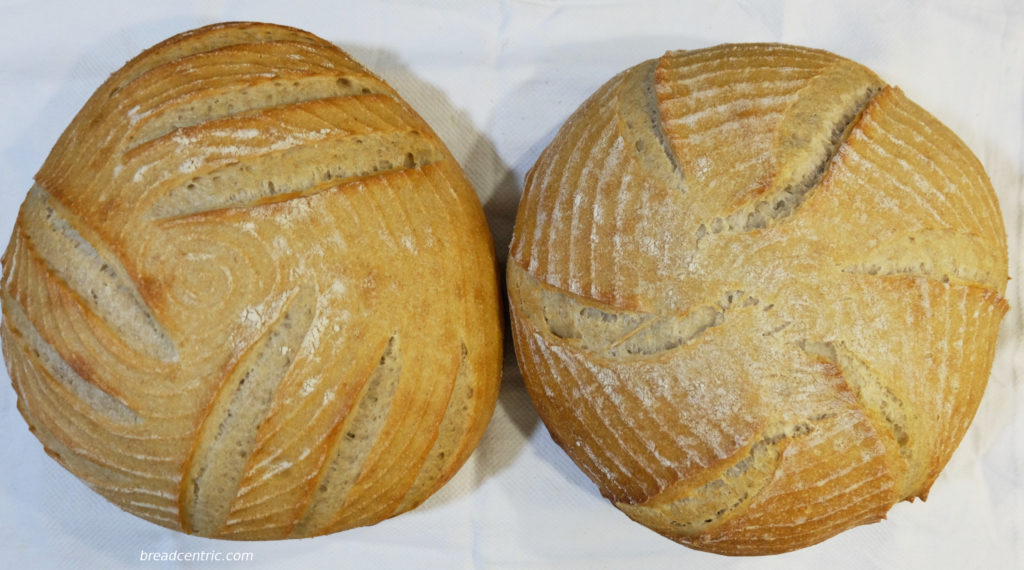
Tarzynkowy
A nice, soft loaf, a bit too soft perhaps. The flavour is quite mild. Perfect for sandwiches. I usually prefer the Silesian bread which offers a stronger aroma, but this one adds a pleasant variety to what we make.
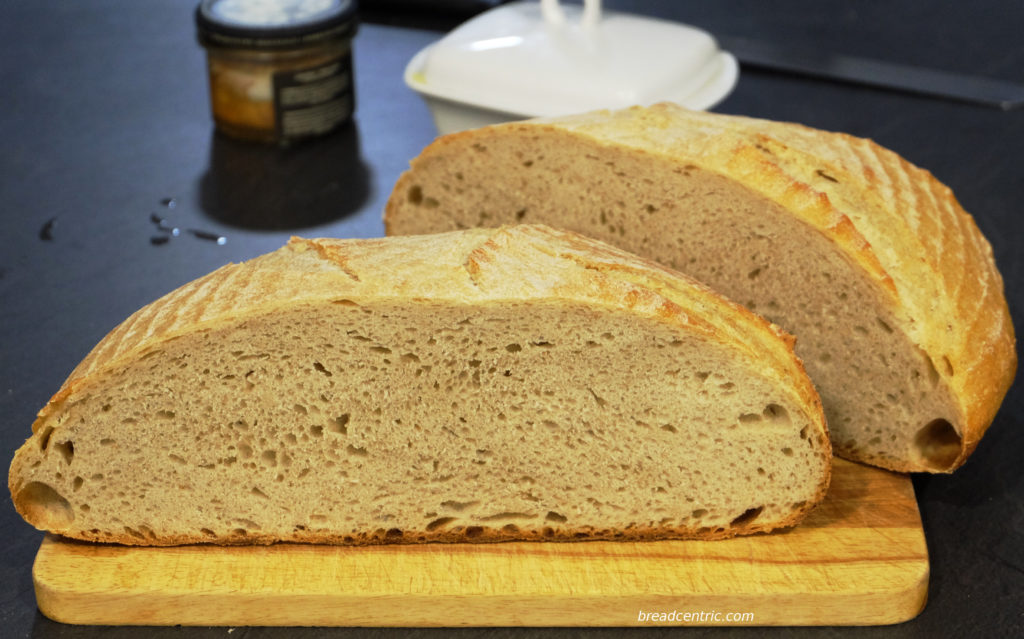
The crumb
I’m really happy that I used the baking stone. I had to bake one loaf at a time (I made two), But this is the first time I had a real, proper, thick bottom crust while the rest of the crust was nice and thin.
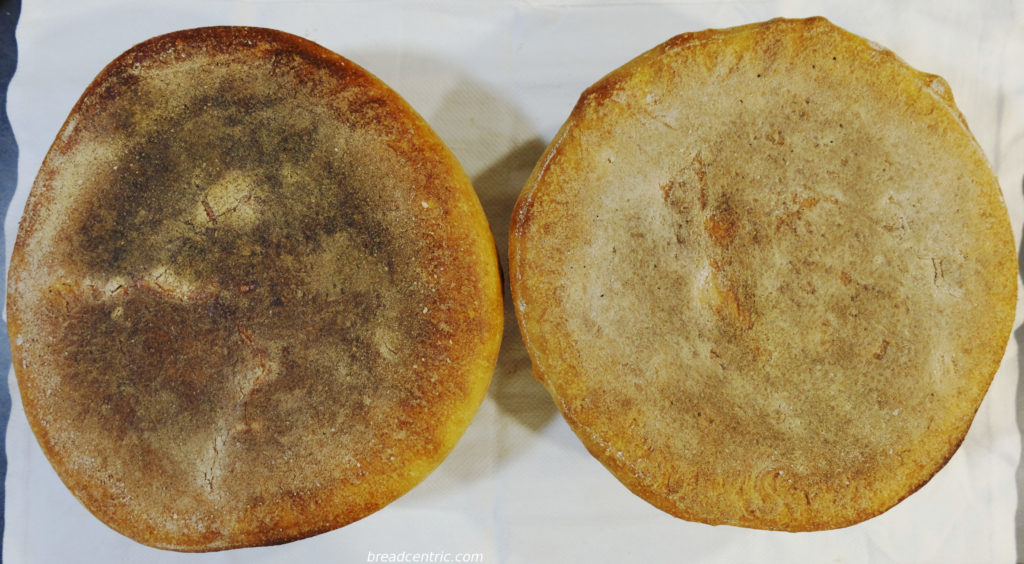
Bottom of the loaf
Autolyse
I didn’t use it, but it’s worth knowing there is a thing like that. It’s a pretty new thing in the history of bread. If I remember well, it dates back to 1970s.
Your flour is a complex thing. It has the starches, it has the gluten, but it also has some enzymes inside. When you mix it with water, many processes get activated, including putting the enzymes into action. Two of them (I’m not sure if there are any more, those two are what I know), amylase and protease, start doing miracles. Amylase triggers transformation of starch into simple sugar, whereas protease breaks the gluten binds. Both are of noticeable significance to the bread. More glucose means higher yeast activity (and you can use less yeast/sourdough to get a richer aroma of the bread), while weakening the gluten binds means it becomes easier to work the dough. It pretty much kneads on its own.
How to perform autolyse: mix flour with water and leave aside for 15-30 minutes. Then add the remaining ingredients, knead it and continue with the preparation.
While writing this blog post, one thing occurred to me – the author posted recipes every now and then, then suddenly after June 2014 it all stopped. I hope she’s ok. This reminds me of another blog, Piekarnia Tatter, which has been made private by the author and the recipes can only be found if reposted. Sad things.