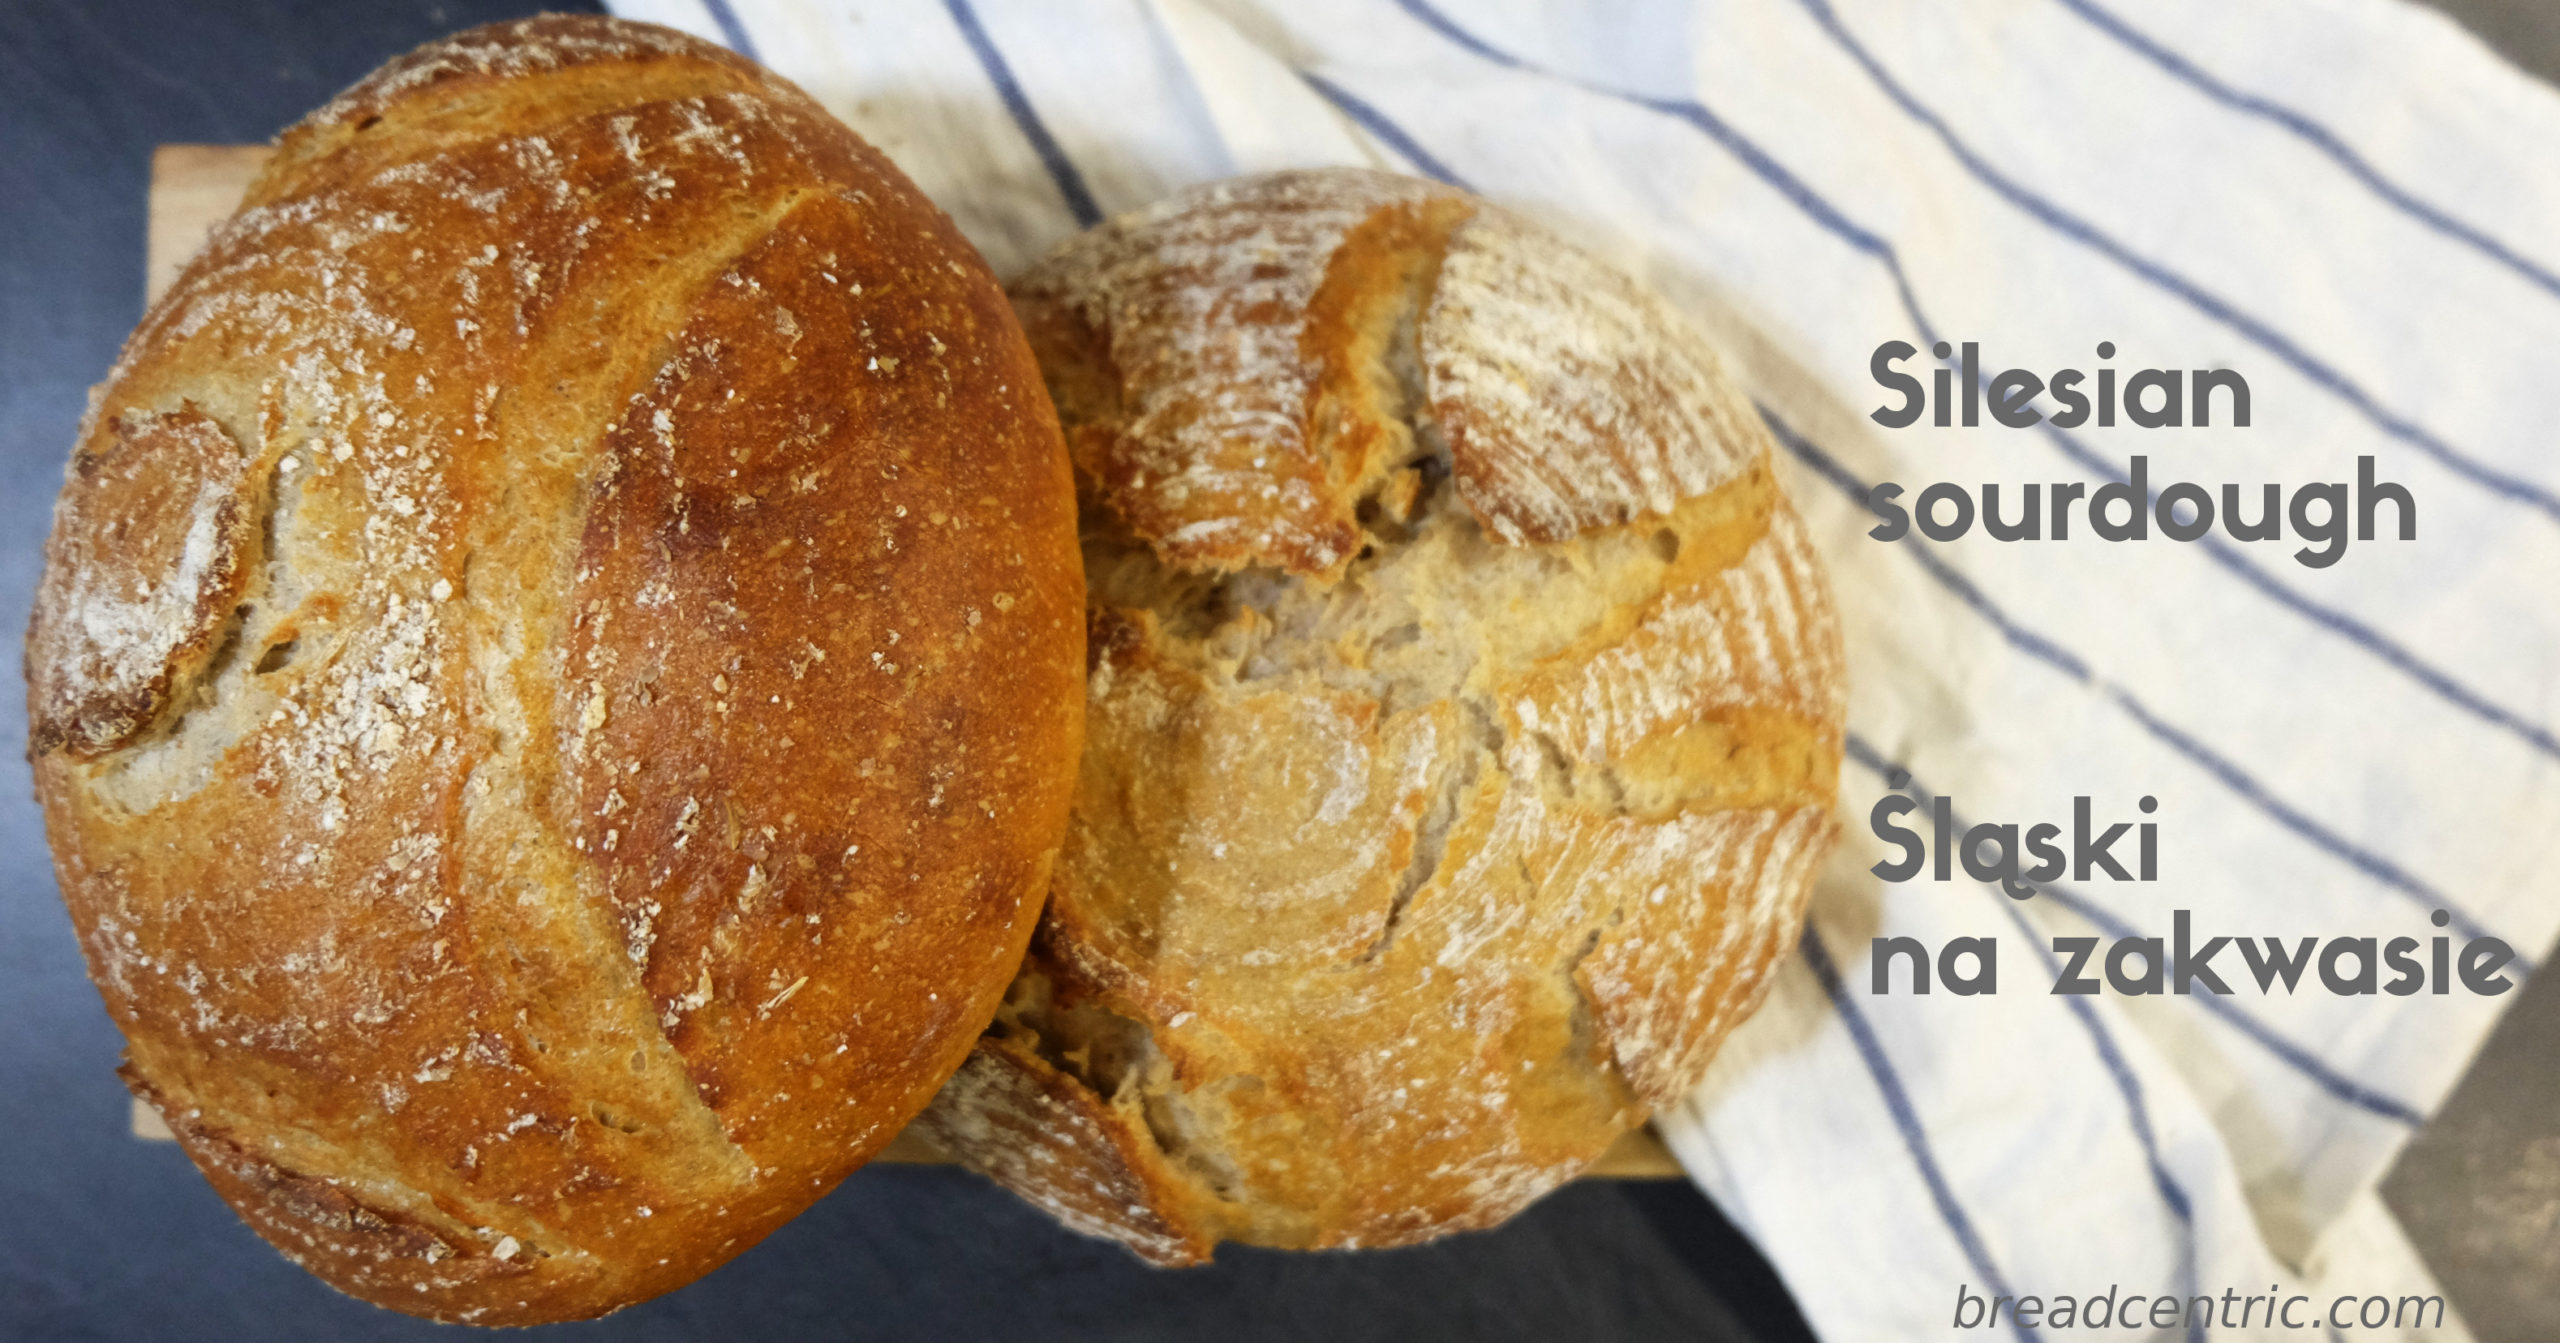
The Seedy Bread

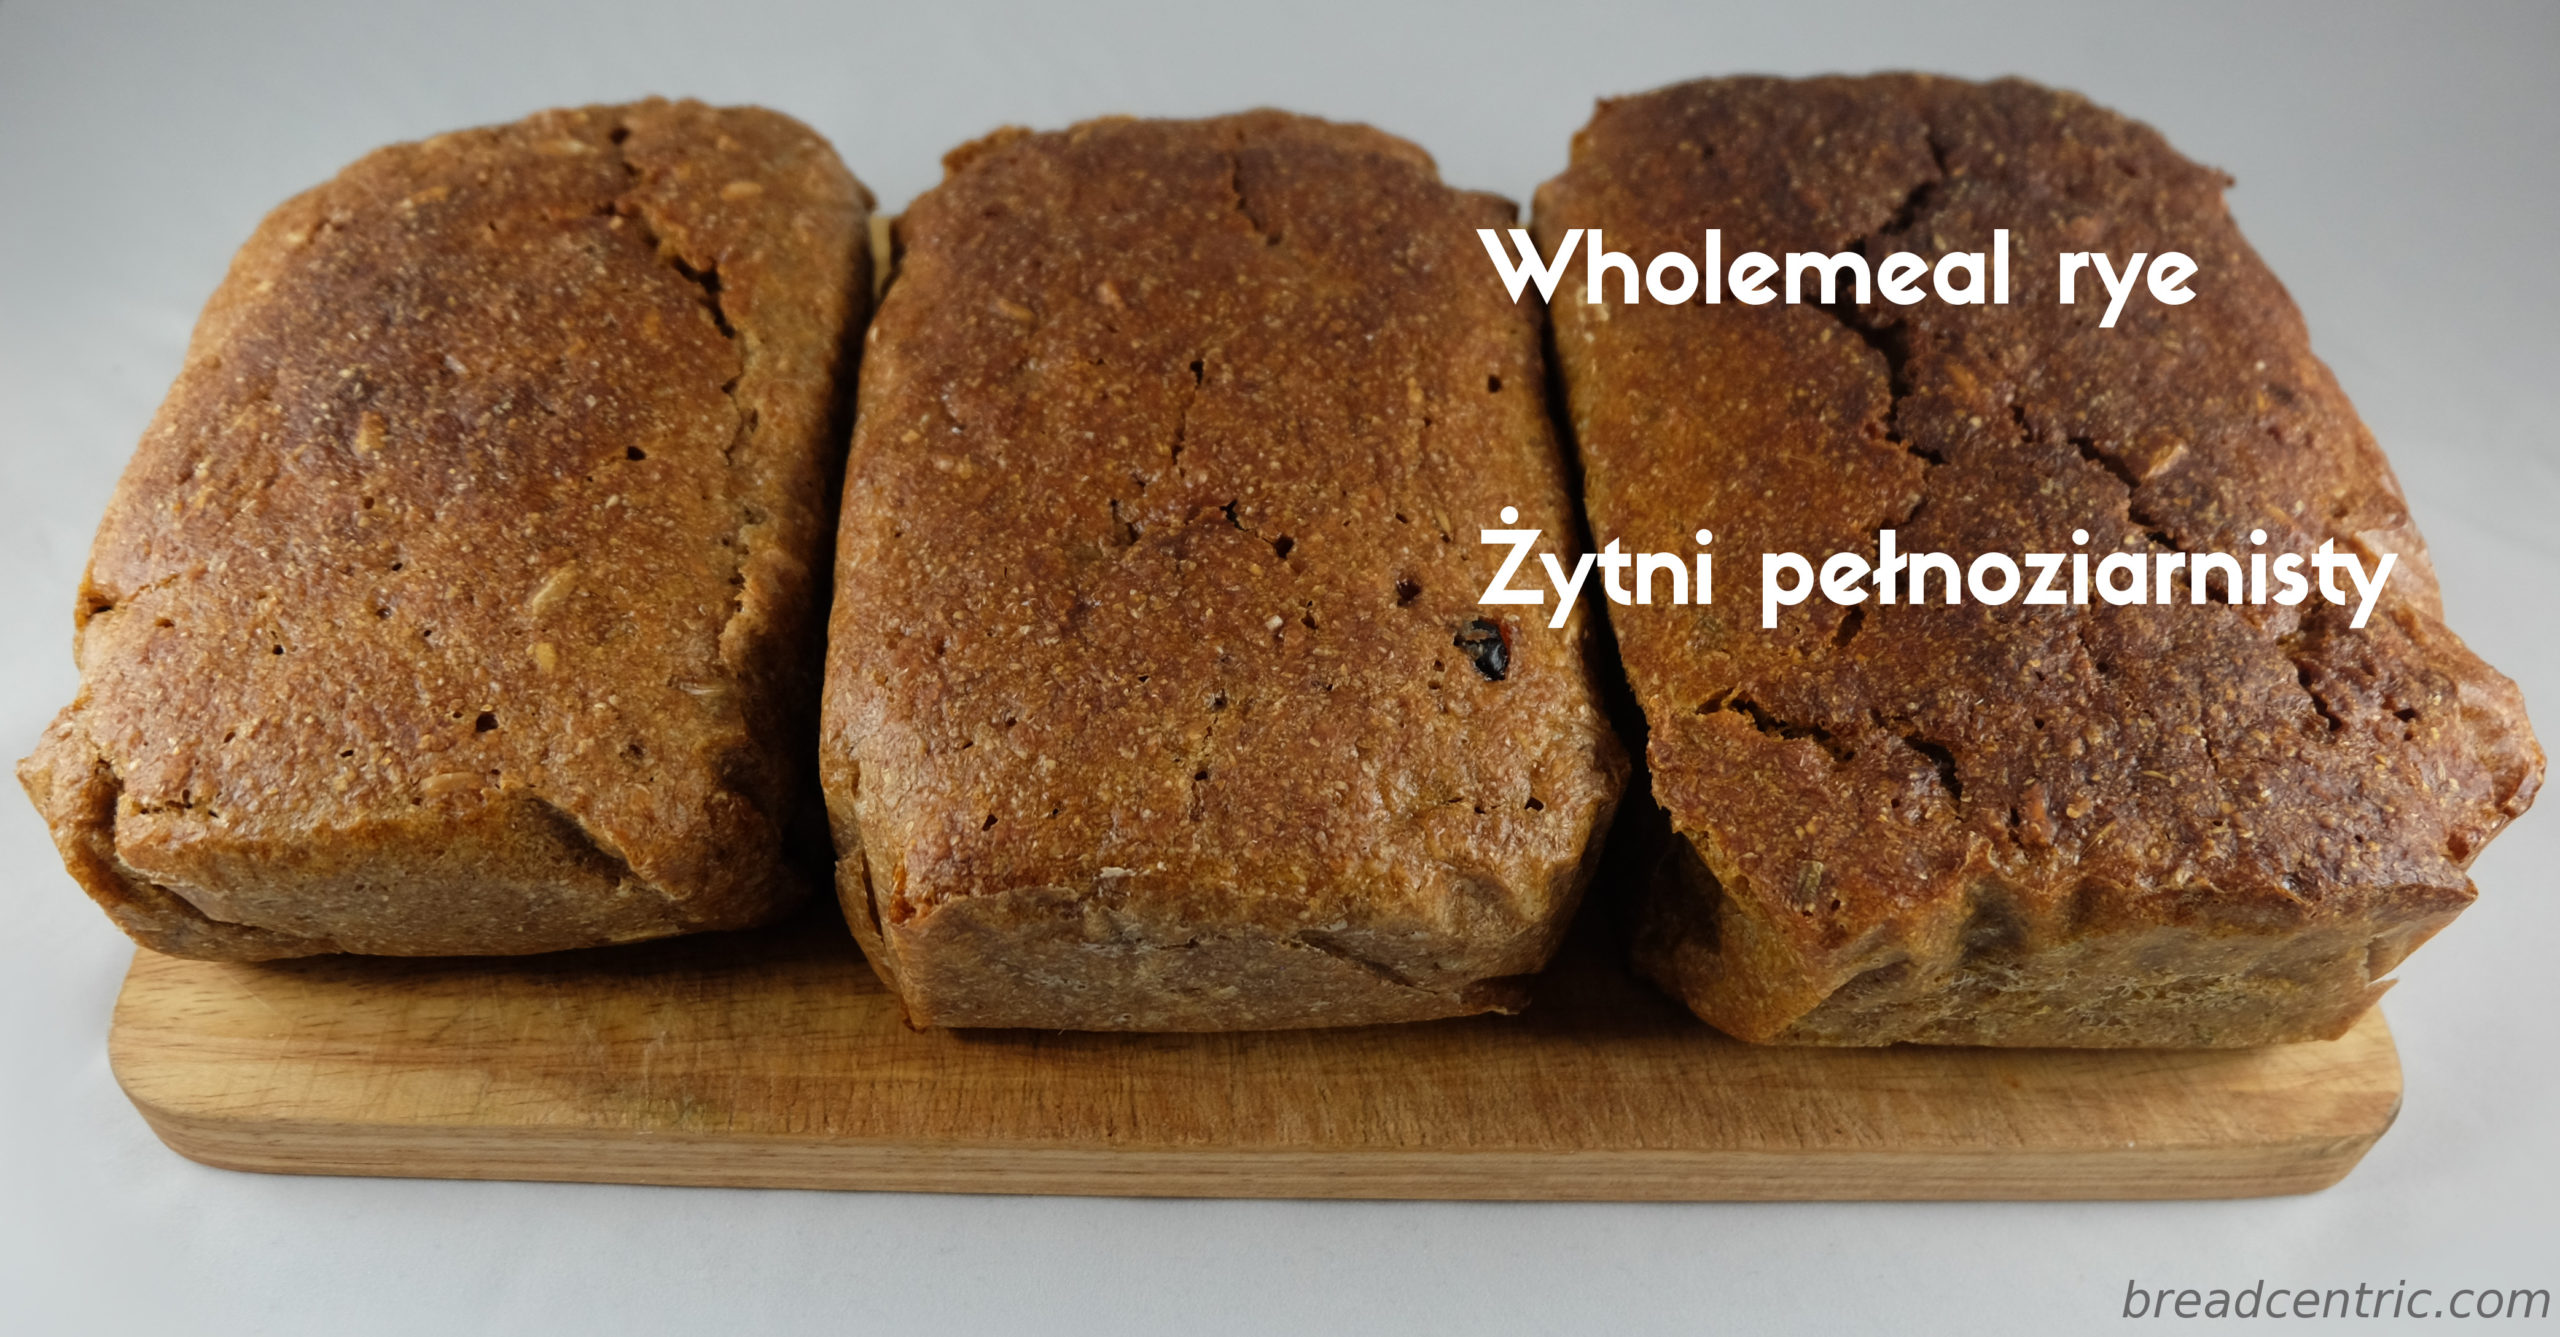
There are the types of bread that we bake almost every week. The first one is the simple rye, the second one is a white loaf that we will write about soon. This is the third one.
Są trzy rodzaje chleba, które pieczemy niemal każdego tygodnia. Pierwszy jest prosty żytni, drugi to biały, o którym napiszemy wkrótce. Ten jest trzeci.
**
I could simply say that’s what we started doing two years ago, when we created our first starter in London, but the truth is that’s what we’ve been baking it before, only without a precise recipe. Also, we made it in a bit simpler way. There has always been some whole wheat, whole rye and bread flour, accompanied by seeds.
Obviously, initially it was a different loaf every time. After all, if it’s tasty, who cares about the repeatability? After we moved to the U.K., we wrote the recipe down in more detail, then started (following it and) improving it to current state. Currently we only alter it a bit from time to time.
Planning
There are three major stages in preparation of this loaf:
- Preparing the starter (if you feel like it is too much, you can skip it, read below)
- Preparing the dough
- Baking
They are a couple hours apart from each other, as the starter needs time to become active and then the dough needs to rise.
We have two ways to organise it:
- Prepare starter in the evening, dough in the morning and bake when ready
- Prepare starter in the morning, dough in the evening and bake in the morning
We usually follow the first one: I prepare the starter at about 10pm, mix the dough at 6 am (can be later, but this way I leave for work at a reasonable time), then Gosia bakes the bread when it’s risen.
Skipping the starter preparation
Sometimes you may forget about preparing it on time, or you just don’t feel like doing it. There is a way around it – use the sourdough directly in the recipe. The loaf comes out a bit more sour in taste. You also need to store enough sourdough. We usually bake the bread in batches of three or six, so this would require storing around 700 g of sourdough in the fridge.
In the early days we would also store just enough starter for two loaves, mix it directly with the dough and then put a bit of dough back into the jar. I started fearing I would mess something really badly and spoil the sourdough. We decided not to do it any longer and now we feed the sourdough in the containers, and add it into the recipe.
Ingredients
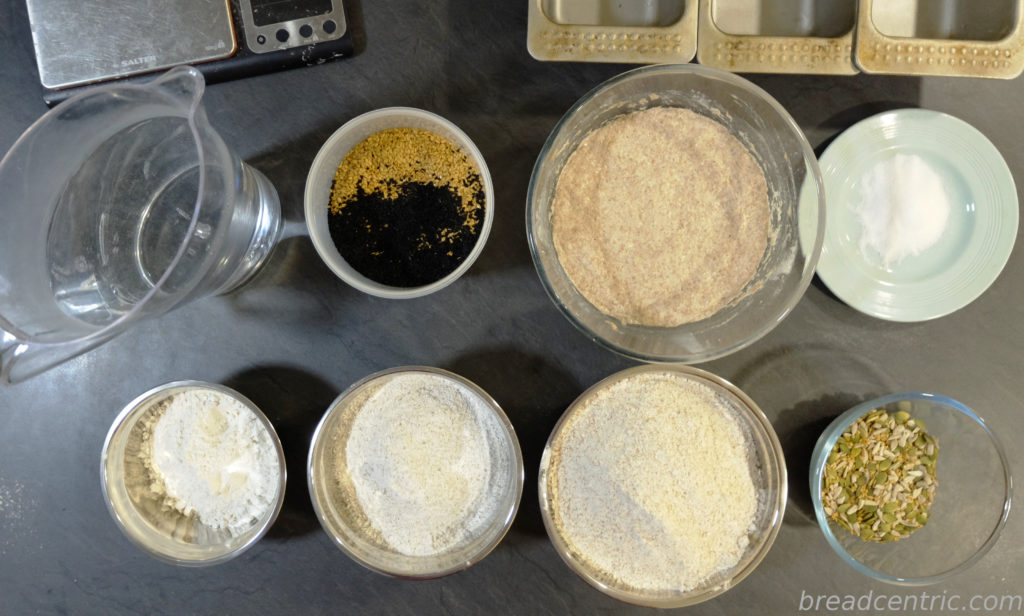
Ingredients
Starter
- 50gwholemeal wheat flour
- 50 g water
- 20 g mature wheat sourdough culture (rye will also work)
Dough
300g wholemeal wheat flour
150 g wholemeal rye flour
75 g strong wheat flour
120 g sourdough starter
520 g water
12 g salt
30 g sunflower seeds
30 g pumpkin seeds
30 g linseed
30 g sesame seeds
5 g black onion seeds
Seeds to sprinkle the top (I’d normally use sunflower, pumpkin and linseed, 10 g each)

Measured seeds
How do you measure 5 grams of seeds? There are three ways:
- Get a proper scale
- Don’t measure it
- Bake in batches of 200 loaves, it’s easier to measure 1 kg right on a regular scale
If you want to follow the recipe precisely, you’ll need to get a good scale. It needs to work gram by gram (some do every two, some do every five, and these are not good). You’ll probably need to go for a digital one. There are more precise scales available, but you may not need them. I have a joint one, with up to 10 kg with a 1 g increment, and up to 200 g with a 0.1 g increment. I sometimes use the detailed one, but it is not essential. After all, you’re baking for yourself, you don’t run a drug store at home (if you do, I don’t want to know about it). If it’s off by a bit, it doesn’t matter that much. If you use a spoon of something, if the outcome is tasty – it’s none of my business. And it becomes your recipe too. How cool is that?
Preparation
Mix the starter ingredients in a bowl, cover it and leave to work. My observation is that eight hours are enough for it to be ready. More works as well.
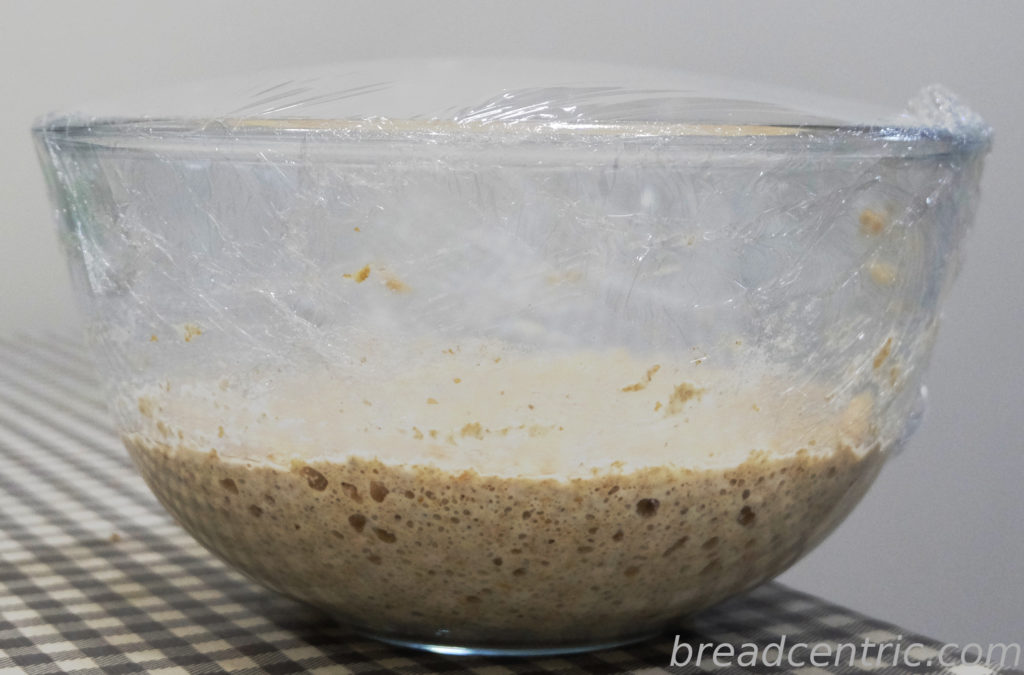
Mature starter
Mix the ingredients. Use a big bowl and a spoon (rather a sturdy wooden one), or a mixer.
I usually use a mixer and learned that a dough hook is not mixing well due to high water content in the recipe. The one I use is called a K-Beater and I’m sure it has equivalents in other mixers.
K-Beater
Back to the dough. It will be quite difficult to mix by hand, I broke spoon once trying to mix it.
You’ll need a baking tin now. The tin needs to be greased if you don’t want to use a tire lever to take it out. Butter works best. We also tried margarine, oil and olive oil. The liquids do not give consistent results. We use loaf tins from Ikea, ones sadly not available in UK any longer. We’ve seen the new ones which have similar size, but haven’t tried them yet. If you have, let us know. This tin has about 1.9 litre capacity and can hold about 1.2-1.3 kg of dough that makes a bit above half of the tin’s height. This is important to us (you’ll read why later).
Sprinkle seeds on top. We like it seedy, so we use plenty. If you put seeds in sequence rather than mixing all types first, go from the biggest ones to smallest. If you don’t, chances are the bigger ones won’t have enough space to stick.
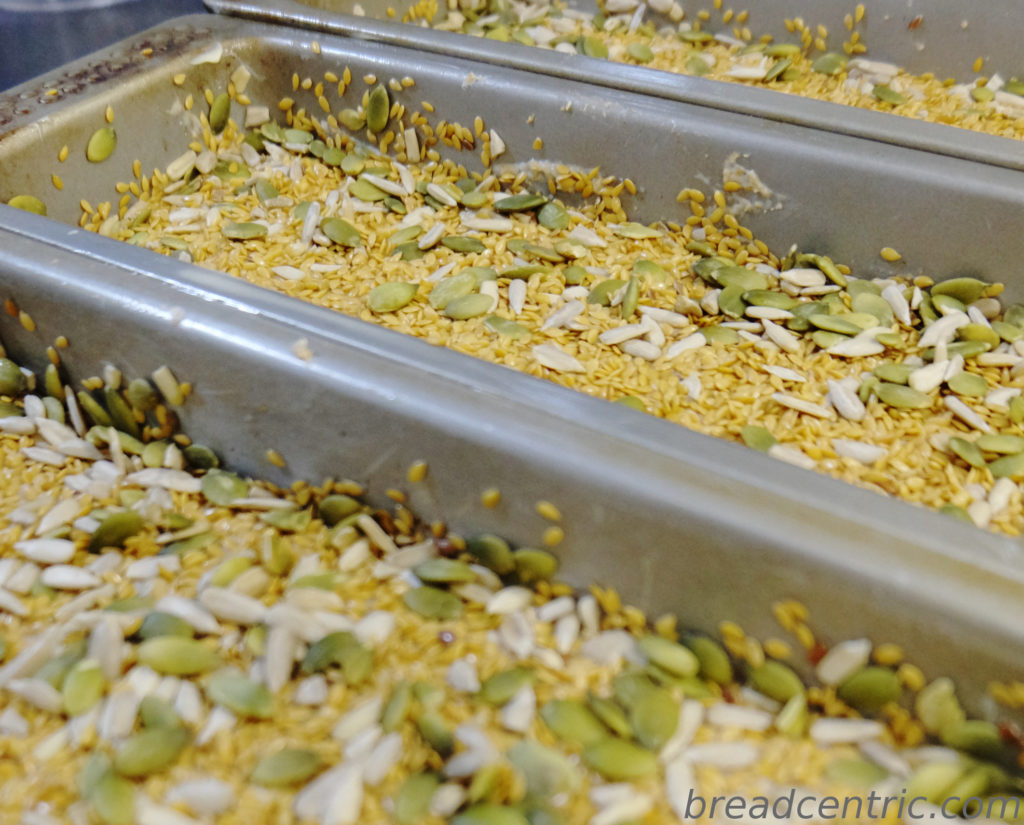
Dough in the tins
Cover with cling film and leave it to rise. It can take anything from four to eleven hours – it depends on the temperature and amount of sourdough. There are ways to speed it up or slow it down, described below. In or case we consider it ready when the seeds on top are touching the film. This means the dough grew enough (we recommend adjusting the quantities to your loaf tins). Sometimes we miss the right moment and it gets a bit messy when the dough escapes.
We have learned that the best conditions to bake this bread are when our oven is set to 160C with convection, for 70 minutes, with a lot of steam – such conditions make it difficult to burn the crust. As usual, remember you know your oven best. If you bake more loaves (we can fit six into our oven), reshuffle them a bit after 50 minutes or so.
Leave the loaves to cool on a cooling rack. It usually takes at least two hours, it’s better to leave it for longer. Remember many seeds will fall off. We gather them and either eat as they are or add them to a salad.
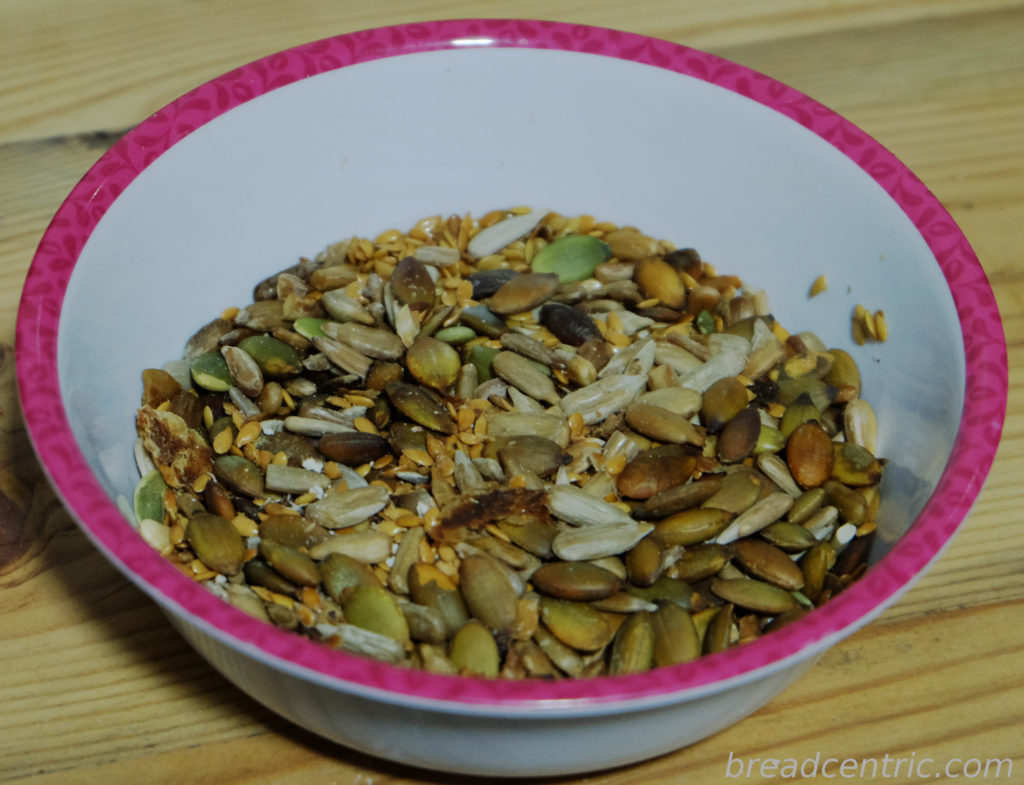
Roasted seeds
The bread is very dense and full of flavour. Also, because it’s so dense, you don’t lose much if it overproofs.
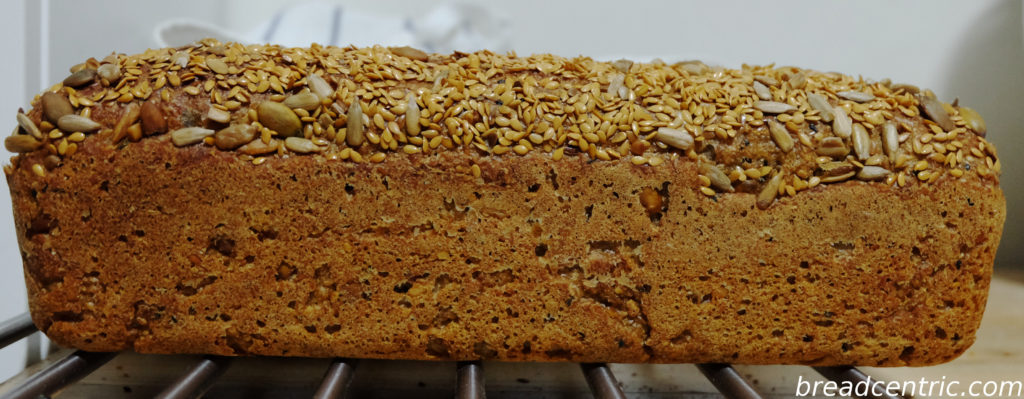
The Seedy Bread
The nice thing about this bread is that it stays in good condition for a week.
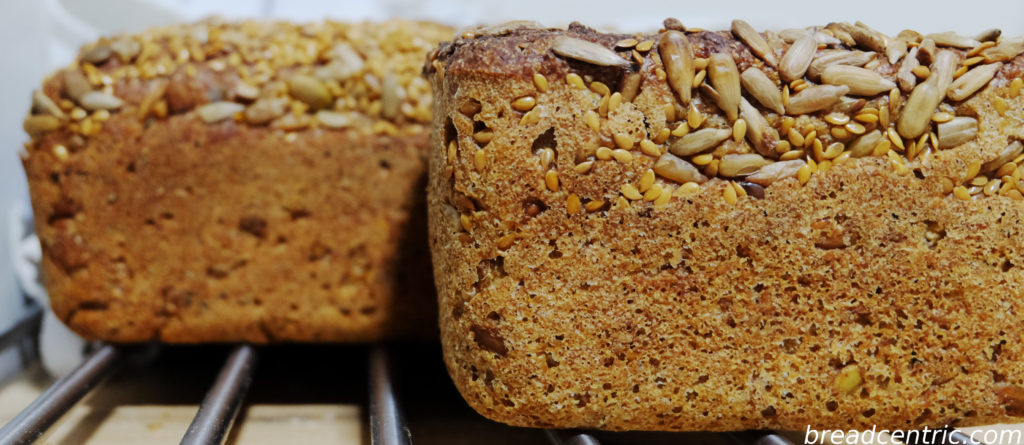
A five days old loaf in front
Also a small warning: this loaf is quite rich in nutrients. Because of this I do suggest not to eat to much at once if you don’t want to look like Daddy Pig (or me).
Some people experience heartburn from eating it. There are two possible reasons: black onion seeds or the bread as a whole is too heavy for your stomach. If you take the seeds out and it still doesn’t work for you, you’ll need to look for a different recipe, I’m afraid.
How to slow down the proofing
- Use less starter. Play and check. In summer I could easily add half of given amount and the bread would be ready for baking after 8 hours.
- Cool it down – you can proof it in the fridge. I don’t know how much longer it will take, I never tried. If you take it out when back from work, I would expect it to be ready for baking in the evening.
How to speed up the proofing
- Proof the loaf in a warmer place. Some have a proofing box, some have that special place next to the boiler. I turn the oven on the lowest temperature possible, turn it off after 5-10 minutes and put the bread in.
- Add more starter. Take some flour and water in equal portions from the dough recipe and put it to the starter. You should probably add slightly more sourdough as well.
- Add yeast. Some think it’s like wasting the bread, I don’t. I have never done it, but would probably add half a teaspoon per loaf – it’s help, not replacement to sourdough
Serving

The Seedy Bread
The bread itself has an intense taste and it can dominate what you put on it. That’s why it tastes very well on its own, toasted with some unsalted butter and coarse salt sprinkled on top.
It goes well with smoked meat like salmon. Put it on some mashed quark (or Philadelphia cheese) and enjoy.
If we have too much or keep it for too long, we dice it, add spices, sprinkle with olive oil and give it a roast in the oven to get a batch of croutons for a cream soup or salad.